To preset stations and preset tuning operation
For presetting a station, the unit has an electronic memory
circuit which is capable of memorizing up to 24 stations.
(e.g. 6 FM1, 6 FM2, 6 FM3 and 6 AM stations).
1.
Press the TUNER FUNCTION switch.
2.
Select the desired radio band.
3.
Tune in the desired station.
4.
Press and hold in the desired PRESET switch until the
flashing PRESET CH indicator is illuminated (more than
2 seconds). The radio broadcast is now preset.
Note:
The PRESET button on the remote controller cannot be
used for presetting stations.
5.
To preset the other stations, follow the same procedure
of steps 2 to 4.
6.
Now, you can receive the desired FM or AM broadcast
station quickly and accurately. Select the desired band.
Press and release the PRESET switch in one touch (less
than 2 sec.), and the preset station will be heard.
(For the remote controller operation)
Press the PRESET button on the remote controller to
receive the desired preset station. Every time the button
is pressed, the preset channel display changes as:
ch 1, ch 2, ch 3, ch 4, ch 5, ch 6, ch 1, ...
Note:
Once you have preset desired stations, even if the unit is
turned off, station memories will remain. But if the unit is
turned off for a long time, the station memories may not
remain. In this case you must preset the stations again.
- To avoid noisy radio reception, do not operate the
turntable during radio reception.
Graphic equalizer controls (LEFT CHANNEL GRAPHIC
EQUALIZER/RIGHT CHANNEL GRAPHIC EQUALIZER)
By means of five independent frequency (100Hz/300Hz/
1kHz/3kHz/12kHz) controls, you can get your favourite
sound shape flexibly. Flat response is obtained by setting
the controls to the centre positions.
Level meter (LEVEL METER)
This level meter shows the amplifier input levels which are
being monitored.
BEFORE CD PLAY
Both 12-cm and 8-cm compact discs can be played on this
player.
1.
Press the CD FUNCTION switch. The CD display indi-
cates "Cd".
Note:
If any other FUNCTION switch Is depressed, the CD
player will not operate.
Do not press any other FUNCTION switch during CD
operation, or the CD player Is turned off.
2.
Press the OPEN/CLOSE switch. The disc tray will come
out and the display indicates "-
3.
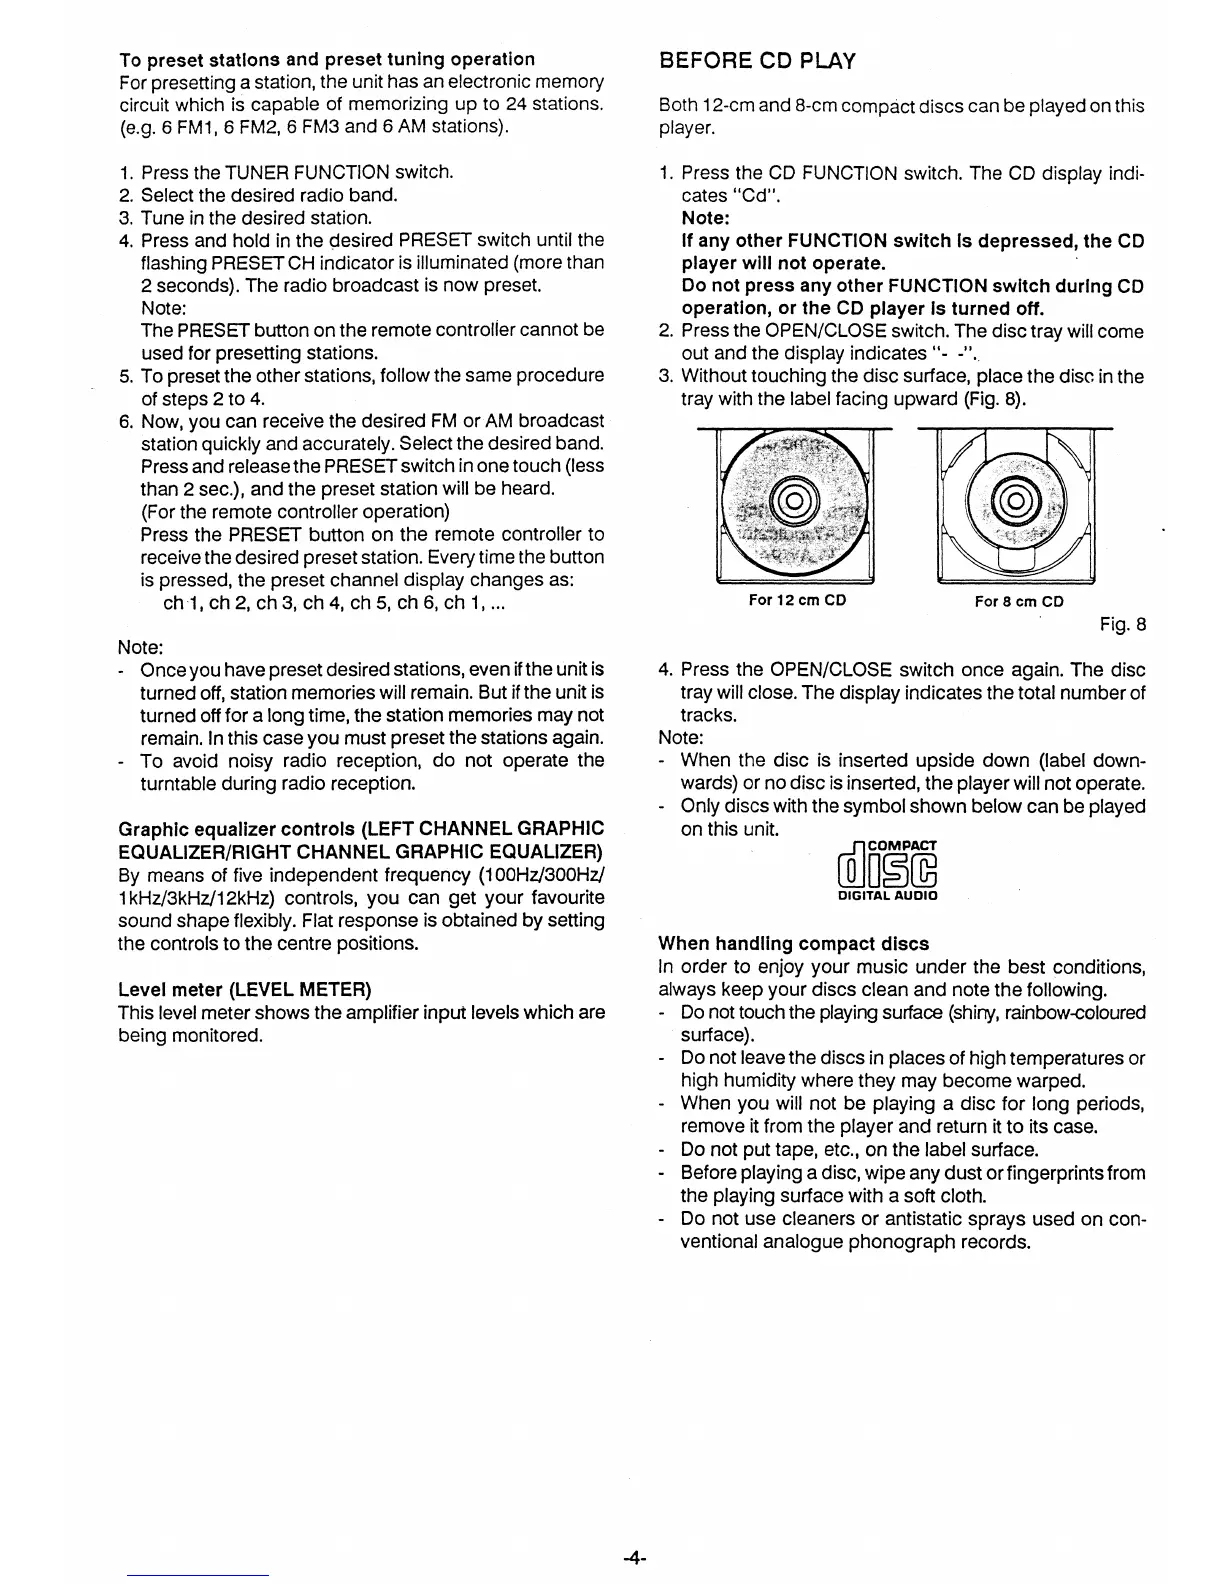
Without touching the disc surface, place the disc in the
tray with the label facing upward (Fig. 8).
For 12 cm CD
For 8 cm CD
Fig. 8
4.
Press the OPEN/CLOSE switch once again. The disc
tray will close. The display indicates the total number of
tracks.
Note:
- When the disc is inserted upside down (label down-
wards) or no disc is inserted, the player will not operate.
- Only discs with the symbol shown below can be played
on this unit.
COMPACT
DIGITAL AUDIO
When handling compact discs
In order to enjoy your music under the best conditions,
always keep your discs clean and note the following.
- Do not touch the playing surface (shiny, rainbow-coloured
surface).
-
Do not leave the discs in places of high temperatures or
high humidity where they may become warped.
- When you will not be playing a disc for long periods,
remove it from the player and return it to its case.
- Do not put tape, etc., on the label surface.
-
Before playing a disc, wipe any dust or fingerprints from
the playing surface with a soft cloth.
- Do not use cleaners or antistatic sprays used on con-
ventional analogue phonograph records.
-4-
 Loading...