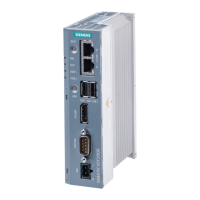
1. Mount MindConnect IoT2040
Mounting positions permitted vertical or horizontal.
Please make sure there’s enough space around the device
above: ≥ 50 mm, below: ≥ 100 mm
4. Load new fi rmware on MindConnect IoT2040 - if necessary
If your box was already connected to MindSphere V2, you have to set
MindConnect IoT2040 to factory settings and upgrade it to a new V3
fi rmware. For this procedure see „Getting
Connected to MindSphere“ or https://support.industry.siemens.com/cs/
ww/en/view/109745561
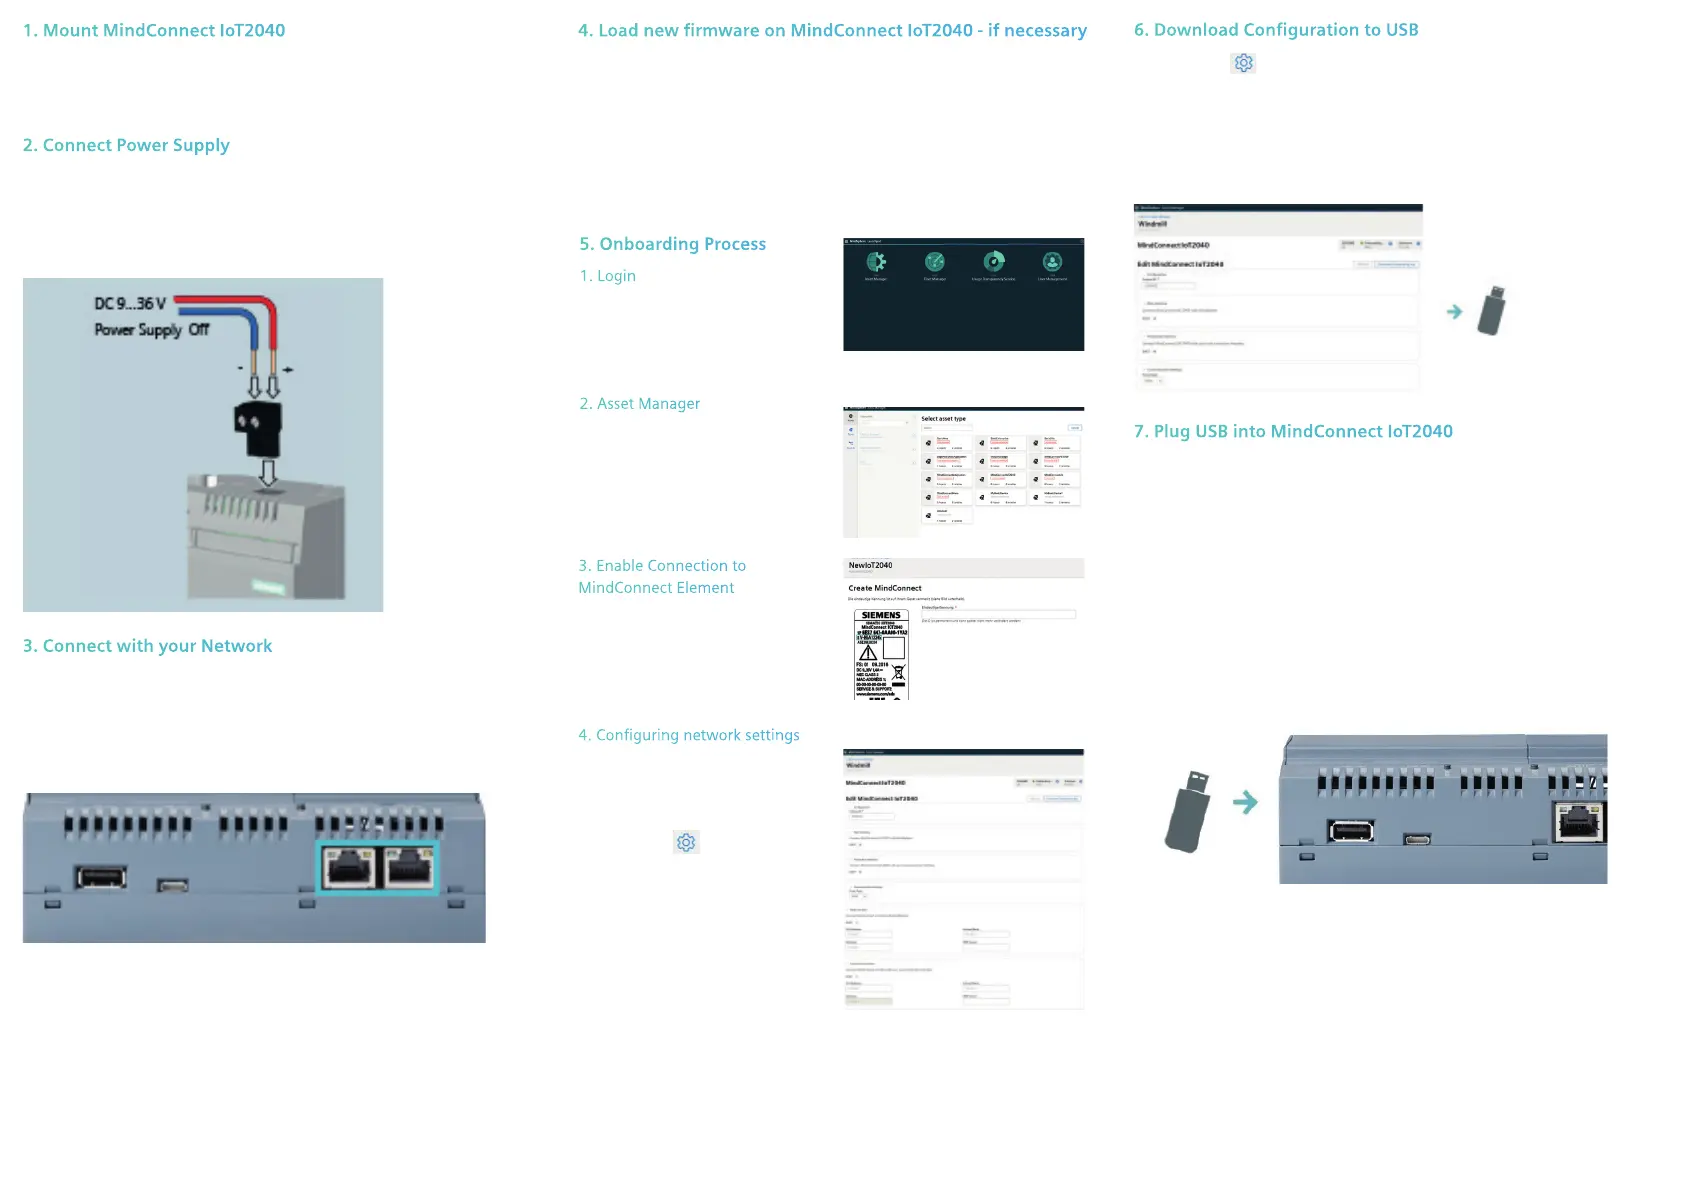
6. Download Confi guration to USB
1. Click on next to „Status“.
2. Click on „Download Onboarding Key“.
3. Download the confi guration fi le for the asset and copy it to the root
directory of your USB stick. Note: Use USB stick with one FAT32
formatted partition. Confi guration fi le is valid only for seven days.
7. Plug USB into MindConnect IoT2040
1. Power LED (PC ON/WD) of MindConnect IoT2040 is green.
2. Insert the USB stick with confi gured asset data into the MindConnect
IoT2040.
3. The MindConnect IoT2040 automatically reads the USB stick data
(RUN/STOP/L1 LED blinks orange), followed by a restart.
4. MindConnect IoT2040 then attempts to establish connection to
MindSphere.
5. After a few seconds the RUN/STOP/L1 LED should be green and user
interface has the state Onboarded, which means it is connected
to MindSphere. (If the onboarding is not successful, see „Getting
Connected to MindSphere“).
6. Now remove USB stick from the MindConnect IoT2040.
5. Onboarding Process
1. Login
Access the MindSphere
Launchpad by clicking on
the link provided via E-Mail by
MindSphere.
2. Asset Manager
Open the Asset Manager and
create a new asset from type
MindConnect IoT2040
(see „Getting Connected to
MindSphere“).
3. Enable Connection to
MindConnect Element
Enter the MindConnect IoT2040
InfoID. The rating plate is
located on the back panel of
the device.
4. Confi guring network settings
1. Select the asset in the „Asset“
tab.
2. Click on the asset icon e.g.
MindConnect IoT2040.
3. Click on next to „Status“.
4. Activate DHCP if a DHCP server
is available in your company
network or enter the respective
information for static IP
address.
5. Enter the proxy data area
„Communication Settings“ if
necessary and click „Save“.
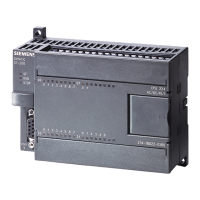
3. Connect with your Network
1. Connect the internet to the X1P1 port for MindSphere
connection (see „Getting Connected to MindSphere“)
2. Connect the Ethernet to the X2P1 port for connection to
the plant network
3. Switch on the device
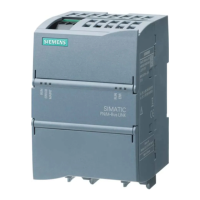
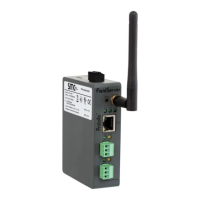
2. Connect Power Supply
1. Connect the protective earth (see „Getting Connected to
MindSphere“)
2. Secure the cables
3. Connect the power supply
 Loading...