
M
mark78Aug 15, 2025
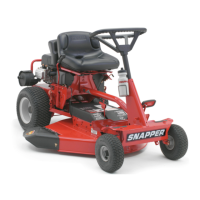
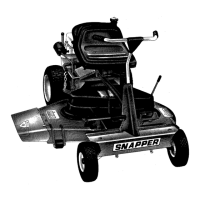
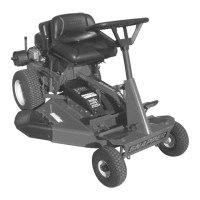
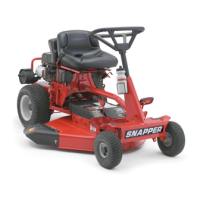
How to fix Snapper Lawn Mower engine that will not start using recoil starter?
- KKyle PattersonAug 15, 2025
If your Snapper Lawn Mower engine won't start with the recoil starter, several issues could be the cause. First, ensure the fuel tank has fresh fuel filled to the proper level. Check that the choke control is in the 'CHOKE' position. Also, make sure the spark plug wire is securely connected to the spark plug. Verify that the parking brake is engaged and the ignition switch is in the RUN position. If the problem persists, it may be due to a faulty parking brake, blade, or ignition switch, in which case you should contact an authorized Snapper dealer.