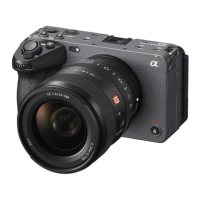
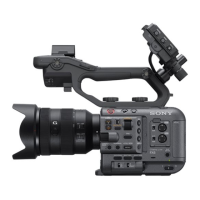
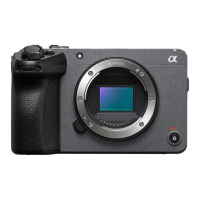
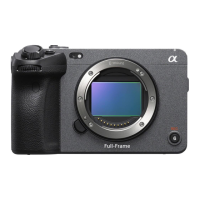
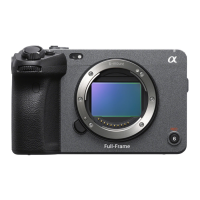
SONY FX9 Camera Setup
1
1) Set up your tripod on level ground. Never over tighten any of the locking nuts.
Be sure to lock the tilt. Do not lock the pan. Make sure your spreader is secure.
Protect the floor of your location.
2) Affix the base plate riser to your camera – tighten the screw, but never over
tighten.
3) Affix the sliding base plate to the bottom of the riser. Never over tighten.
4) Secure camera on fluid head, balance front to back, confirm that tilt is locked.
5) Insert rods, mount matte box and follow focus. Confirm that all locking nuts are
secured, but not over tightened.
6) Plug in on-board monitor/view finder cable to send video signal from camera to
the SONY viewfinder BEFORE turning on the power. Be careful of this cable
and its connectors. Insert the cable into the cable clamps on the viewfinder.
(If you plug in the viewfinder after turning on the camera, you might cause power
overload that will require expensive maintenance before the camera becomes
operational once again.)
7) Mount battery on back of camera.
8) Turn on camera. (remember to turn camera off before changing batteries)
9) Focus Diopter
Rotate the adjustment at the eyecup on the viewfinder so that the display text on
the viewfinder is focused to your eye.
Rules to follow to avoid damage to the BNC video ports/electronic boards in the
camera:
WHEN CONNECTING:
1) FIRST, connect power cables or on-board battery and power up the camera.
THEN PLUG IN the view finder BNC cable to send video signal from camera to
viewfinder or onboard monitor or directors monitor Be careful of these cables and
connectors. Insert the cable into the cable clamps on the viewfinder.