MHC-V11
13
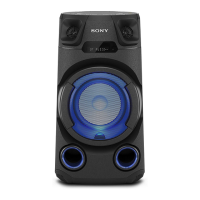
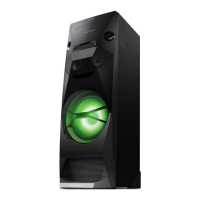
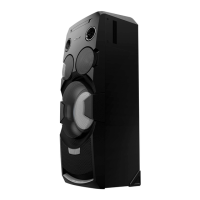
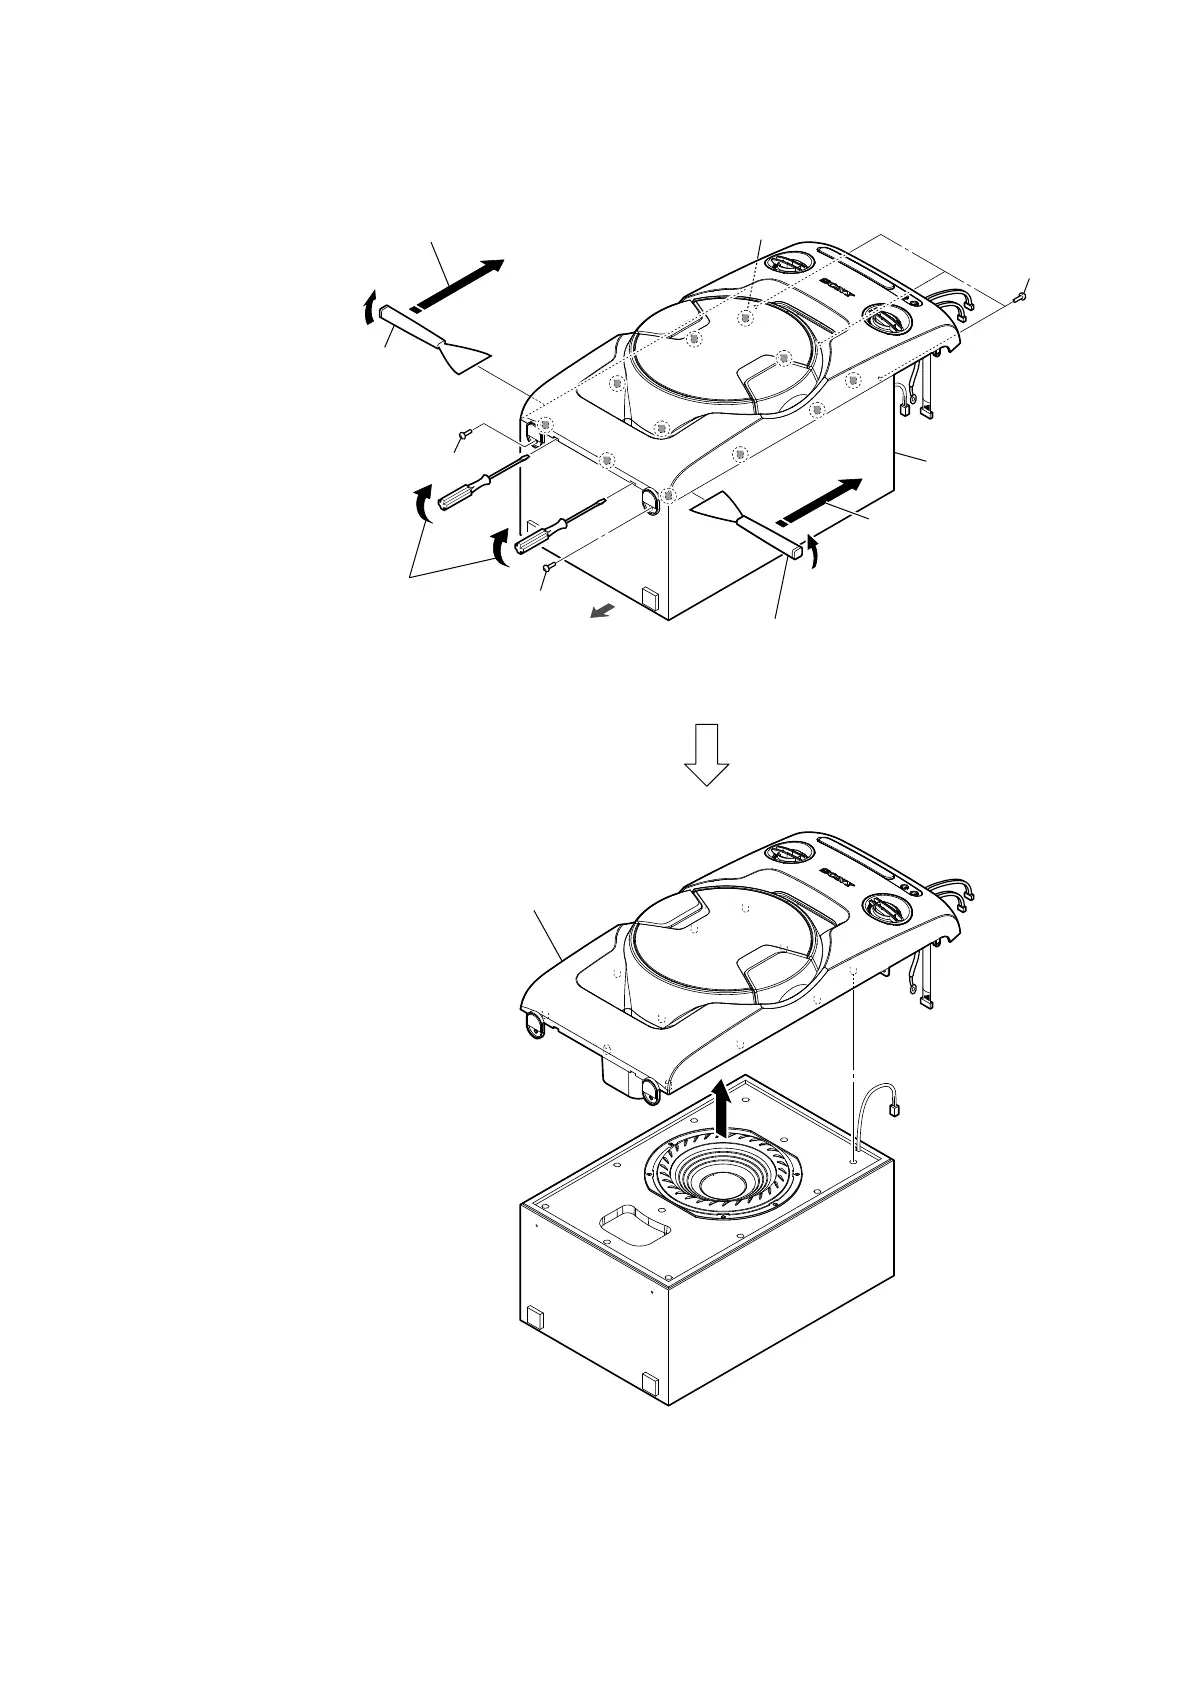
2-10. FRONT PANEL BLOCK
speaker cabinet
4 All bosses are removed while
moving jig in the direction of
the arrow, and front panel block
is removed.
4 All bosses are removed while
moving jig in the direction of
the arrow, and front panel block
is removed.
2 Insert a flathead screwdriver
in two notches at bottom of
the unit, and lift the front
panel block a little.
total eleven bosses
5 front panel block
Note 2: When installing the front panel block,
remove the used bond and use a new
bond to fix the front panel block.
3 Insert the jig into the space and
slowly remove the front panel block.
Note 1: When using a jig, please work
carefully so as not to damage
the front panel block and
speaker cabinet.
1 three
screws
1 screw
1 screw
bottom side
3 Insert the jig into the space and
slowly remove the front panel block.
Note 1: When using a jig, please work
carefully so as not to damage
the front panel block and
speaker cabinet.
 Loading...