100
Key Adjustments (Menus)
Chapter 4 Keys
Key Edge Modifications
To modify the key edge of key 1 on the M/E-1 bank, use
the following procedure.
1
In the M/E-1 >Key1 menu, select HF2 ‘Edge.’
The Edge menu appears.
2
Select the edge type (see page 90) in the <Edge>
group.
Normal: unadorned edge
Border: edge with border applied
Drop Border: edge with drop border applied
Shadow: edge with shadow applied
Outline: edge used as outline
Emboss: embossing effect applied to edge
If you select [Normal], skip to step 7.
3
Set the border width and other parameters.
When border or outline is selected: The setting
parameters depend on the key type and whether
the separate edge function is enabled or not. To
enable the separate edge function, press [Separate
Edge], setting it on.
• Separate edge off
a) In the “4H mode” and when [Fine Key] (page 101) is on, the setting
value range is 0.00 to 4.00.
b) When a wipe pattern key or key wipe pattern key is selected as the
key type
• Separate edge on
The left, right, top, and bottom border or outline
widths can be adjusted independently. The separate
edge function is only valid when a luminance key,
linear key, or chroma key is selected as the key type.
a) In the “4H mode” and when [Fine Key] (page 101) is on, the setting
value range is 0.00 to 4.00.
When drop border or shadow is selected: The
setting parameter values depend on the on/off
setting of key drop and the selection of 4H mode/
8H mode (see page 91).
• “Key drop off” mode
• “Key drop on” mode
a) In the “4H mode” and when [Fine Key] (page 101) is on, the setting
value range is 0.00 to 4.00.
When emboss is selected:
a) The Density adjustment only affects the key edge. This can be
adjusted separately from Key Density, and if Key Density is set to
0.00, the embossed edge effect only can be applied.
To make edge fill adjustments, carry out the settings in
step 6.
4
Select the edge fill signal in the <Edge Fill> group.
Utility 1 Bus: signal selected on the utility 1 bus
Matte: signal from dedicated color matte generator.
It becomes possible to adjust color 1.
When the edge type is outline, in place of the edge fill
signal, the selected key fill signal fills the outline, and
elsewhere remains as the background.
5
Carry out the following operation, depending on the
selection in step 4.
When [Utility 1 Bus] is selected: Press the key
delegation button [UTIL1], turning it on, and
select the signal in the key row.
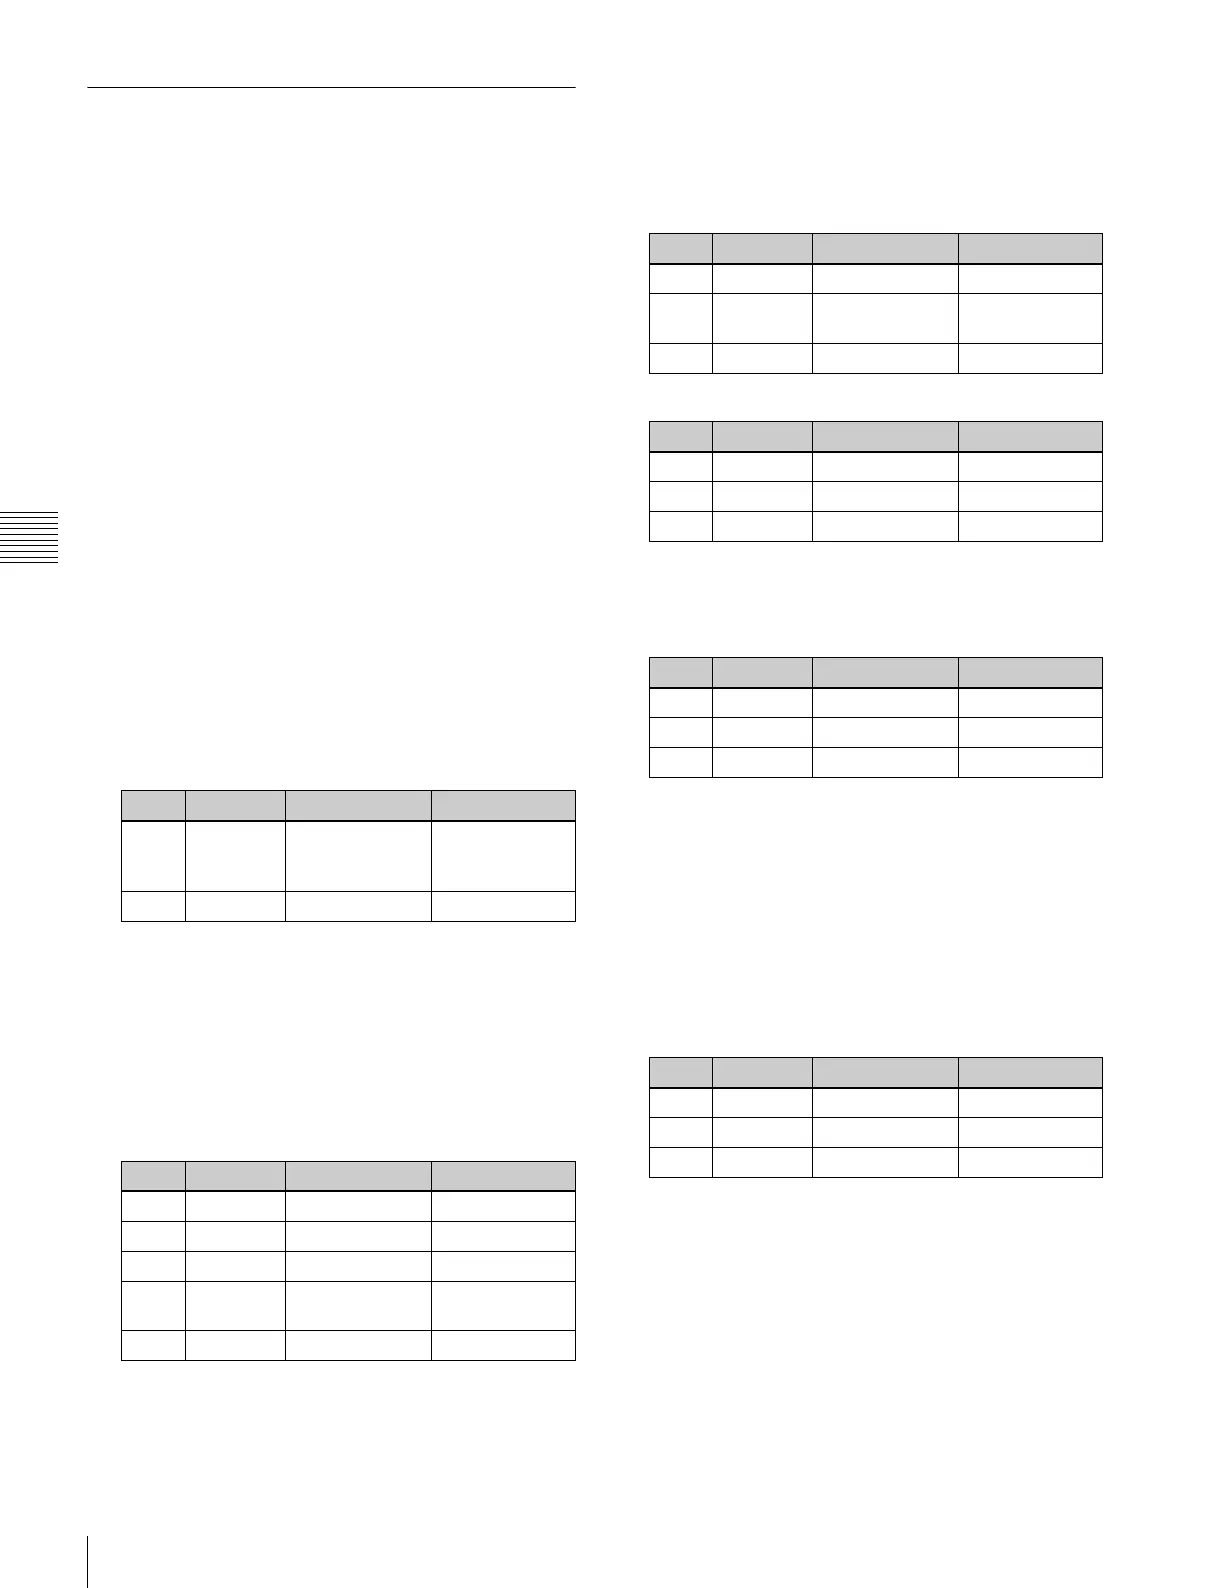
When [Matte] is selected: Press [Matte Adjust] in the
same EDGE menu, to display the Matte Adjust
Knob Parameter Adjustment Setting values
1 Width Width 0.00 to 8.00
a)
(0.00 to 100.00)
b)
3 Density Density 0.00 to 100.00
Knob Parameter Adjustment Setting values
1 Top Top edge width 0.00 to 8.00
a)
2 Left Left edge width 0.00 to 8.00
a)
3 Right Right edge width 0.00 to 8.00
a)
4 Bottom Bottom edge
width
0.00 to 8.00
a)
5 Density Density 0.00 to 100.00
Knob Parameter Adjustment Setting values
1 Width Width 0.00 to 8.00
a)
2 Position Position 359.99 to
180.00
3 Density Density 0.00 to 100.00
Knob Parameter Adjustment Setting values
1 Width Width 0.00 to 8.00
a)
2 Position Position 359.99 to 0.00
3 Density Density 0.00 to 100.00
Knob Parameter Adjustment Setting values
1 Width Width 0.00 to 4.00
2 Position Position 359.99 to 0.00
3Density
a)
Density 0.00 to 100.00
Knob Parameter Adjustment Setting values
1 Luminance Luminance 0.00 to 100.00
2 Saturation Saturation 0.00 to 100.00
3 Hue Hue 359.99 to 0.00
 Loading...