Clip Operations
103
Playback
SHOT MARK2: To display thumbnails only
of the frames marked with shot mark 2
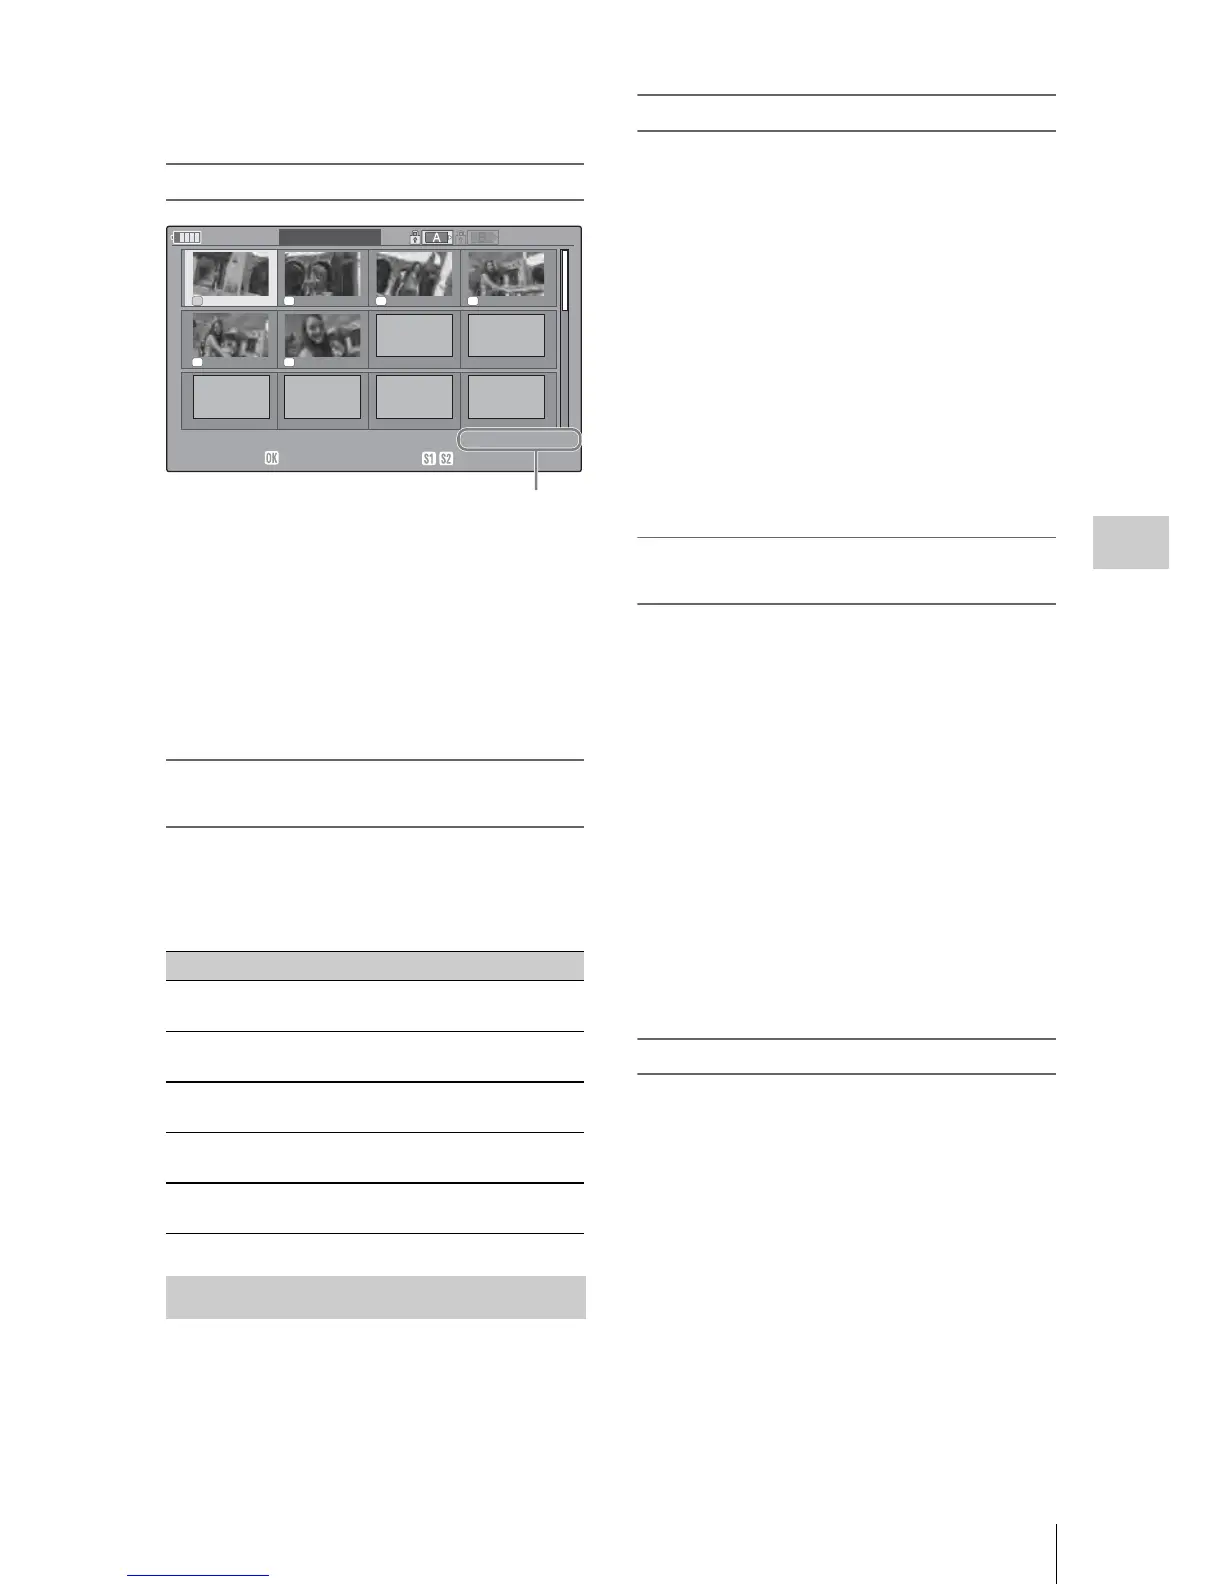
SHOT MARK screen example
The detailed information of the clip is displayed
at the bottom of the screen.
The items other than the following are the same as
those on the EXPAND CLIP screen:
1. Timecode indication
The timecode of the frame at the cursor on the
SHOT MARK screen is displayed.
Clip Operation menu on the SHOT MARK
screen
When you select a frame on the SHOT MARK
screen and press the joystick or the jog dial, the
Clip Operation menu pops up to permit you
further operations.
You can add shot marks to the clips after
recording or delete the recorded shot marks.
Adding a shot mark in Pause mode
1
Pause the playback at the frame to
which you wish to add a shot mark then
press the joystick or the jog dial.
The Clip Operation menu pops up.
2 Select “SHOT MARK1 ADD” or
“SHOT MARK2 ADD” from the Clip
Operation menu.
The information screen for the selected frame
appears, and a confirmation message is
displayed below the image.
3 Select “Execute.”
Adding a shot mark on the EXPAND CLIP
screen
1
Select the frame to which you wish to
add a shot mark on the EXPAND CLIP
screen then press the joystick or the jog
dial.
The Clip Operation menu pops up.
2 Select “SHOT MARK1 ADD” or
“SHOT MARK2 ADD” from the Clip
Operation menu.
The information screen for the selected frame
appears, and a confirmation message is
displayed below the image.
3 Select “Execute.”
Deleting a shot mark
You can delete shot marks on the EXPAND CLIP
screen (page 101) or on the SHOT MARK screen
(page 102).
1 Select a frame from which you wish to
d
elete the shot mark on the EXPAND
CLIP screen or the SHOT MARK
screen then press the joystick or the jog
dial.
The Clip Operation menu pops up.
2 Select the “SHOT MARK1 DEL” or
“SH
OT MARK2 DEL” from the Clip
Operation menu.
Item Function
PAUSE To set to Pause mode at the selected
frame
SET INDEX PIC To specify the selected frame for the
index frame of the clip (page 104)
SHOT MARK1
DEL
To delete the shot mark 1 from the
selected frame (page 103)
SHOT MARK2
DEL
To delete the shot mark 2 from the
selected frame (page 103)
DIVIDE CLIP To divide the clip into two clips at
the selected frame (page 104)
Adding/Deleting Shot Marks
S1 S2 S2 S1
S1 S1
120
m
in
SHOT
MARK
01:10:20:00 01:10:30:00 01:10:40:00 01:10:50:00
01:11:00:00 01:11:10:00
-
-
-
-
-
-
-
-
-
-
-
-
-
-
-
-
-
-
0031 / 0031
01 / JAN / 2007
10:53
S
&
Q
M
otion
29/24fps
JPAN0011
(
1
)
HQ
1080 / 24p
TCR
01:12:00 : 00
DUR
00:03:19 :23
1

 Loading...