80876371 TSP100IIU EJCK
Setting
Up
Your
Printer
I
セットアップ
I
安装打印机
I
프린터 설치하기
Before you set up and operate your printer, look at the Manuals
included on the supplied CD-ROM for more information.
CAUTION:
注意 :
在安装及启动打印机之前,请参
阅在驱动光盘里的说明书。
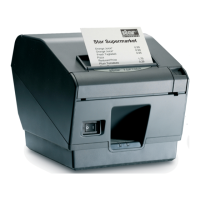
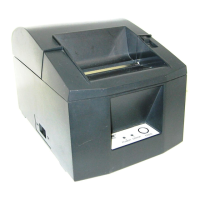
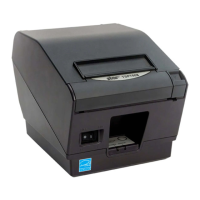
Unpack the printer.
开箱检查。
開梱してください。
注意 :
プリンタをセットアップしたり操作する前に、
付属 CD-ROM 内のマニュアルをお読みください。
프린터 포장을 풉니다 .
Insert the paper roll.
按照示意图所示方向装入卷纸。
用紙を図のような向きで挿入してください。
용지를 넣습니다 .
電源コードをプリンタに接続してから電源プラグをコン
セントに差し込んでください。
Connect the power cord to the printer and plug the
cord into the wall.
先把电源线插入打印机后,再把电源插头插入电源
插座。
프린터에 전원 케이블을 연결합니다 .
플러그를 콘센트에 꼽은 후 프린터 전원을 켭니다 .
付属の CD-ROM をコンピュータにセットし、画面上の
インストールを選択してください。
Insert the CD-ROM into the computer, and then
select installation on the screen.
插入随机的驱动光盘,按屏幕指示进行安装。
CD-ROM 을 컴퓨터에 넣은 후 스크린에서 설치를
선택해 주십시오 .
USB ケ ーブ ルを コ ン ピ ュ ー タ に 接 続 し た 時 に、 初 め て
プリンタに電源が入ります。
When the USB cable is connected to the computer, the
printer power will be turned on for the first time.
请将 USB 电缆插入计算机 USB 接口,这样,连接在另一
端的打印机将得到供电。
USB 케이블을 컴퓨터에 연결했을 때 처음으로
프린터의 전원이 켜집니다 .
Pull out a small amount of paper and then close
the cover.
拉出一小部份的纸,然后关下机盖。
紙端を手前に引き出して、プリンタカバ-を閉めてく
ださい。
용지 끝부분을 약간 당긴 후 커버를 닫습니다 .
주의 :
프린터의 설치 및 운용 전 , 프린터에 관한 자세한 사항은
제공된 CD-ROM 에 포함되어 있는 매뉴얼을 참조하십시오 .
レリ-スレバ-を押して、プリンタカバ-を開けてく
ださい。
Open the cover by lifting the lever.
推开右边开关可打开机盖。
레버를 올려서 커버를 엽니다 .
Confirm that the CD installation is complete,
and then connect the USB cable to the printer.
待驱动安装完毕后,请把 USB 电缆连接到打印机上。
CD のインストールが完了したことを確認してから USB
ケーブルをプリンタに接続してください。
CD 의 설 치 가 완 료 된 것 을 확 인 한 후 USB
케이블을 프린터에 연결해 주십시오 .
Printer: Power OFF
PC: Power ON
Windows XP (SP2 or later) / Vista / 7
Printer: Power ON