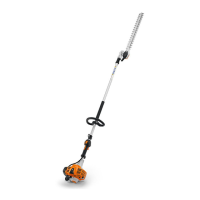
13HL
English / USA
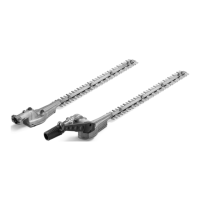
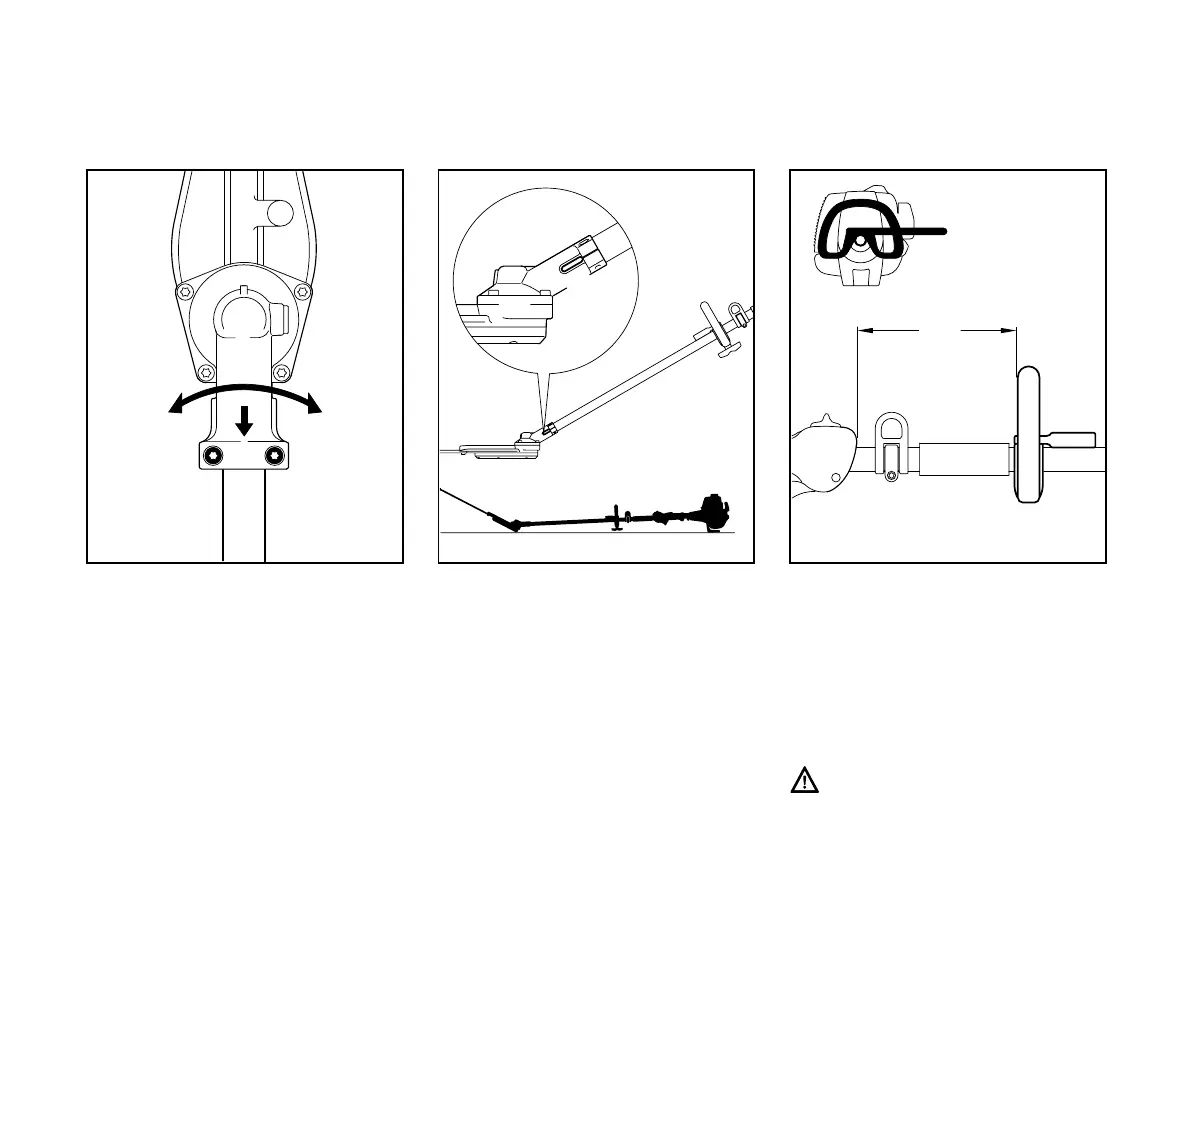
Mounting the Cutting Head
: Loosen the clamp screws (1).
: Push the gearbox (2) on to the drive
tube (3) – turn the gearbox back and
forth at the same time.
: When the end of the drive tube is no
longer visible in the slot (4), push
the gearbox fully home as far as
stop.
: Insert clamp screws as far as stop.
: Line up the gearbox (5) on the drive
tube so that the machine support on
the powerhead points down and the
blades are horizontal.
: Tighten down the clamp screws
firmly.
Adjust Handle Position on
Machines with Loop Handle:
: Loosen screws on loop handle.
: Line up the loop handle (4) and
move it to the most comfortable
position for the user and the
application.
Distance A must not be more than
21" (55 cm) (about 14"/35 cm is
recommended).
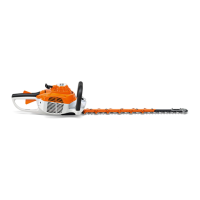
On models HL 73 K, HL 75 K,
HL 100 K:
Distance A must not be more than
12" (30 cm) (about 10"/25 cm is
recommended).
: Tighten down screws on loop
handle firmly.
3
1
2
1
401BA007 KN
4
5
401BA008 KN
389BA054 KN
4
A
 Loading...