Questions – service@automaticsolutions.com.au
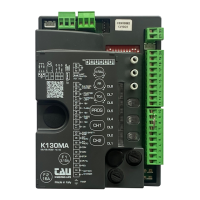
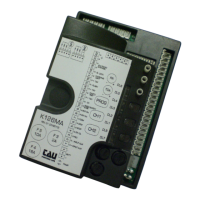
TAU 130MA
• TIP – You need solid opening and closing stops. The control board will search for these when
programming. Make sure they have no movement or flex.
• TIP – You need to fit three small loops of wire to your safety inputs to make anything work. These
can be removed later if you install safety devices to these input terminals. But for now, take three
pieces of light gauge wire (speaker or telephone wire is good) about 50mm long and strip both ends
7mm and insert them as above from 7 to 8, 7 to 9 and 7 to 10.
• TIP – The STOP input will not seal unless you have the manual override handle closed.
• TIP – To program and to run all safety inputs need to be sealed. The LED lights 5,6,7 and 8 should all
be lit green. (Not so when solar powered)
• TIP – Start with dip switches 1 to 8 and 12 in the off position. You can adjust 9,10 and 11 to suit
your model of motor.
• TIP – Do not install any accessories until after you have programmed the unit and have it operating
as you would like. You can then add each accessory one at a time.
• TIP – If using solar power refer to the manual for correct input power connection. When solar
powered the logic automatically enters power save mode and only LED 1&2 will work.
QUICKSTART
1. Ensure you have followed the instructions above and that you have the four green LED lights lit.
2. Carefully turn trimmer V-RAL anti clockwise until it comes to a stop. (Do nor force)
3. Release the gate and position it 500mm from the fully open stop.
4. Press the PROG button and hold until DL2 LED starts flashing orange. Release the button.
5. The gate should start to open slowly to find the open stop. If the gate closes instead remove power,
change the polarity of the motor by swapping terminals 23 and 24 and start again from point three.
6. When the opening stop is found the gate will close slowly searching for the closing stop.
7. When the closing stop is found the gate will run a full open and close before exiting programming.
8. If using remote controls press and release quickly CH1. Green LED2 should light to indicate ready.
9. In the next ten seconds press for one second and release one of the buttons on your remote
control. The green LED turns off and on again waiting for further remote controls.
10. When you have programmed all remote controls simply wait ten seconds until DL2 goes out.
11. Test your install.
12. You can now adjust and connect accessories one at a time and test each time.