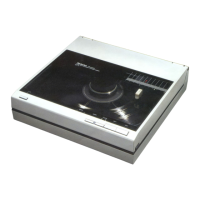
 Loading...
Do you have a question about the Technics SL-B202 and is the answer not in the manual?
| power supply voltage | 110-120/220-240 V |
|---|---|
| power frequency | 50 or 60 Hz |
| power consumption | 3 W |
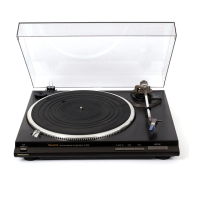
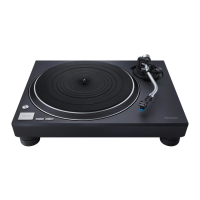
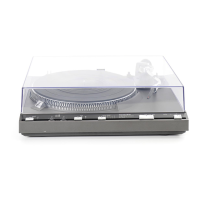
| turntable diameter | 30.4 cm |
|---|---|
| turntable speeds | 33-1/3 rpm and 45 rpm |
| pitch control range | 6% adjustment range |
| effective length | 230 mm |
|---|---|
| overhang | 15 mm |
| offset angle | 22° |
| frequency response | 10 Hz to 35 kHz |
|---|---|
| output voltage | 2.5 mV at 1 kHz |
| channel separation | 22 dB at 1 kHz |
| dimensions | 43 X 10.6 X 37.5 cm |
|---|---|
| maximum height with dust cover open | 43 X 37 X 42 cm |
| weight | 4.2 kg |