Fitting The Wand Tonearm® to a Technics SL1200 family turntable
To be read in conjunction with The Wand User Guide. Thanks to Andy & Hans for photos of their turntables.
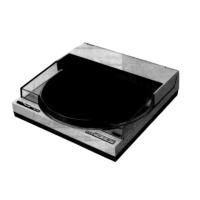
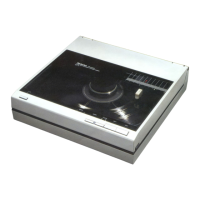
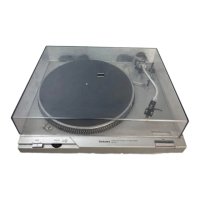
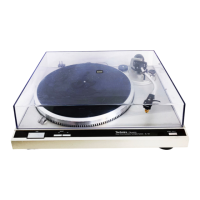
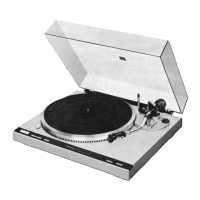
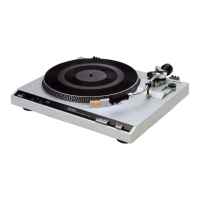
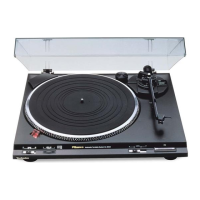
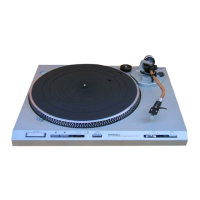
Technics Models Step 1; Remove existing arm mount
SL1200 / SL1210 / SL120 (Mk1 or Mk2) If your armboard uses four screws, omit Steps 2&3
SL1500 / SL 1700 may also be ok but check. eg: SL120 below,
Your model may be different from shown here.
If you still have the Technics arm fitted,
check the Internet for removal instructions.
(Including YouTube)
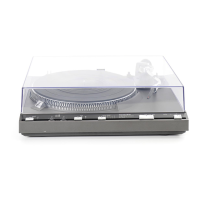
Step 2; Place turntable upside down on cushion Step 3; Remove plastic chassis
and remove rubber cover
Hint; Leave the screws in place as they are different lengths
Step 3; Add boss & spindle to mounting plate
NOTE; The small diameter faces down (View from below)
Step 4; Set arm height. Do this before bolting plate down (easier access). Then tighten nut.
www.thewandtonearm.com
©January 2014 design build listen Ltd. v2
-Arm level (nominal)
Note; We suggest starting with the arm level. Later adjust
upwards by ear. Up to 2 degrees up may be good. This exact
height depends on many factors. (See; P29 “SRA, VTA & My
Sonic Lab” by Michael Fremer Stereophile June 2010)
Hint; For the Classic model the
locking nut can be above or
below the boss.
Above is more convenient but
limits vertical height adjustment.
Below gives slightly more space
to adjust the arm.