If the RC clock receives signal successfully, a sync-time symbol “ ” will appear on
the LCD. The unit has already received the time signal. Otherwise the signal strength
symbol will disappear from the LCD display.
Note
You may use the “RCC” button to receive the time signal manually. The unit will exist
the receive mode automatically after 6-12 minutes. Receive mode consumes more
battery power that may reduce battery lifetime.
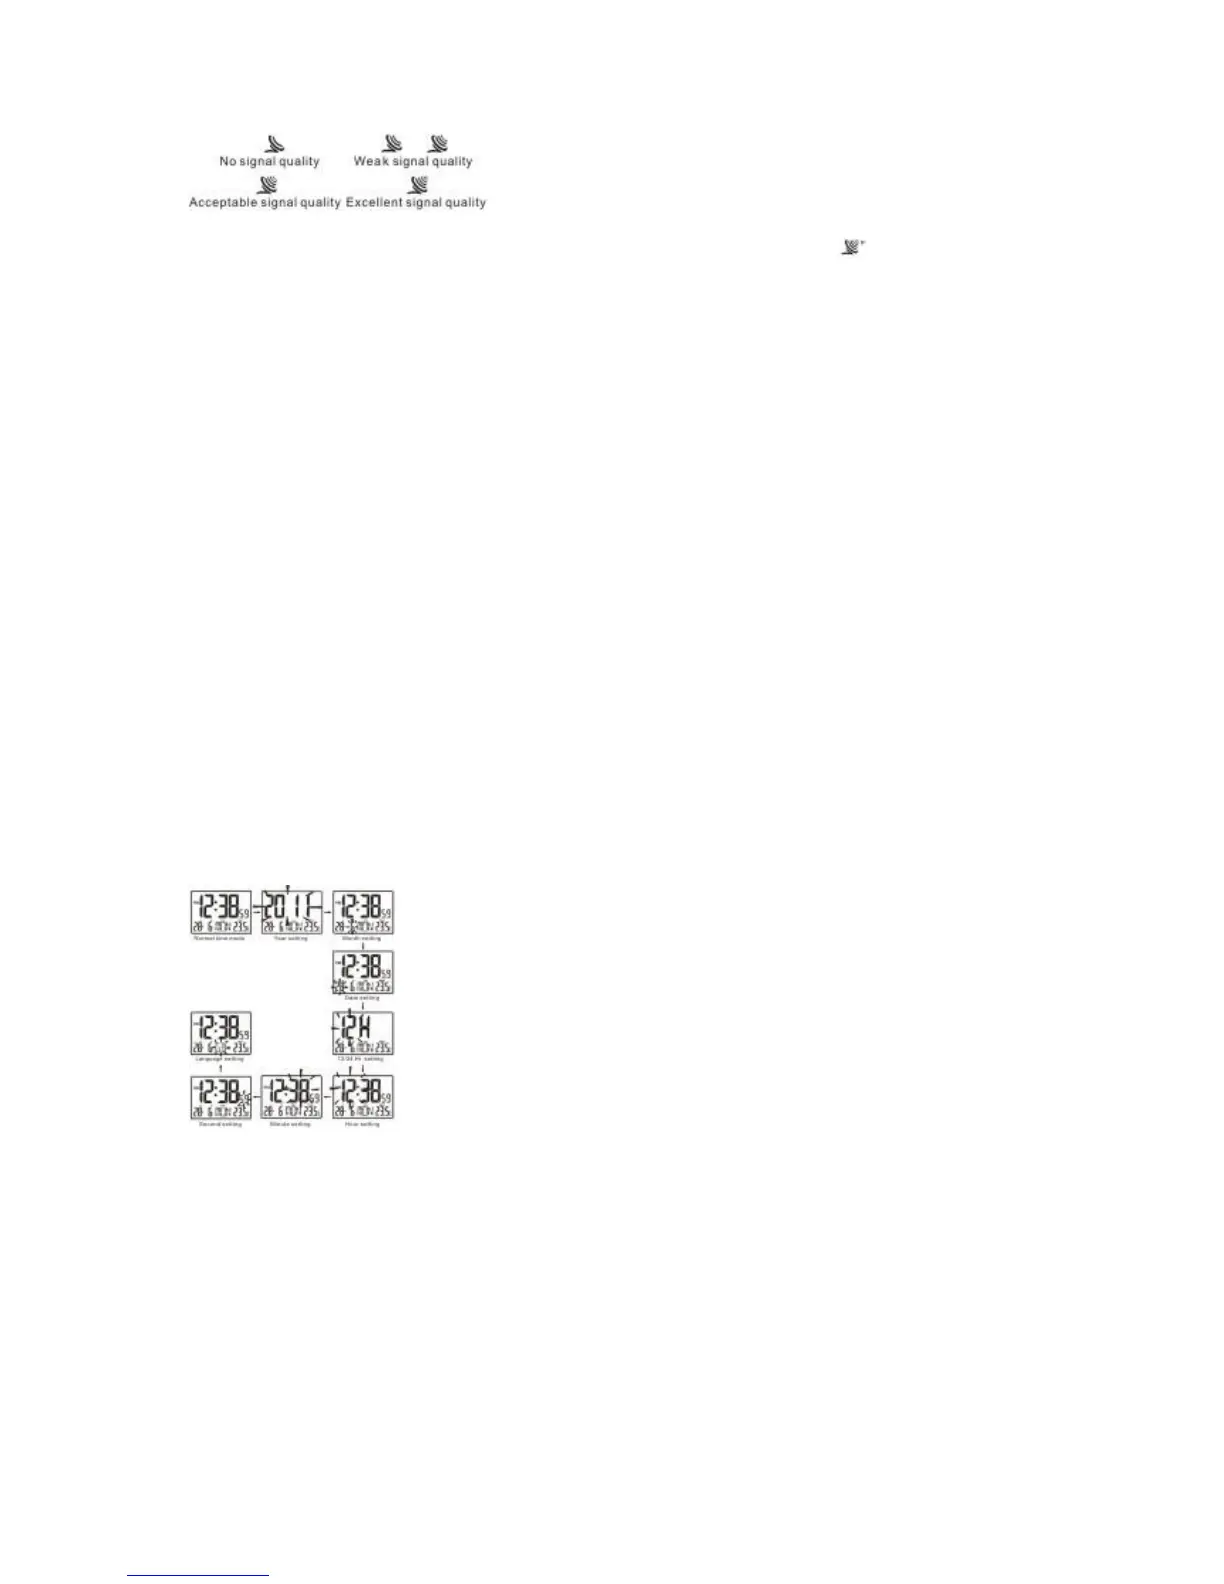
TIME AND CALENDAR SETTING
If the clock does not receive the time signal successfully, you can set the time
manually. As soon as the transmitter is received again, the clock will automatically
synchronize with the received time.
1. In normal time mode, press and hold CLOCK key for 2 seconds until the Year digit
flashes.
2. Press UP or DOWN key to set the desired value of the flashing digit, press and
hold UP or DOWN key to speed up the setting.
3. Press CLOCK key again until the next digit flashes.press UP or DOWN key to
change its value.
4. Repeat above operations to set the time and calendar in this order:
Year > Month > Date > 12/24-hr > Hour > Minute > Second > Language.
6 . Press the CLOCK key to save and exit the setting, or let it exit automatically 30
seconds later without pressing any key.
ALARM TIME SETTING
1. In normal mode,press and hold ALARM key for 2 seconds until Hour digit flashes.
2. Press UP or DOWN key to set the desired value, press and hold UP or DOWN key
to speed up the setting.
3 . Press ALARM key again until Minute digit flashes.and press UP or DOWN key to
change its value.
4 . Press ALARM key again to save and exit the setting, or let it exit automatically 30
seconds later without pressing any key.
 Loading...