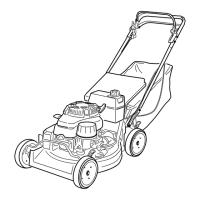
Note: Y ou can adjust the handle height
for comfor table operation. Stand behind the
handle to deter mine the height. T o adjust the
handle height, position the cap screws and the
loc kn uts that secure the handle latc hes to the
handle into the other mounting holes in the
latc hes .
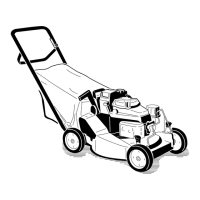
3. Slide the bag suppor t rod through the second
from the top mounting holes in the handle and
secure eac h end with a cap loc kn ut ( Figure 3 ).
4. Use a cable tie to secure the control cables to
the left handle belo w the bag suppor t rod.
Step
2
Installing the Starter Rope
No Parts Required
Procedure
Pull the star ter rope through the rope guide on the
handle ( Figure 4 ).
Figure 4
1. Starter rope
2. Rope guide
Note: T o mak e the rope easier to install, squeeze
the control bar on the handle .
Step
3
Installing the Fuel Tank and
the Fuel Line
Parts needed for this step:
2
Self-tapping screw
1
Fuel tank
Procedure
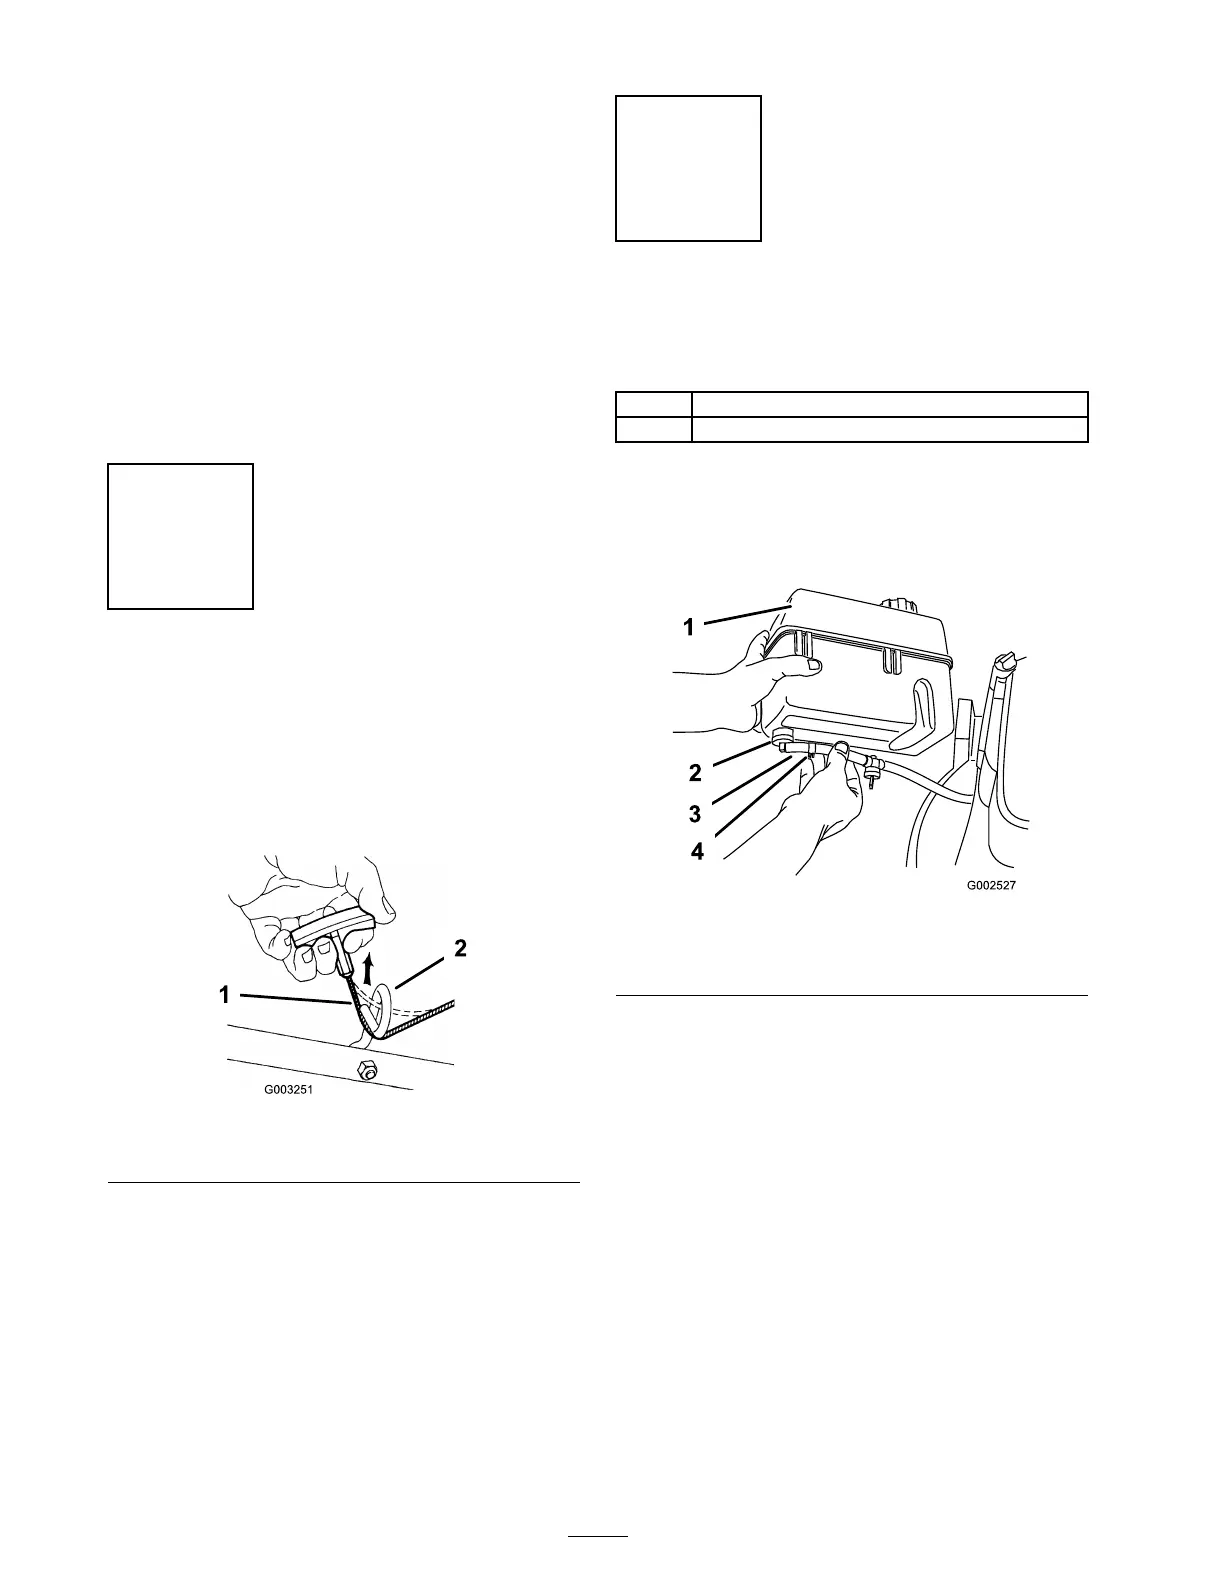
1. Slide the end of the fuel line onto the elbo w
fitting ( Figure 5 ).
Figure 5
1. Fuel tank 3. Fuel line
2. Elbow tting 4. Fuel line clamp
2. Secure the fuel line in place with the fuel line
clamp ( Figure 5 ).
3. Slide the plastic clips on the front of the fuel
tank onto the fuel tank mount ( Figure 6 ).
8
 Loading...