260 Series Tractor Service Manual 2 - 11
CHASSIS
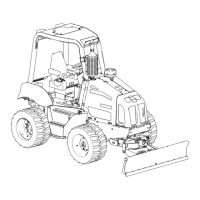
8. Install the rubber boot over the steering shaft and
console (Figure 38).
Figure 38
6-23
9. Place the spring, spacer and steering wheel on
the steering shaft and install the roll pin. (Note:
Some steering wheels are secured with a
retaining nut and washer located under the center
cover of the steering wheel.) Install the relay
bracket, fuse block, battery tray, and battery.
Important: Ensure that all hardware is securely
fastened, that the steering wheel is centered when
the wheels are straight ahead, and that the
steering operates properly.
Note: Ensure that electrical wiring can not come
into contact with upper steering shaft of universal
joint in any position.
Sector Gear Disassembly
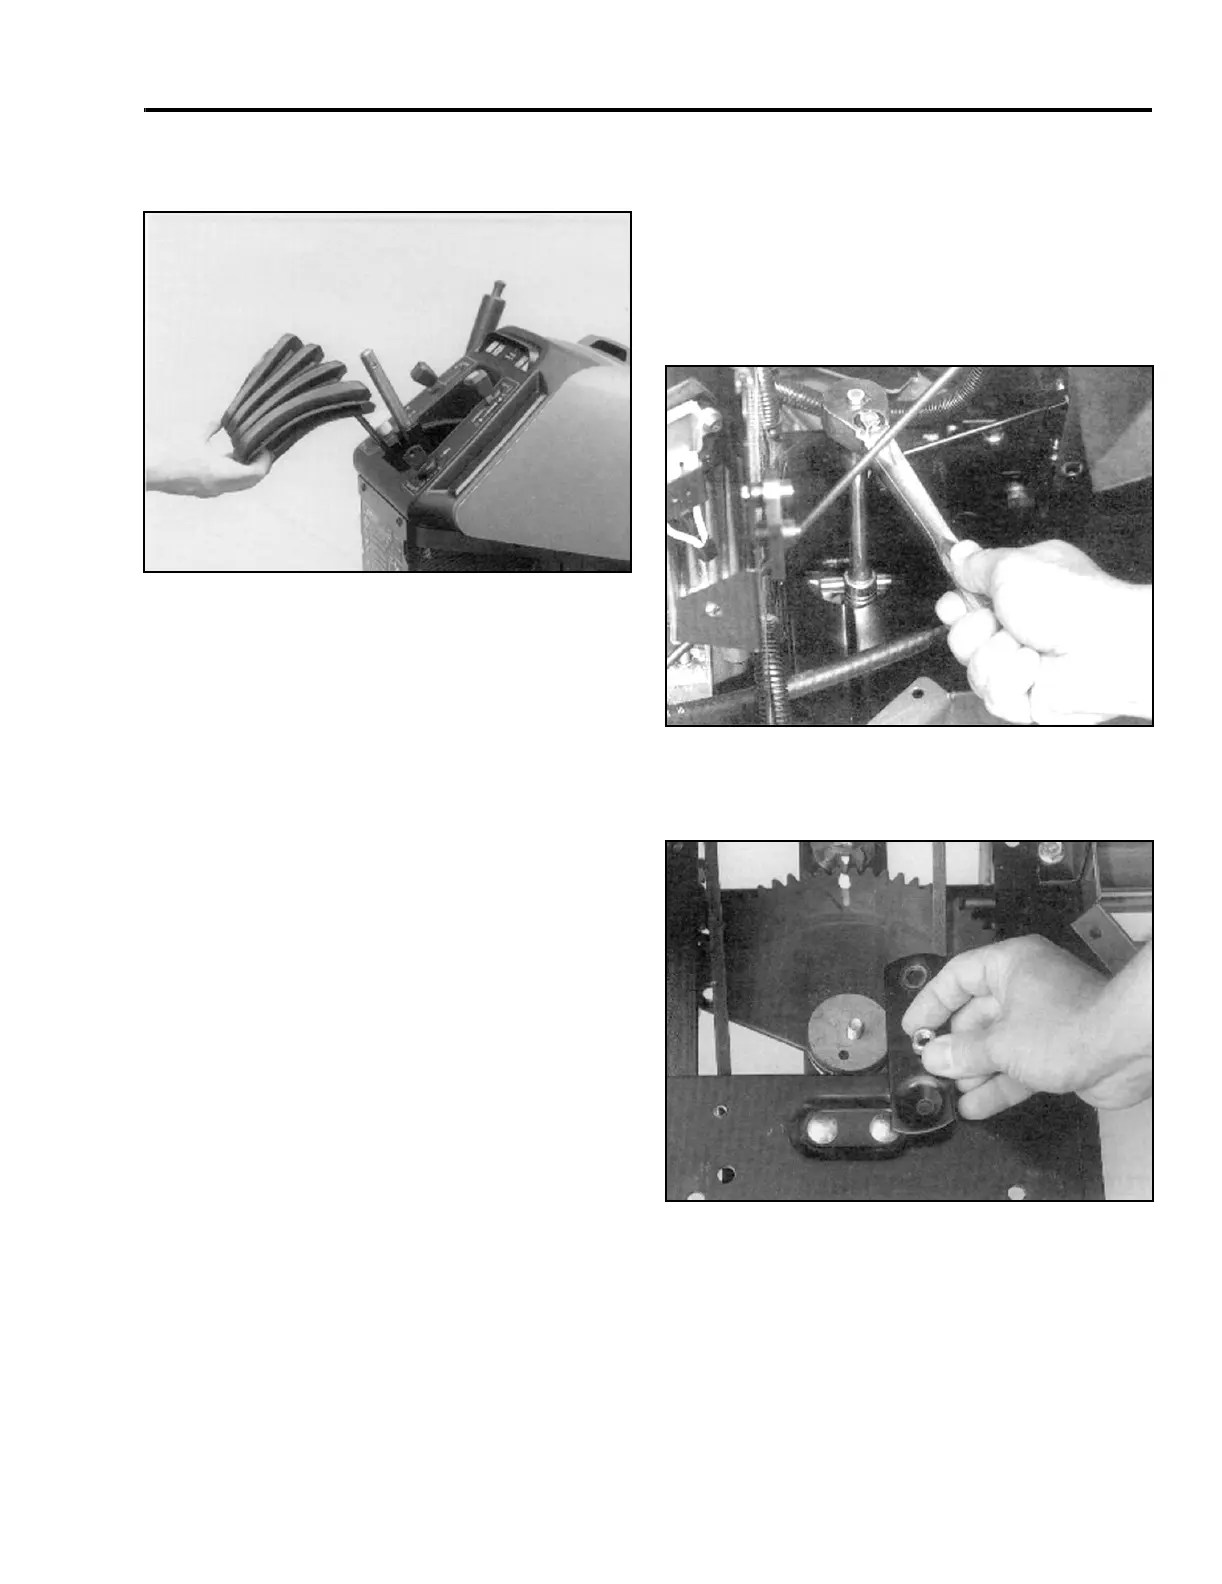
1. Remove the battery and plastic battery tray from
the tractor. Disconnect both steering tie rods from
the sector gear. Using the access hole in the
mounting bracket, remove the locknut and
carriage bolt holding the sector in place (Figure
39).
Figure 39
6-25
2. Remove the locking plate from the top of the
sector gear (Figure 40).
Figure 40
6-26
3. Remove the cam bushing, 3, from the sector gear.
Separate the sector gear, 2, from the mounting
bracket (Figure 41).
Important: Inspect the sector gear teeth and cam
bushing for wear and replace if necessary.
 Loading...