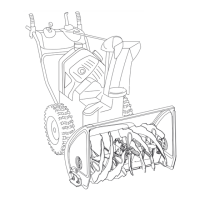
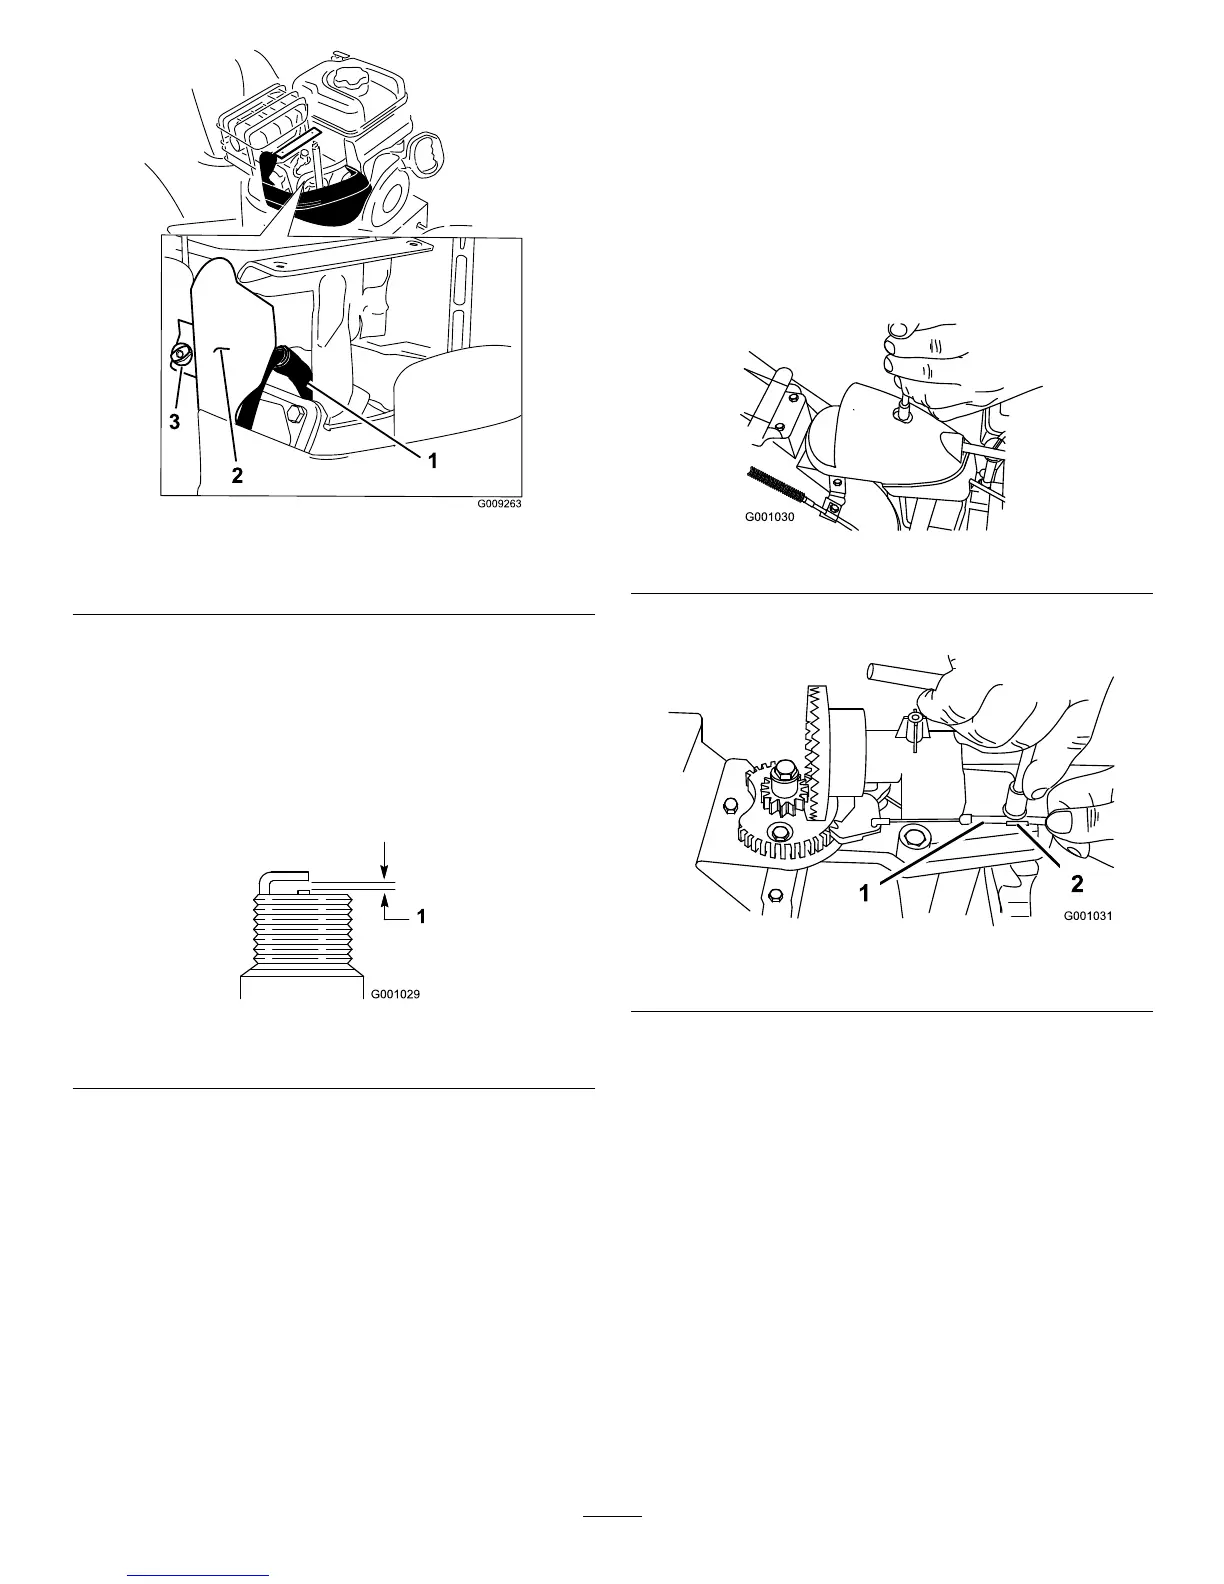
Figure56
1.Spark-plugwire
3.Thumbscrew
2.Bracket
5.Cleanaroundthebaseofthesparkplug(Figure56).
6.Removeanddiscardtheoldsparkplug.
Note:Youwillneedaratchetwrenchextensionto
removethesparkplug.
7.Setthegapbetweentheelectrodesonanewspark
plugat0.030inch(0.76mm)(
Figure57).
Figure57
1.0.030inch(0.76mm)
8.Installthenewsparkplugandtightenitrmly.
9.Installthebracketwiththethumbscrewthatyou
removedinstep4.
10.Ensurethattheprimerbulbhoseandtheignition
wireareconnectedandclearofthecarburetor
bracket.
11.Securetheuppersnowhoodtothemachinewiththe
2screwsthatyoupreviouslyremoved.
12.Alignthetabonthechokecontrolknobwiththe
slotontheuppersnowhood.
13.Connectthechokecontrolknobtothechokeshaft
onthecarburetor.
AdjustingtheDischargeChute
Latch
Ifthedischargechutedoesnotlockintothedesired
positionordoesnotunlocksothatyoucanmoveitto
anotherposition,adjustthedischargechutelatch.
1.Removethefasteneronthegearcover(
Figure58),
liftthefrontofthecoverup,andslideitbackand
outoftheway.
Figure58
2.Loosentheboltonthecableclamp(Figure59).
Figure59
1.Cableconduit2.Cableclamp
3.Graspthecableconduitandmoveittowardthefront
ofthemachineuntilthedischargechutelatchfully
engagesthegearteeth(
Figure59andFigure60).
26
 Loading...