139
4
5. SETTING FAX FUNCTIONS
Setting the Terminal ID
The Terminal ID settings are available only when the optional Fax unit is installed.
Once programmed, Terminal ID information will be printed on the leading edge of transmitted or received
documents if the TTI and RIT are enabled.
• ID information is sent and printed about 5 mm from the top edge of the original.
• In compliance with FCC regulations, your company’s name, facsimile telephone number and date &
time are added at the top of all transmitted documents. This feature enables remote parties to easily
identify your documents and the time of transmission.
1
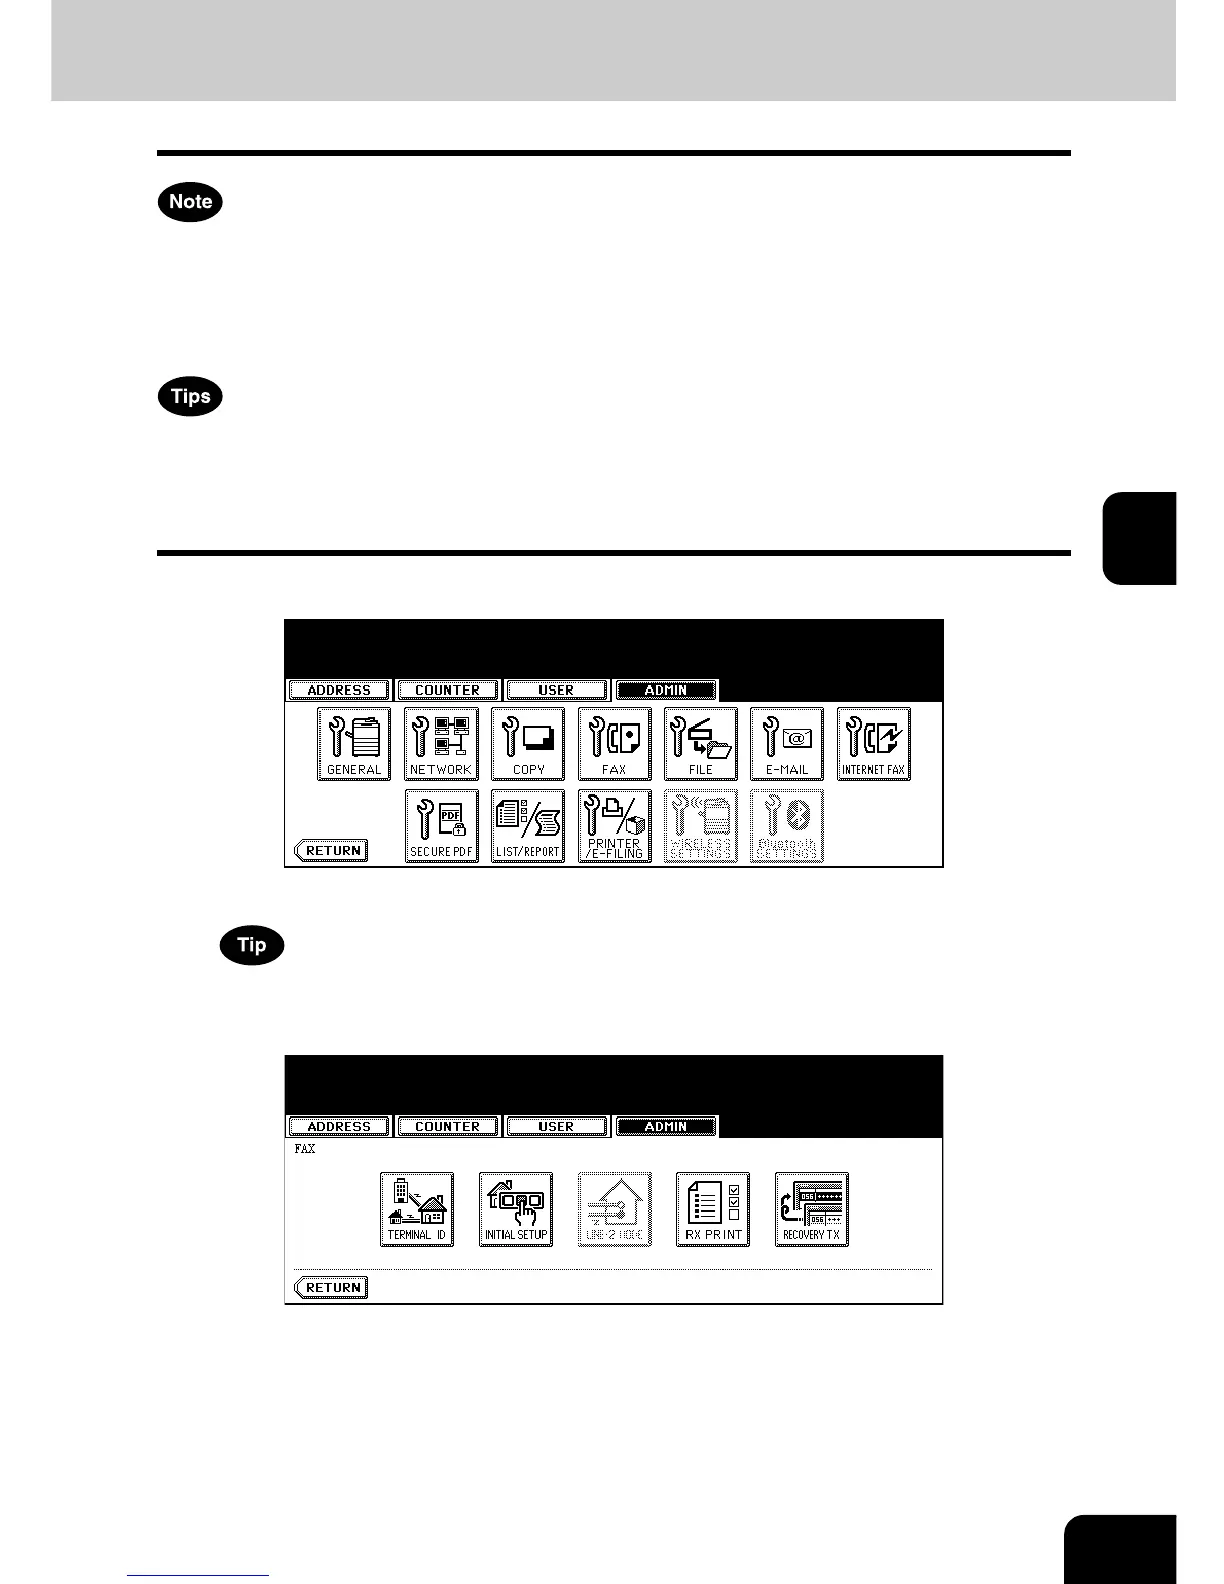
Press the [FAX] button in the ADMIN menu.
• The FAX menu is displayed.
To display the ADMIN menu, see “1.ENTERING TO ADMIN MENU”. P. 8 7
2
Press the [TERMINAL ID] button.
• The TERMINAL ID screen is displayed.

 Loading...


