Quick Installation Guide
AC1200 Wireless Dual Band Gigabit Router
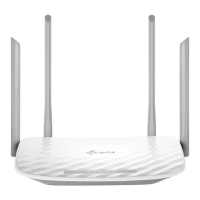
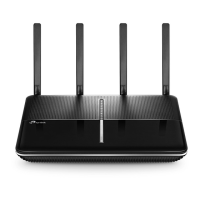
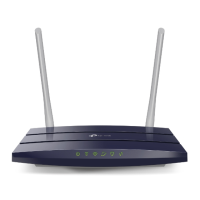
Archer C1200
Connect the Hardware
Modem
Power adapter
Power adapter
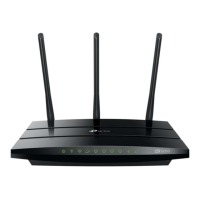
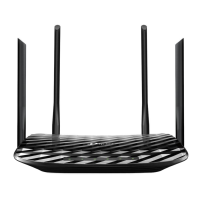
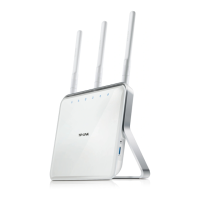
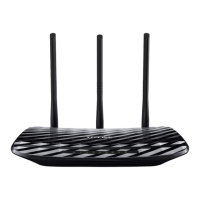
Router
If your internet connection is through an Ethernet cable from the wall
instead of through a DSL / Cable / Satellite modem, connect the Ethernet
cable directly to the router’s Internet port, and then follow Step 4 and 5 to
complete the hardware connection.
Turn off the modem, and remove
the backup battery if it has one.
1
2
Connect the modem to the
Internet port on your router with
an Ethernet cable.
Turn on the modem, and then
wait about 2 minutes for it to
restart.
3
Verify that the following LEDs are
on and solid before continuing with
the configuration.
5
Power
On
On
Internet
2.4G
On
5G
On
Note: If the 2.4G LED and 5G LED are
off, please press the WPS/Wi-Fi button for 2
seconds and check the LEDs again a few
seconds later.
Internet
Connect the power
adapter to the router
and turn on the router.
4
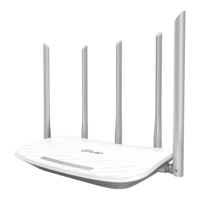
For optimum performance,
orient the antennas as
shown in the drawing.