© 2018 TP-Link 7106508145 REV2.0.3
Conguration
Using the Conguration Utility
Using the Web-based GUI
The switch is plug and play. To manage the switch, you can use the Web-based
GUI or the conguration utility.
Double click the switch that you want to congure. Next enter the username and
password (both admin) for it.
5.
3. Double click the icon on the desktop,
and the utility home page
displays a list of TP-Link Easy Smart
Switches on the local network.
1. Insert the resource CD into the PC.
2. The resource CD home screen will appear. If
not, double click AutoRun.exe on the
resource CD. Then click Install Easy Smart
Conguration Utility on the home screen
and follow the prompts to install the program.
Make sure the switch that you want to manage is in the same subnet as your
computer. You can click to congure the switch IP address.
4.
Installation Guide
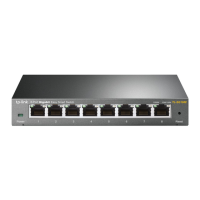
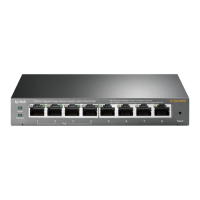
TL-SG108PE
LED Explanation
Connection
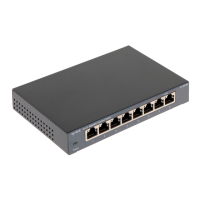
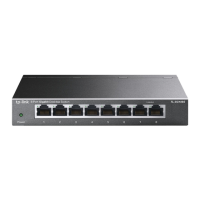
8-Port Gigabit Easy Smart Switch with 4-Port PoE
Ethernet Ports (1-8)
Router
LAN Port
WAN Port
IP Camera AP IP Phone
PoE Devices
Note: PoE ports can also connect to non-PoE devices, but only transmit data.
Maximum PoE power is 15.4W for each PoE port and 55W for all PoE ports.
1.
2.
DC Power Adapter
AC Power Cord
PoE Ports (1-4)
Power
On: Power on
O: Power o
Power
Link/Act and PoE Status
Link/Act (Port 1-8)
Green: Running at 1000Mbps
Yellow: Running at 10/100Mbps
Flashing: Transmitting/receiving data
O: No device is linked to
the corresponding port
PoE Status (Port 1-4)
On: Providing PoE power
Flashing: PoE fault
O: Not providing PoE power
PoE Max
PoE Max
On: 46W ≤ Total power supply < 55W
Flashing: Total power supply = 55W
O: Total power supply < 46W
Internet
Note: If the switch gets a new IP address from the DHCP server, your connection to the
switch will be lost. Enter the new IP address in your browser to access the switch again.
Launch a web browser on your PC. Enter the IP address of the switch in the address
bar and press Enter. Log in with admin as both user name and password.
3.
Now you can congure the switch using the Web-based GUI. For further information,
refer to the User Guide. Go to https://www.tp-link.com/support, search the model
number of your switch, and you can nd this guide on the product Support web page.
Congure IP address on your PC to ensure the switch and PC are in the same subnet.
If the switch uses an IP address assigned by a DHCP server, set your PC to obtain
an IP address automatically from the DHCP server.
If the switch uses the static IP address of 192.168.0.1, congure your PC’s IP
address as 192.168.0.x (”x” ranges from 2 to 254), and subnet mask as
255.255.255.0.
2.
Find the IP address of the switch.
By default, the switch receives an IP addess from a DHCP server (or a router that
functions as a DHCP server) in your network. You can nd this IP address on
the DHCP server.
If the switch cannot receive an IP address from a DHCP server, it uses the static
IP address of 192.168.0.1, with a subnet mask of 255.255.255.0.
1.
The utility is only supported on Windows so far. The utility is provided on the resource CD,
also you can dowload the utility from the ocial website: https://www.tp-link.com/support
The following instruction takes installing from the resource CD as an example.
PC
Now you can congure the switch using the conguration utility.
For further information, refer to the Easy Smart Conguration Utility User Guide. Go to
https://www.tp-link.com/support, search the model number of your switch, and you can
nd this guide on the product Support web page.
 Loading...