Remove the SFP
Install the SFP
Installation Guide
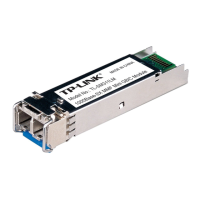
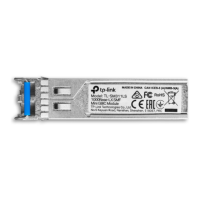
TL-SM311 Series Mini GBIC Module
TL-SM311LS/TL-SM311LM
7106506441 REV1.0.0
For more information, please visit our website: http://www.tp-link.com
1. Wear an ESD-preventive wrist or ankle strap to prevent ESD
damage to the transceiver.
2. Insert the SFP into the SFP slot and rmly press it into place.
3. Remove the protective dust plug from the SFP.
4. Plug a ber-optic cable into the SFP. Note that the SFP works
without any additional conguration.
1. Wear an ESD-preventive wrist or ankle strap to prevent ESD
damage to the transceiver.
2. Disconnect the network ber-optic cable from the SFP.
4. Reinstall the protective dust plug in the SFP’s optical bores and place
it on antistatic mat or a static shielding bag.
3. Pull the safety latch downwards to release the SFP, and then pull it
out from the slot.
Note:
1. Do not touch the output pins on the transceiver with your hand.
2. Always keep the protective dust plug on the SFP’s optical bores until you are ready to make a connection.
Caution:
DO NOT point or stare directly into the beam or into the optical port of the transceiver when it is operating, as this can injure your eyesight.