Installation
12 ACC-SVN228B-EN
9. Connect the wire harness to the correct terminals on
Heater 1 (reference the wiring schematic on the hinged
door inside the kit). The heater assembly is now ready to
be installed into the unit.
Important: Torque all terminal connections to
15 to 20 in-lbs.
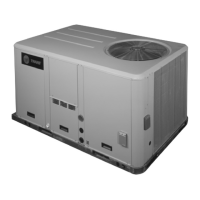
10. Trim away the heater opening perforation in the insulation
to expose the removable portion of the sheet metal.
11. Clip the sheet metal tabs to remove the sheet metal to allow
the heater assembly to be installed into the unit.
12. Slide the heater assembly into the unit by tipping the back
of the assembly up slightly and engaging the heater side
brackets between the guide rails. Verify the free end of the
wire harness is away from the heater opening as the
assembly is guided into place.
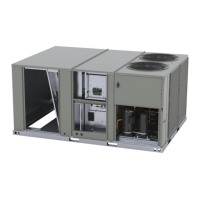
13. Secure the heater assembly to the heater vestibule using
eight screws.
14. Install the magnet bracket in the unit at the top of the heat
section with two screws.
15. Install the heater control panel in the unit using four screws.
There are holes in the insulation to assist in locating the
screw hole locations.
Figure 14. Heater element mounting
TRIM AWAY THE OPENING PERFORATION
REMOVE PORTION
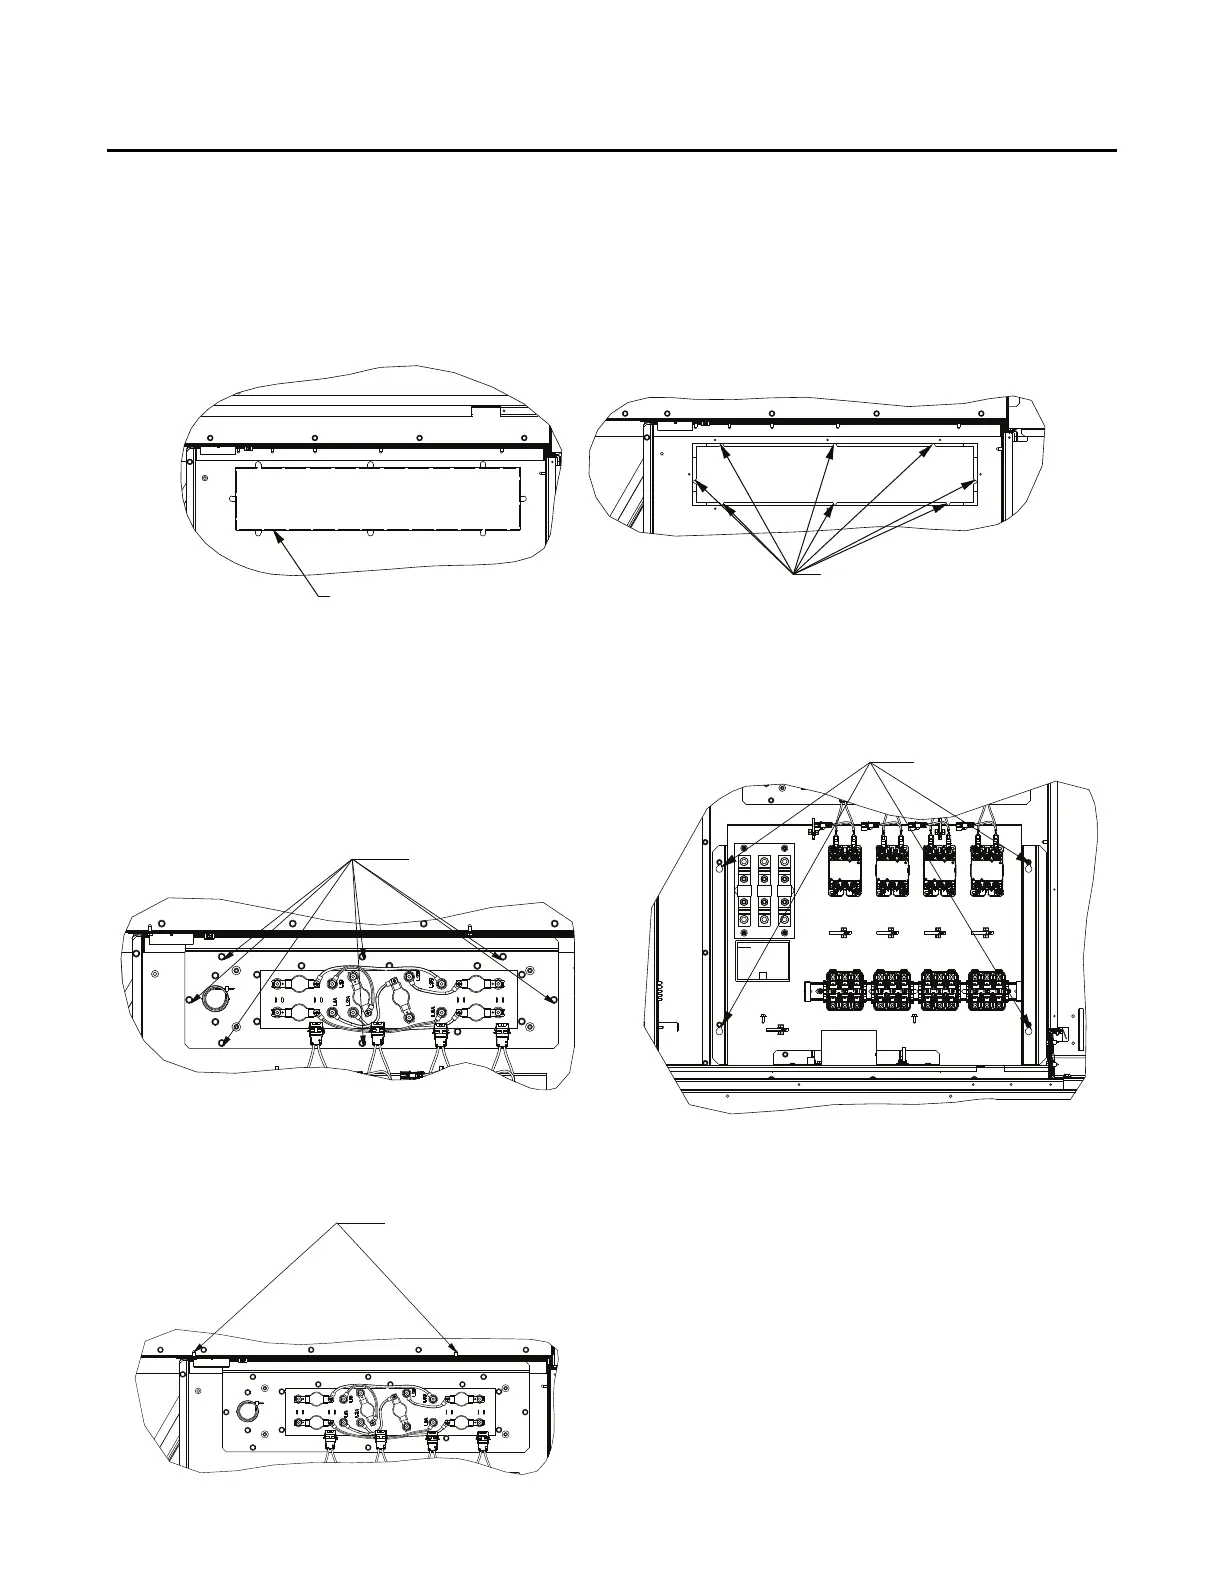
Figure 15. Heater front panel
Figure 16. Magnet bracket assembly
SCREWS
Figure 17. Electric heat control panel mounting
 Loading...