Alarm Fitting and
~perating
Instructions
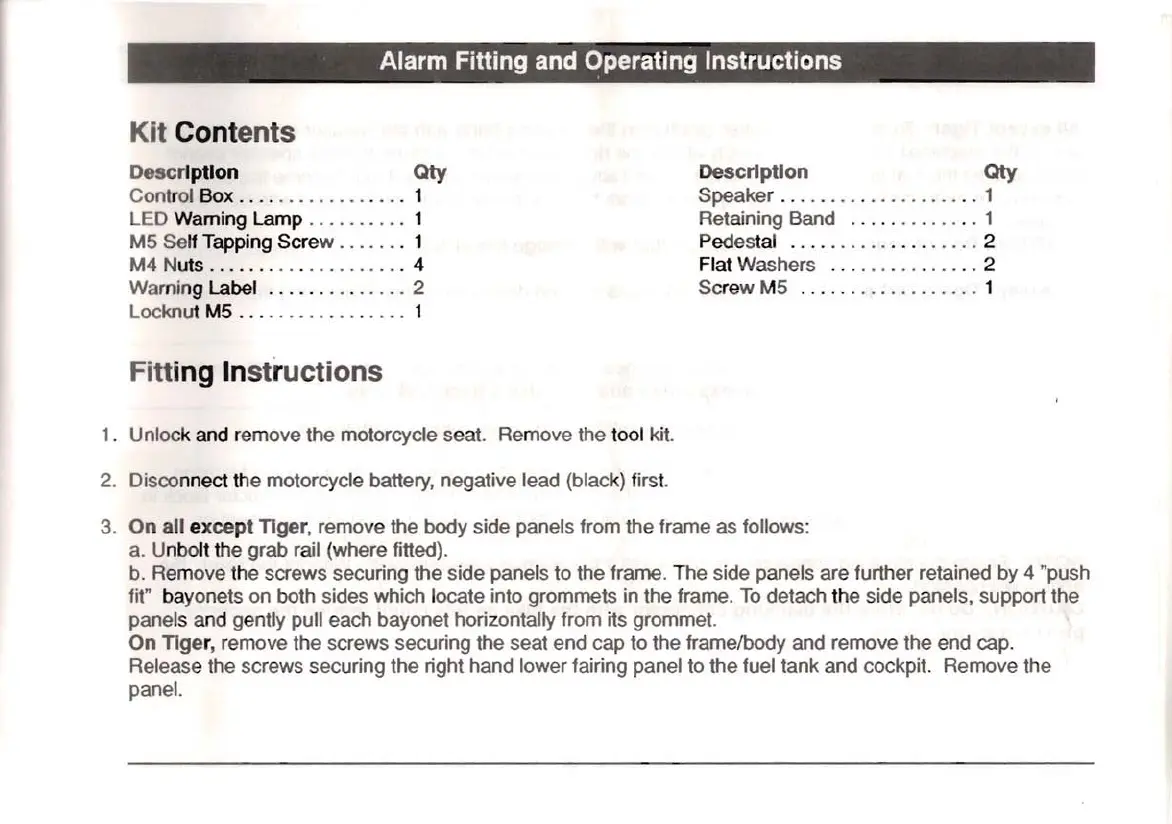
Kit
Contents
Description Qty
Control
Box.
. . . . . . . . . . . . . . . . 1
LED Warning Lamp . . . . . . . . . . 1
M5 Self Tapping Screw . . . . . . . 1
M4 Nuts 4
Warning Label 2
Locknut M5 . . . . . . . . . . . . . . . . . 1
Fitting Ins
tr
uctions
1. Unlock and remove the motorcycle seat. Remove the tool kit.
2. Disconnect the motorcycle battery, negative lead (black) first.
Description
Qty
Speaker 1
Retaining Band 1
Pedestal 2
Flat Washers 2
Screw M5 1
3. On
all except Tiger, remove the body side panels from the frame as follows:
a. Unbolt the grab rail (where fitted).
b. Remove the screws securing the side panels to the frame. The side panels are further retained by 4 "push
fit" bayonets on both sides which locate into grommets in the frame. To detach the side panels, support the
panels and gently pull each bayonet horizontally from its grommet.
On Tiger, remove the screws securing the seat end cap to the frame/body and remove the end cap.
Release the screws securing the right hand lower fairing panel to the fuel tank and cockpit. Remove the
panel.
 Loading...