P/N 6006761 Rev. C © 2016 TSI Incorporated TSI Model 3082 Quick Guide page 3
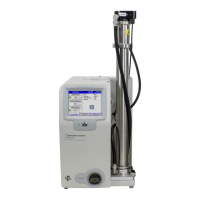
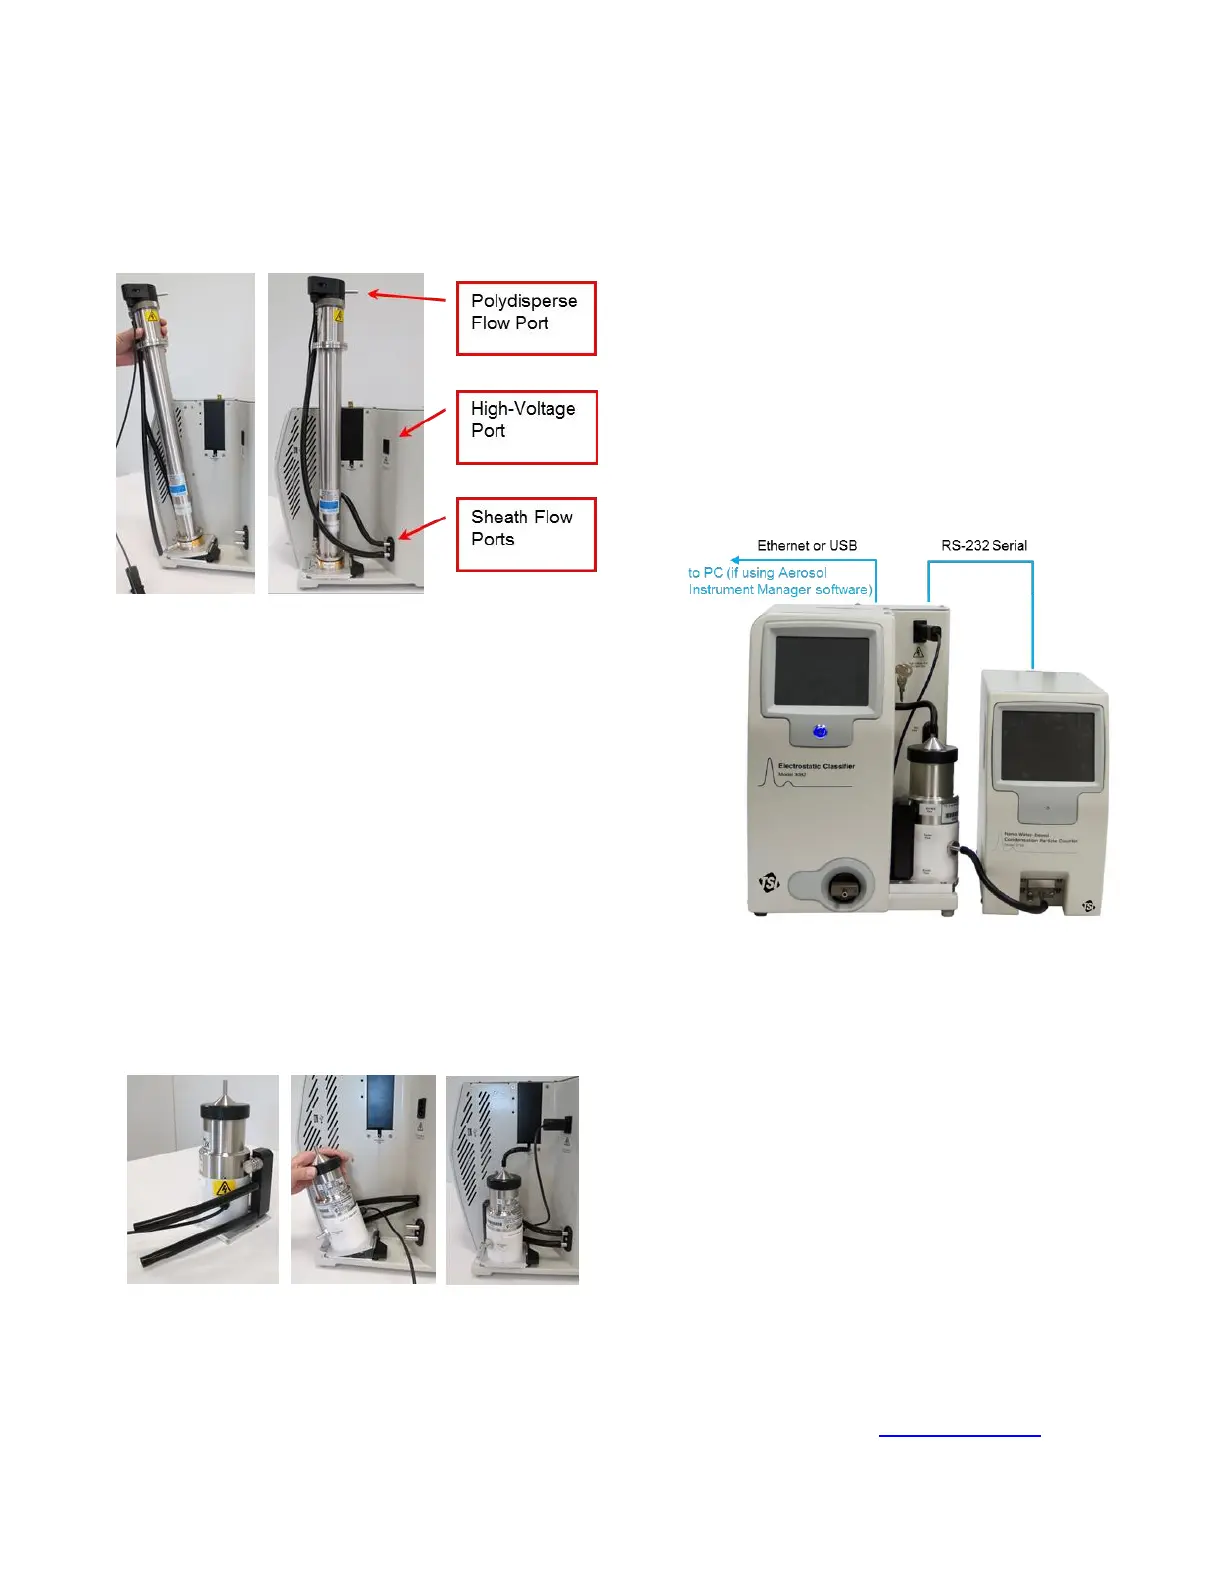
Installing Model 3081A Long DMA
1. From the accessory kit, cut 25” and 12” lengths of
3/8” tubing and connect them to the DMA Sheath
Flow + and Sheath Flow – ports, respectively.
2. Tilt the Long DMA over the mounting plate and
snap into place.
3. Connect the tubing to the Sheath Flow + and
Sheath Flow – ports on the classifier.
4. From the accessory kit, cut a 21” length of ¼”
tubing and connect it between the Polydisperse
Flow ports on the classifier and on the DMA.
5. Insert the high-voltage connector into the high-
voltage port on the classifier. Align the flattened
side of the connector with the flattened side of
the port.
Installing Model 3085A Nano DMA or
Model 3086 1nm-DMA
1. If using bypass flow, remove the fitting from the
Nano DMA or 1nm-DMA manifold and connect the
manifold outlet to a vacuum line. If you are not
using bypass flow, leave the fitting in place on the
Nano DMA manifold.
2. Fit the Nano DMA or 1nm-DMA manifold into
place. From the accessory kit, cut two 6.5” lengths
of 3/8” tubing and connect them to the Sheath
Flow + and Sheath Flow – fittings on the manifold.
3. Tilt the Nano DMA or 1nm-DMA over the mounting
plate and snap into place. Connect the tubing to
the respective ports on the classifier.
4. From the accessory kit, cut a 4” length of ¼” tubing
and connect it between the Polydisperse Flow
ports on the classifier and on the Nano DMA.
5. Insert the high-voltage connector into the high-voltage
port on the classifier. Align the flattened side of the
connector with the flattened side of the port.
Note: For alternative installation of the 1nm-DMA (to
minimize diffusion losses between the Model 3777
Nano Enhancer and the 1nm-DMA), refer to the
Operation and Service Manual.
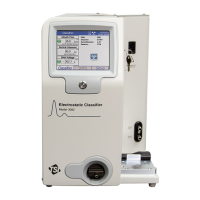
Connecting Classifier to Detector
The Model 3082 supports communication to a 3772,
3775, 3776, 3787, or 3788 CPC.
1. Connect the CPC outlet to a vacuum source (3772
only).
2. Connect the DMA Monodisperse outlet (or outlet of
flow equalizer, is installed) to the CPC inlet with a
10” (25 cm) length of ¼” black conductive tubing.
3. Connect the Serial port on the back panel of the
classifier to the Serial port on the back of the
detector using provided RS-232 cable.
Connecting Classifier to PC
Connect the classifier to the PC using either the provided
USB cable or an Ethernet connection (not provided).
The 3082 supports Aerosol Instrument Manager software
versions 10.1 and above. If you will be using this
software, consult the Aerosol Instrument Manager
Software User’s Manual P/N 1930038 for install steps.
Powering On
1. Plug the supplied power cord into the AC Power In
connection on the classifier back panel. Plug the
other end into your electrical supply.
2. Flip the rocker switch on the AC Power In
connection to turn on the device.
Upgrading CPC Firmware
If your CPC has a firmware version earlier than 2.15
(3772, 3775, 3776) or 1.26 (3787, 3788), it will need new
firmware to be compatible with the Model 3082.
1. Open the TSI website http://www.tsi.com.
2. From the Support tab > TSI Software and
Firmware > Software and Firmware Wizard.
 Loading...