6
OSCILLATION
To activate the oscillation feature, press the Oscillation Button ( ) once.
Press the oscillation button again to turn the Oscillation feature off.
TIMER
Pressing Timer Button ( ) sets the timer in increments of 1 hour to a
maximum of 9 hours.
After finished timer setting, you can see the timer icon on the screen
but cannot see the actual set time.
After the timer runs out, the fan will automatically shut off.
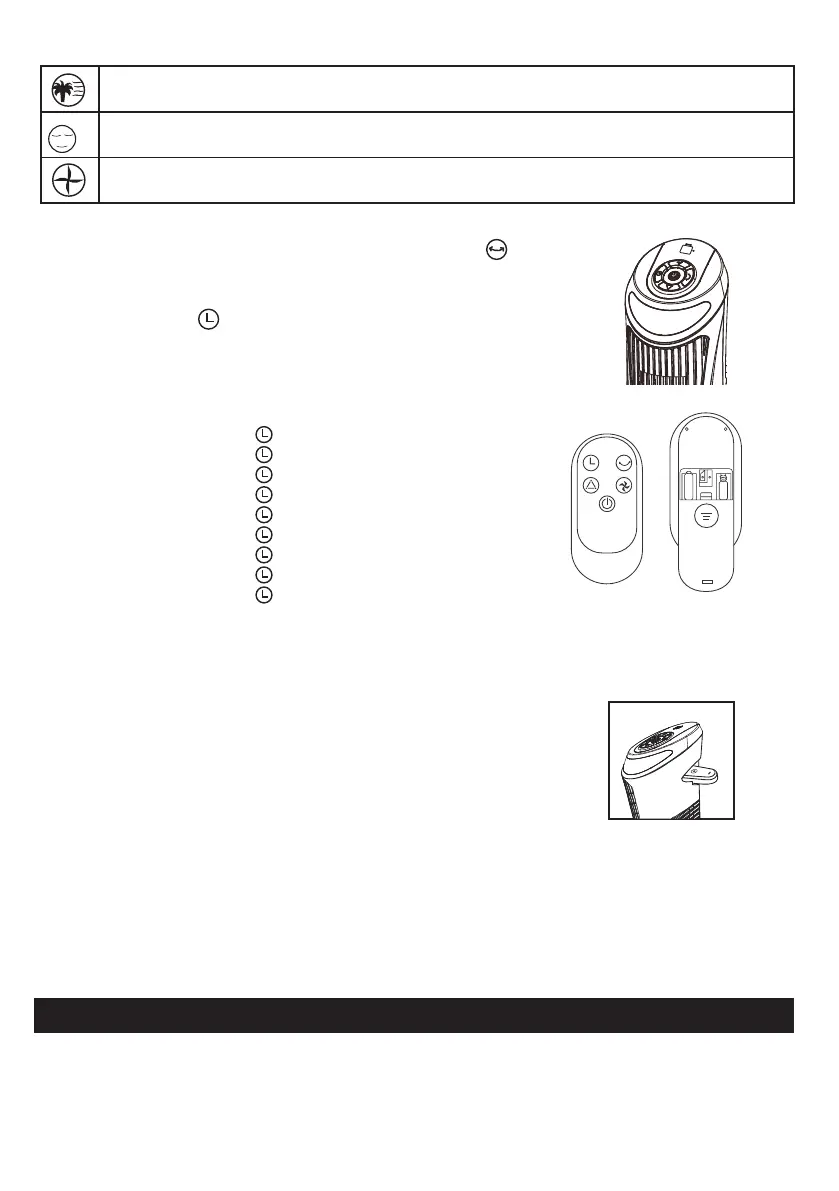
REMOTE CONTROL OPERATION
Same as above Control Panel operation instructions.
1 hour: Press the Timer Button ( ) Once.
2 hour: Press the Timer Button ( ) Twice.
3 hour: Press the Timer Button ( ) 3 times.
4 hour: Press the Timer Button ( ) 4 times.
5 hour: Press the Timer Button ( ) 5 times.
6 hour: Press the Timer Button ( ) 6 times.
7 hour: Press the Timer Button ( ) 7 times.
8 hour: Press the Timer Button ( ) 8 times.
9 hour: Press the Timer Button ( ) 9 times.
This icon indicates the fan simulating a NATURAL breeze by cycling through all the speeds.
This icon indicates the fan is simulating a softer breeze (SLEEP MODE) by cycling one speed higher
and lower, ideal for resting.
This icon indicates the fan is operating on NORMAL mode.
Z
Z
Z
TO CLEAN: Always disconnect the power cord from the electrical outlet when cleaning your fan. Light
accumulated dust can be removed by using a soft cloth to wipe away the dust at the back grille of the fan.
Wipe the exterior surfaces of the fan occasionally with a damp cloth (not dripping wet) and dry thoroughly
with a soft dry cloth before operating the fan. Do not use harsh cleaners or materials to clean this unit, doing
so will cause damages to it.
Batteries are not included.
E. Replace battery door.
NOTE: DO NOT MIX OLD AND NEW BATTERIES. DO NOT MIX ALKALINE, STANDARD
(CARBON-ZINC) OR RECHARGEABLE (NICKEL-CADMIUM) BATTERIES. SEE RECYCLER IN
YOUR AREA FOR PROPER DISPOSAL OF BATTERIES.
REMOTE CONTROL BATTERY INSTALLATION/REPLACEMENT
INSTRUCTIONS
A. the remote control may be placed in the small
chamber on the back of the control panel. (Fig. 7).
B. Take out the remote control from the small chamber on the back of
the control panel.
C. Remove battery door by sliding downward in direction on arrow.
D. Insert 2 AAA batteries into the remote following the directional
guides in the recessed slots.
When it is not in use,
Fig. 7
USER MAINTENANCE INSTRUCTIONS
 Loading...