2
Tools required
RobertsonScrewdriver‐Green#1(burnerbox
screws)
12mmwrench–removesthermocouplefrom
bracketifrequired
13mmwrench‐removesolderstyleorificefrom
checkpointbody.
10mmwrench‐removesnewstyleorificefromcheck
pointbody.
Adjustablewrench–holdscheckpointbody in
place
whileremovingorifice.
Shut off the gas supply at the gas line.
Unhook fridge from the gas line and cap the
line for safety reasons.
Unhook the venting and pull the fridge away
from the wall and gently lay the fridge down
on its face using a thick blanket or a piece of
foam to reduce scratches. You can also
work on the appliance standing up.
With the fridge lying on its face, walk
around to where the bottom of the fridge is
and look towards the right side for a small
silver box known as the “burner box”.
1. Remove the cover as shown using Robertson #1
screwdriver. Removing 4 screws on the front
and 4 screws at the underside of the box.
2. Remove orifice with 13 mm wrench – use back
up wrench on check point body located at left
side of burner box.
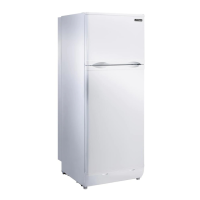
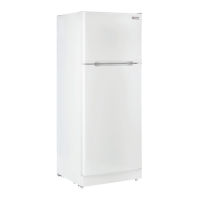
UNIQUEUGP6C/8C/10CDirectVent
OrificeCleaningInstructions
Remove 4 screws at the
front of the burner box
Also remove 4 screws at the
underside of the burner box
Remove orifice
Oldstyleorifice
Remove orifice
Newstyleorifice
 Loading...