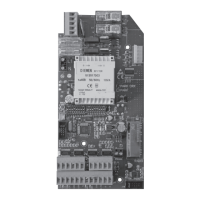
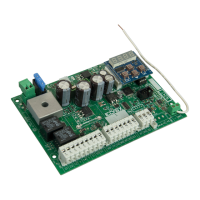
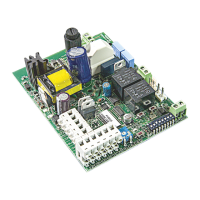
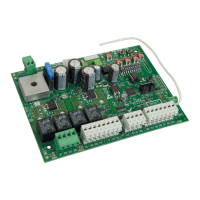
14
DL3 - Barrier opening (green)
DL4 - Barrier closing (red)
DL5 - Photocells contact (red)
DL6 - Safety strip contact (red)
DL7 - Closing limit switch contact (red)
DL8 - Opening limit switch contact (red)
DL9 - radio code program (green)
POINT C - CALIBRATING LOW SPEED MOTOR
This check is meant to facilitate the installer during the start-up of the
system or for any other future controls:
1 - Turn DIP1 to ON, the red led DL1 starts blinking
2 - Press the PROG button and hold it (movement is now performed
in “man present” mode, open-stop-close-stop-open etc.).
If the GREEN led DL3 is on, the boom arm opens. If the RED led
DL3 is on, the boom arm closes.
3 - Carry out the slow-down speed calibration:
- Turn the LOW SPEED trimmer to minimum
- Press and hold the PROG button pressed
- Check whether the low speed has been enabled once LSSC and
LSSO limit switches have been reached
- Adjust the LOW SPEED trimmer
WARNING: Make sure the motor is powerful enough to move the
bar during closure. Otherwise increase the value set on the LOW
SPEED trimmer until it reaches the ideal operation condition.
4 - Turn DIP1 to OFF, the red LED DL1 turns off.
During Point C procedure the safety-strip and photocells are not
enabled.
POINT D - TIME PROGRAMMING
1 - Close the barrier completely.
2 - Turn the DIP 2 to ON, the red led DL1 starts blinking.
3 - Press the PROG button, the boom arm opens.
4 - Once opening has been completed, the boom arm stops. The gap of
time between now (stop of the motor) and the next pressing of the
PROG button (see step 5 below) will be then stored as waiting time
(max 5 minutes) for Automatic Closing feature.
5 - Press the PROG button, the boom arm closes and the Automatic
Closing time is stored (see DIP3 function to enable or disable the
Automatic Closing feature).
6 - The red LED DL1 turns off.
7 - Turn DIP2 to OFF.
During Point D procedure, the safety devices (photocells and
safety strip) are active.
POINT E - RADIO CODE PROGRAMMING (UP TO 40
CODES)
Programming can be done only when the barrier is stationary.
1 - First set DIP 1 to ON and then DIP 2 to ON.
2 - The red LED DL1 flashes ON every 1 sec. and OFF for 10 seconds.
3 - Press the remote control button (usually channel A) within the
allotted 10 seconds. If the remote is memorized properly LED DL9
(green) blinks.
4 - The programming time for codes is automatically renewed in order
to memorize the next remote control.
5 - To finish programming, wait 10 seconds, or press the PROG button
briefly. The red LED DL1 stops flashing.
6 - Reset DIP 1 to OFF and DIP 2 to OFF.
7 - End of procedure.
CANCELLATION OF ALL RADIO CODES
Cancellations can only be performed when barrier is stationary.
1 - Set DIP 1 to ON and then DIP 2 to ON.
2 - The red LED DL1 flashes ON every 1 second and OFF for 10
seconds.
3 - Press and hold the PROG button for 5 seconds. Memory cancellation
is indicated by two flashes of green LED DL9.
4 - The red LED DL1 remains active and you can add new codes as
shown above.
5 - Reset DIP 1 to OFF and DIP 2 to OFF.
6 - End of procedure.
INDICATOR MEMORY FULL OF RADIO CODES
Indication only when barrier is stationary.
1 - Set DIP 1 to ON and then DIP 2 to ON.
2 - The green LED DL9 flashes 6 times when the memory is full (40
codes).
3 - LED DL1 will then remain active for 10 seconds enabling possible
cancellation of codes.
4 - Reset DIP 1 to OFF and DIP 2 to OFF.
5 - End of procedure.
EN