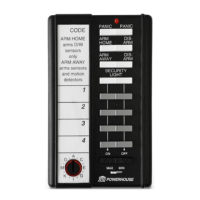
PANIC PANIC
ARM DIS-
HOME ARM
ARM DIS-
AWAY ARM
SECURITY
LIGHT
ON OFF
A
I
EM
O
C
GK
•
•
••
•
•
••
MIN
MAX
BRIGHT DIM
ARM HOME/ARM AWAY
The Remote lets you arm the system with or without Motion
Sensors being armed.
Press ARM AWAY on the Remote Control to arm all Door/
Window Sensors AND Motion Sensors.
Press ARM HOME on the Remote Control to arm ONLY Door/
Window Sensors. Motion Sensors will NOT be armed. This lets
you arm the system at night without accidentally tripping the
system yourself when you move around your home.
Sounding the PANIC Alarm
Triggering the panic alarm trips the alarm but will not cause the
system to dial out unless you arm the system first.
Press PANIC on the Remote.
Press DISARM to cancel the alarm.
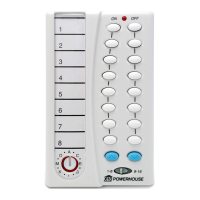
Controlling X10 Modules
Use the 4 ON-OFF buttons to control X10 Modules set to
codes 1, 2, 3, and 4 and to the same Housecode as the Remote
Control and your Security Console. Then press Bright or Dim
to brighten/dim lights connected to Lamp Modules or Wall
Switch Modules.
Replacing batteries
Use four AAA alkaline batteries. Observe + and - marks.
After replacing batteries, the following steps are necessary to
determine that the Console still recognizes the Remote Control.
1. Place the Console’s slide switch to RUN.
2. Press ARM on the Remote Control. If the system arms, the
Console recognized the Remote Control and no further
action is necessary. If the system did not arm:
Repeat “Installing the Remote” as described above.
F.C.C. CAUTION - THIS DEVICE COMPLIES WITH PART 15
OF THE FCC RULES. OPERATION IS SUBJECT TO THE
FOLLOWING TWO CONDITIONS: (1) THIS DEVICE MAY
NOT CAUSE HARMFUL INTERFERENCE, AND (2) THIS
DEVICE MUST ACCEPT ANY INTERFERENCE RECEIVED,
INCLUDING INTERFERENCE THAT MAY CAUSE
UNDESIRED OPERATION.
NOTE: NO CHANGES OR MODIFICATIONS MAY BE MADE
TO THE UNITS. ANY CHANGES MADE TO THE UNITS
WILL VOID THE USER'S AUTHORITY TO OPERATE THE
EQUIPMENT.
LIMITED 1-YEAR WARRANTY
See: http://www.x10.com/support/return_policy.htm
for warranty info.
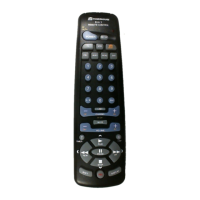
Security/Home Automation Remote
Model SH624
SH624-12/02
The Security/Home Automation Remote Control combines the features of security remotes with the features of Home Automation
Remotes. It lets you arm and disarm the DS7000 or DC8700 Security System in HOME and AWAY modes. It has SECURITY LIGHT ON
and OFF buttons which work like the LIGHT ON and LIGHT OFF buttons on X10 Keychain Remotes. It also lets you control up to
four additional X10 Modules and dim and brighten lights too!
Installing the Remote
1. Set the code wheel on the Remote to the same House Code
as the Security Console.
2. Fit four AAA Alkaline batteries in the battery compartment
in the back of the remote. Observe + and - marks.
3. Set the slide switch on the Security Console to INSTALL.
4. Press ARM on the Remote. The Console beeps once to
confirm that the Remote has been registered.
5. Return the Console’s slide switch to the RUN position.
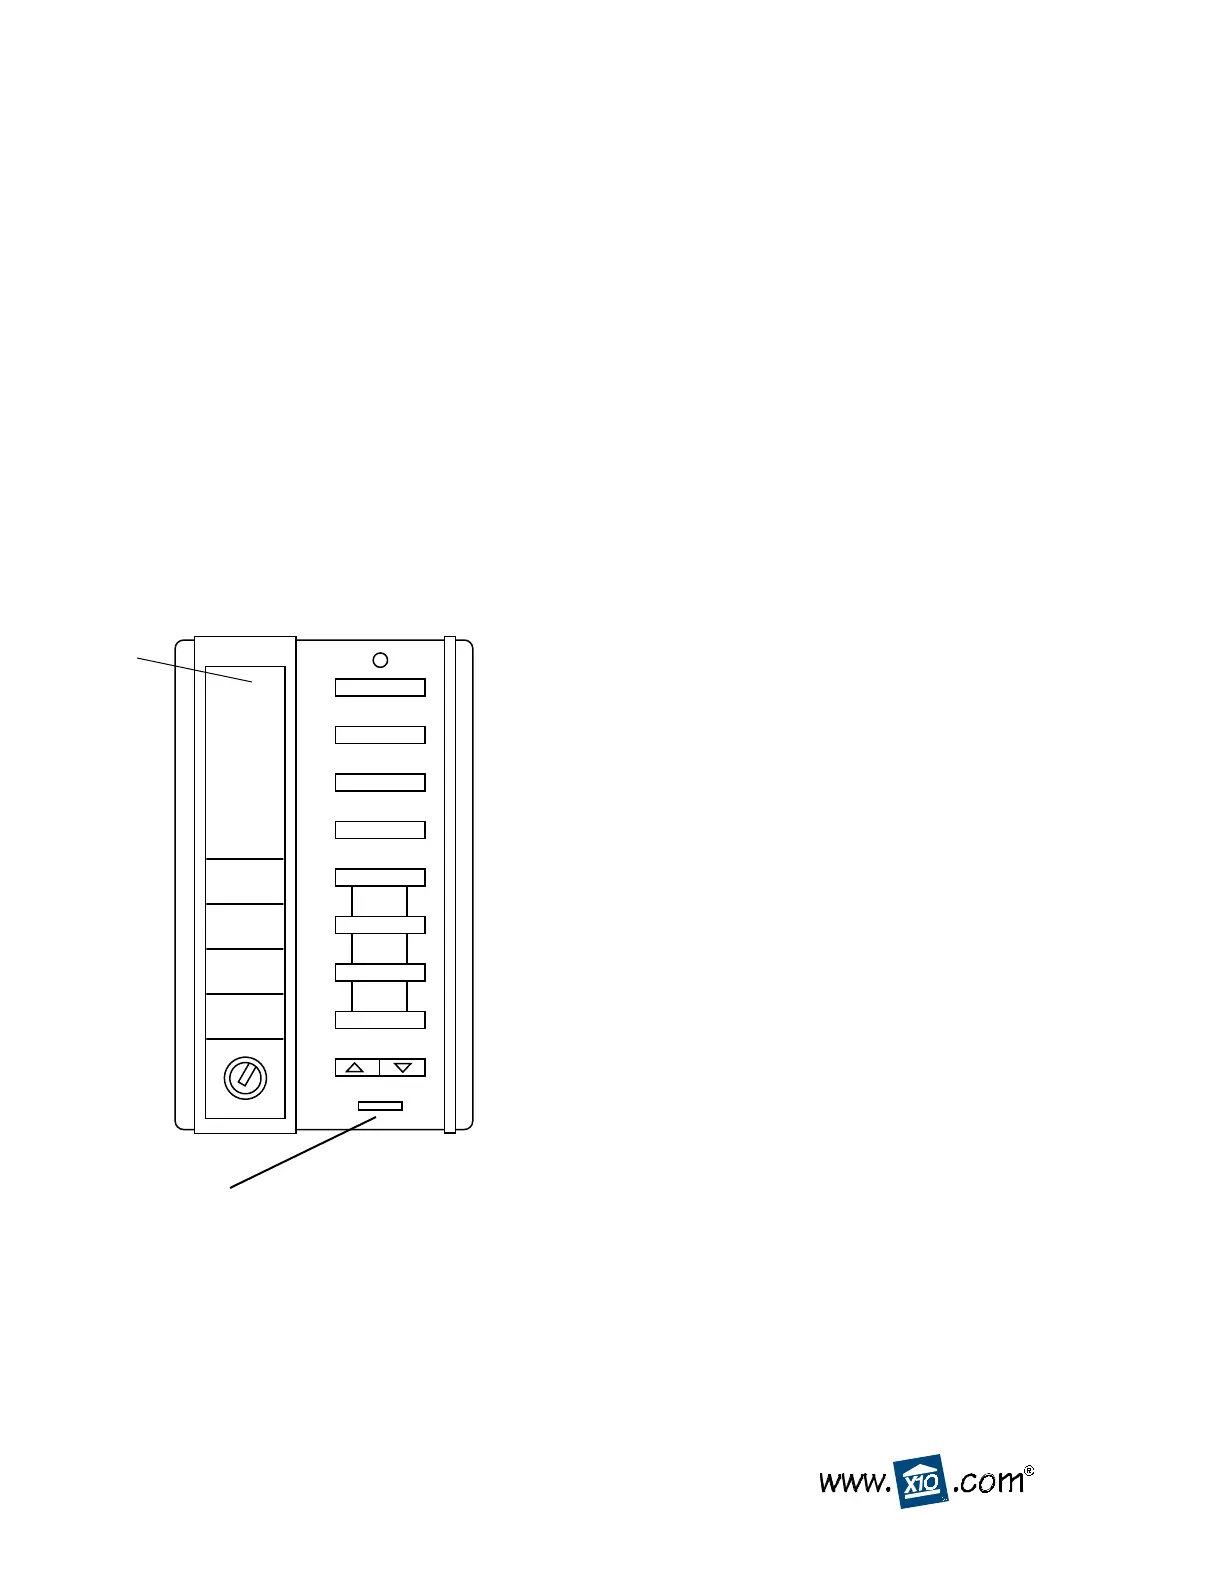
Note: If the remote did not register, remove the label on the
front and use a pencil or other pointed object to press the
small CODE button to generate a new random code. Press
ARM again to install the Remote.
X10.com, a Div. of X10 Wireless Technology, Inc.
For additional help, visit www.x10.com/support
Operation
The MIN/MAX switch on the Remote lets you set it to arm the
system with or without an exit/entry delay.
When set to MIN everything in the system will arm and trip
instantly.
When set to MAX Motion Sensors will still trigger the alarm
instantly, but Door/Window Sensors (that’s you’ve set to
MAX) will have a 1 minute exit and 30 sec. entry delay.
CODE
button
under
label
 Loading...