4
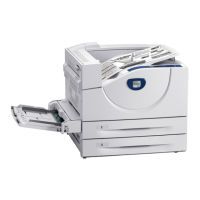
9. Secure the card by hand-tightening the two
screws (supplied) on the outside of the
printer.
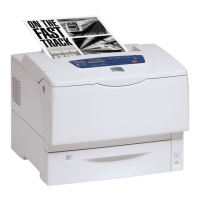
10. Re-attach the metal plate cover on the
printer by tightening the three screws
loosened in Step 4.
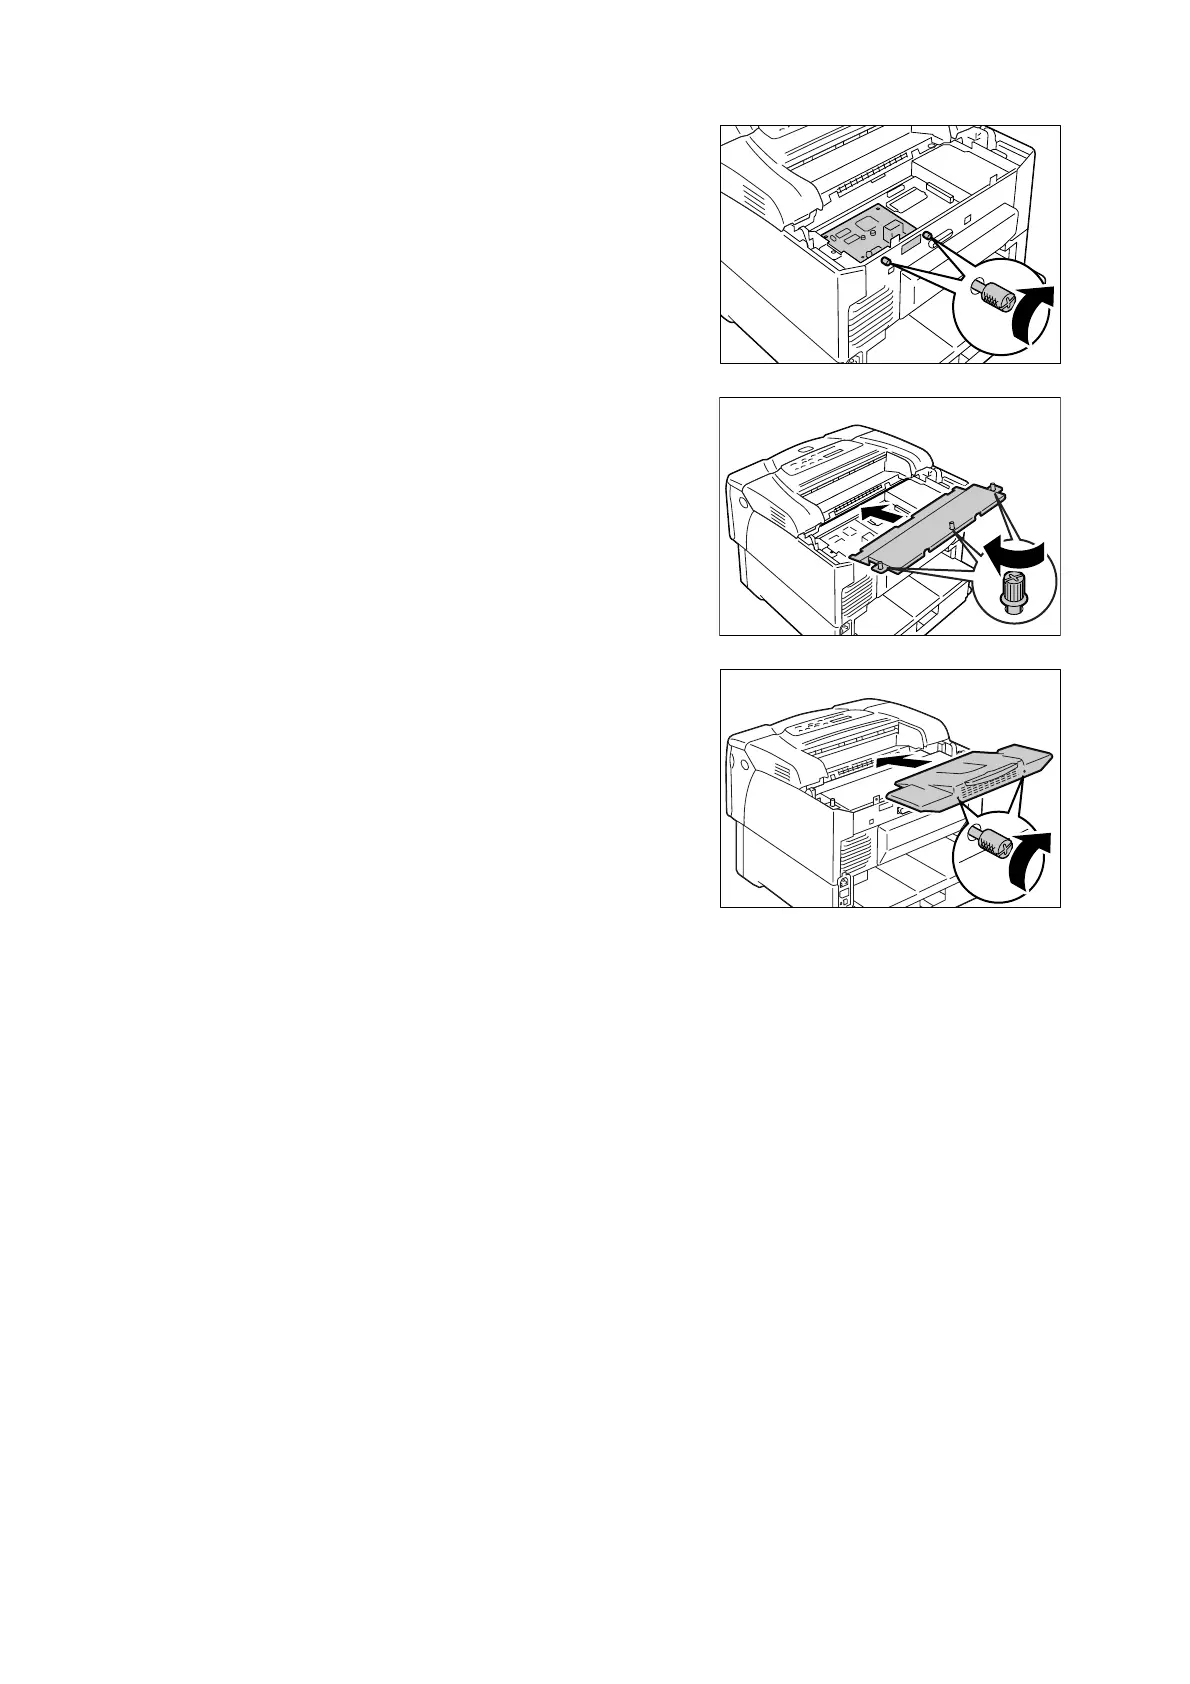
11. Re-attach the rear cover on the printer by
tightening the two screws removed in
Step 2.
12. Plug in the power cord and switch the power on by pressing the power switch to the
<|> position.
The installation is now complete.
Note
• You can check whether the network expansion card has been installed correctly by printing out the
[Printer Settings] list. Refer to "Printing the Reports/Lists" in the ‘User Guide’ on how to print the [Printer
Settings] list.
 Loading...