E-mailing
at the WorkCentre
®
7232/7242
Simple E-mailing:
1.
Load
the document into the Document Handler.
2. Touch the All Services button on the Control Panel.
3. Touch the
E-mail
icon on the Touch Screen.
4. Specify the Recipient on the E-mail tab.
5. Select the appropriate
Settings
on the Touch Screen.
6. Press the
Start
button on the Control Panel.
E-mailing Options:
General Settings - Color Scanning
The Auto Detect option allows the machine to determine
the color content of your document. The Color option
enables the machine to use all four toner colors. The
Grayscale option enables the machine to print only black
and gray tones. The Black & White option enables the
machine to use only black toner.
General Settings - 2 Sided Scanning
You can specify your original documents as 1 Sided, 2
Sided, or 2 Sided(Rotate Side 2).
General Settings - Original Type
You can specify your original documents as Photo & Text,
Text, or Photo.
General Settings - Scan Presets
You can specify your scanning presets for Sharing &
Printing, for Archival record, for OCR, for High Quality
Printing, Simple Scan, or Custom.
Advanced Settings
The Advanced Settings tab options allow you to access
the Photographs, Image Options, Image Enhancement,
and Shadow Suppression settings.
Layout Adjustment
The Layout Adjustment tab options allow you to access
the Resolution, Original Orientation, Original Size, Edge
Erase, Book Scanning, and Reduce/Enlarge settings.
E-mail Options
The E-mail Options tab options allow you to access the
Quality/File Size, File Name, File Format, Reply To, and
Split Send settings.
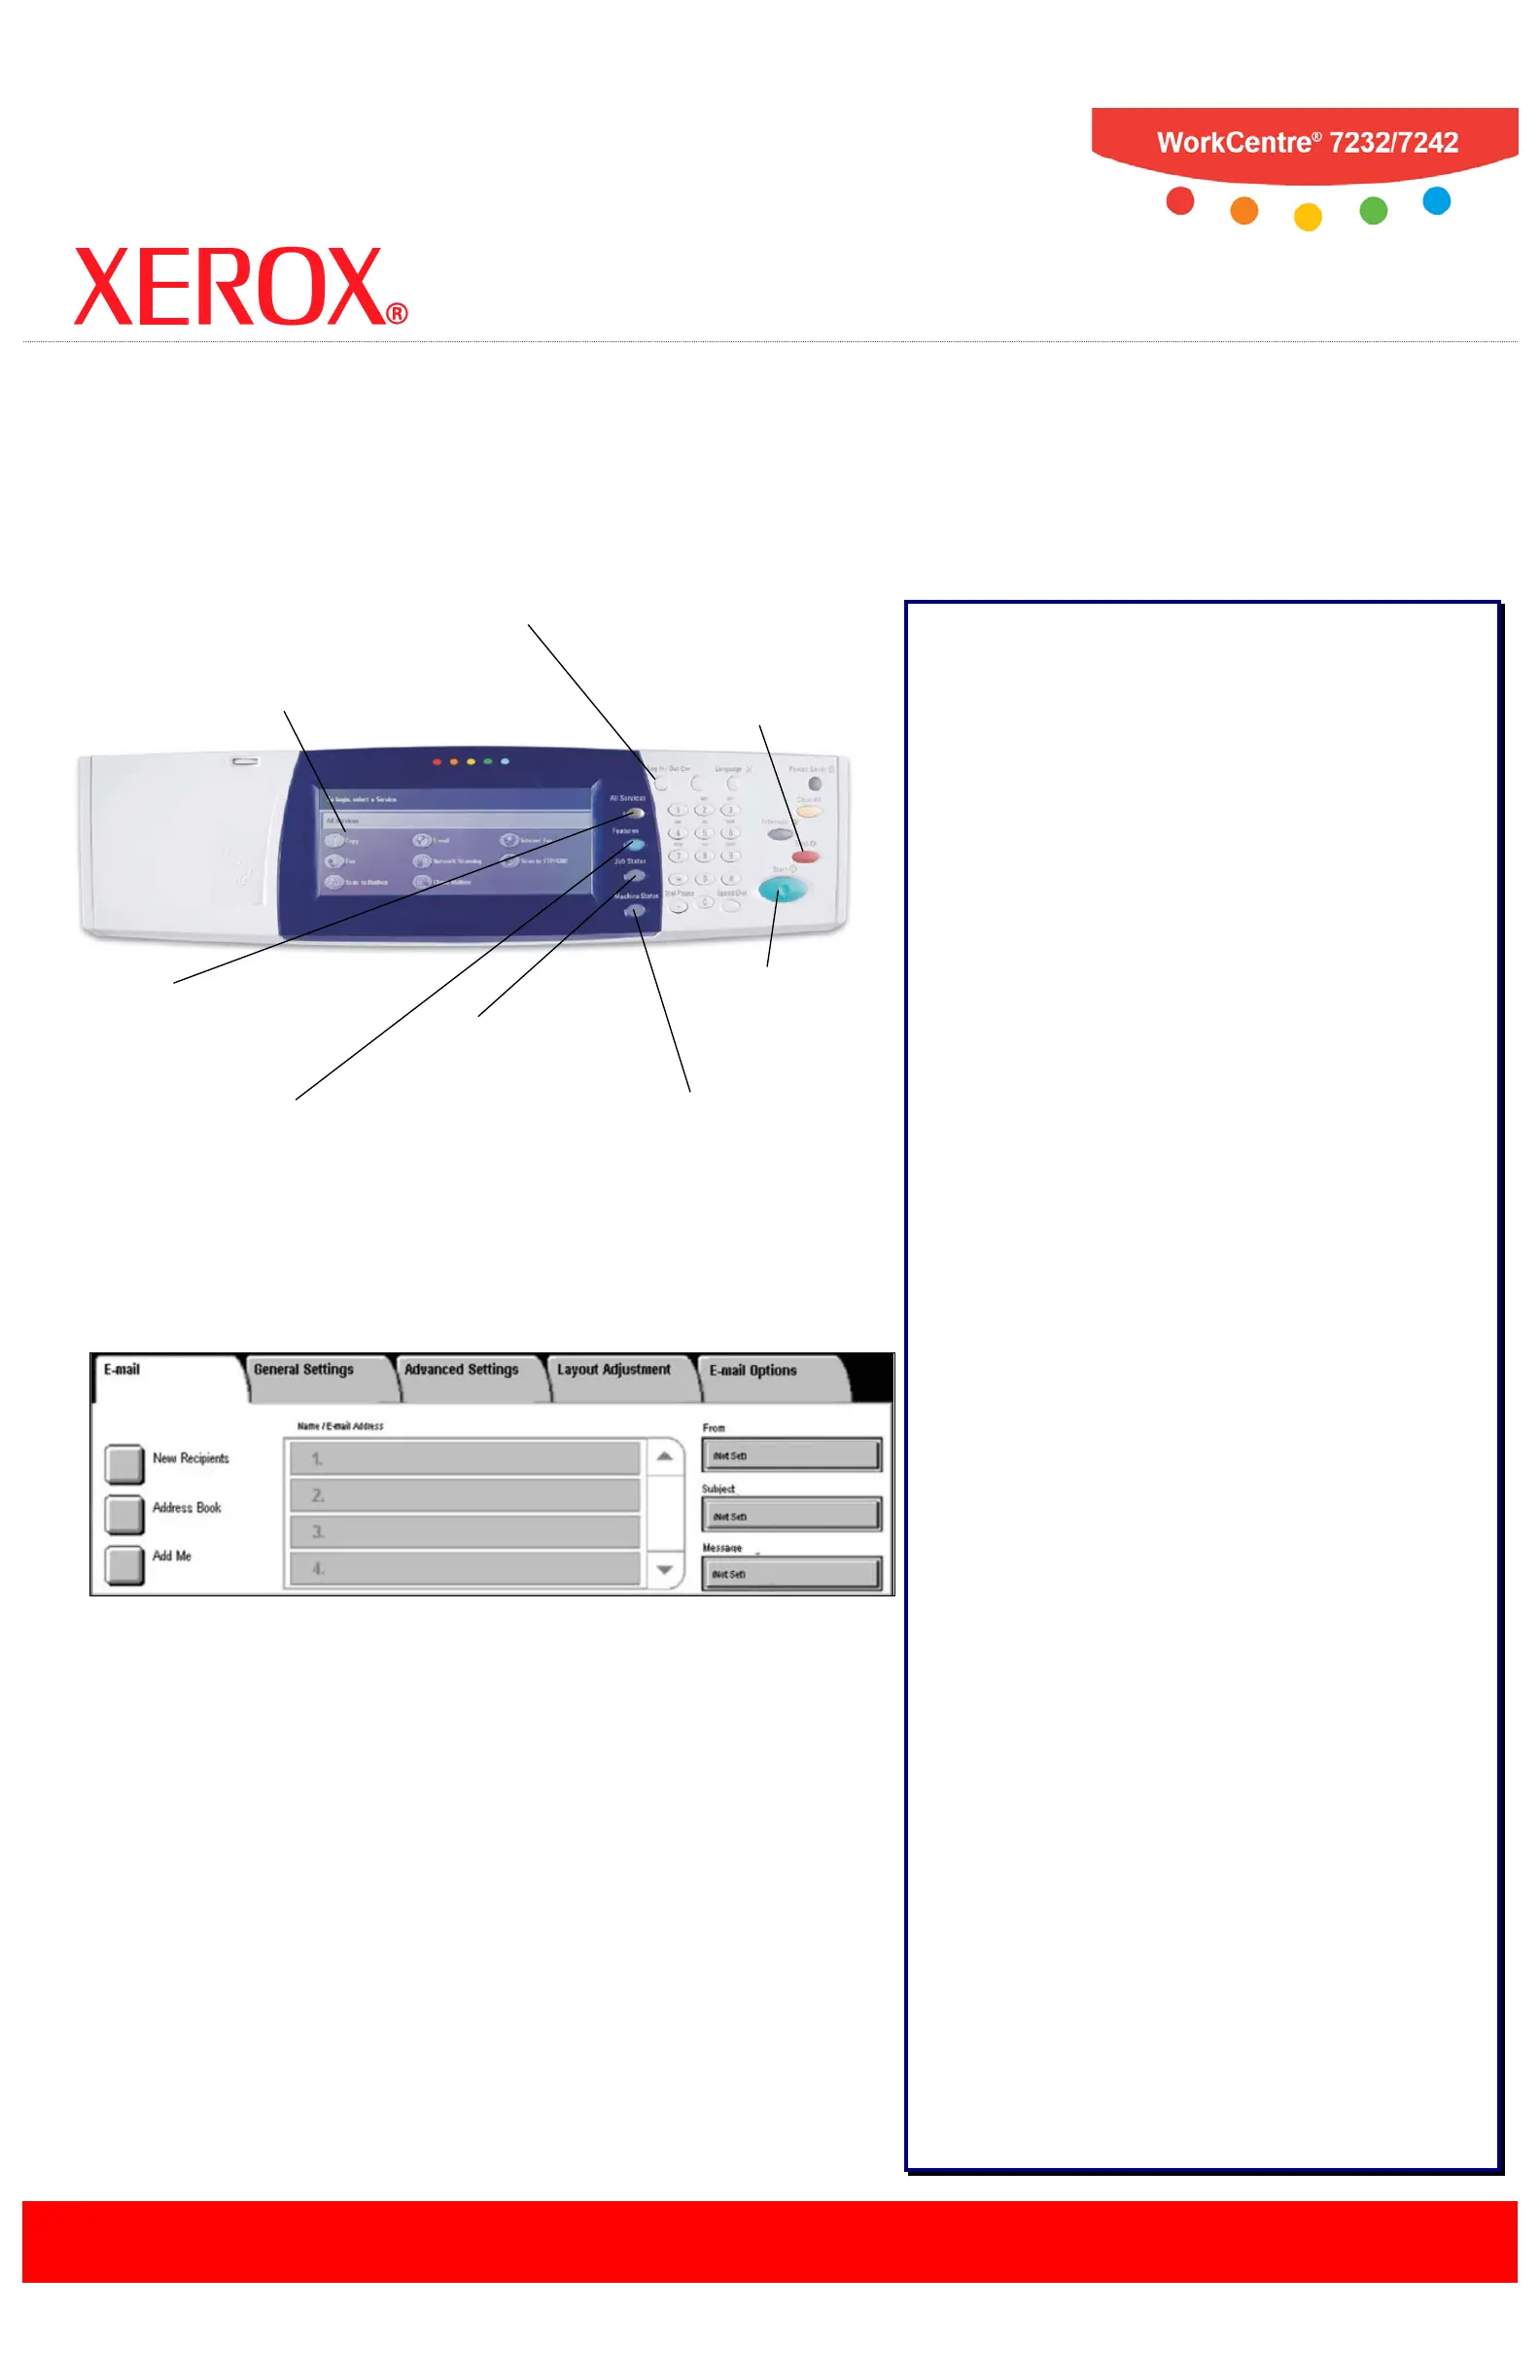
Entering E-mail Recipient Information
You can enter Recipient Information using one of the
following methods:
- Touch the New Recipients button.
Touch the New Recipients button, then use the
touch screen keypad to enter the E-mail address of
your intended recipient. After entering the address,
touch the Add button to add your recipient to the
recipient list.
- Touch the Address Book button.
Touch the Address Book button, then use the
touch screen keypad to search for your intended
recipient. After finding your recipient, touch the
Add
button to add your recipient to the recipient list.
- Touch the Add Me button.
Touch the
Add Me
button to automatically add the
person sending the e-mail to the list of recipient(s)
intended to receive the e-mail.
Displays the All
touch screen.
Allows you to select
all programming
features.
Displays job progress
information on the
touch screen.
Displays the current status
of the machine on the
touch screen.
Stop Button
Stops the E-
mail job.
Provides password-
protected access to the
System Administrator
Menu.
Starts the
E-mail job.
Displays job features
on the touch screen.

 Loading...


