page 2
Warranty
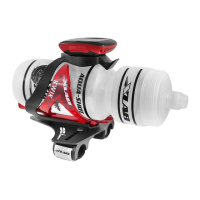
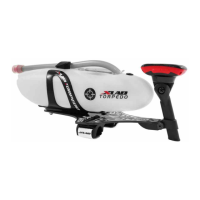
MINI WING 105
www.xlab-usa.com
MINI WING 105 INSTRUCTIONS
3 year limited
STEP 4: TORQUE ALL BOLTS TO PROPER SPECIFICATIONS
PRO TIP: Torquing bolts will keep your carrier secure and help prevent bottle
ejection. Bolt torques should be checked once every 3 months.
5
5
7
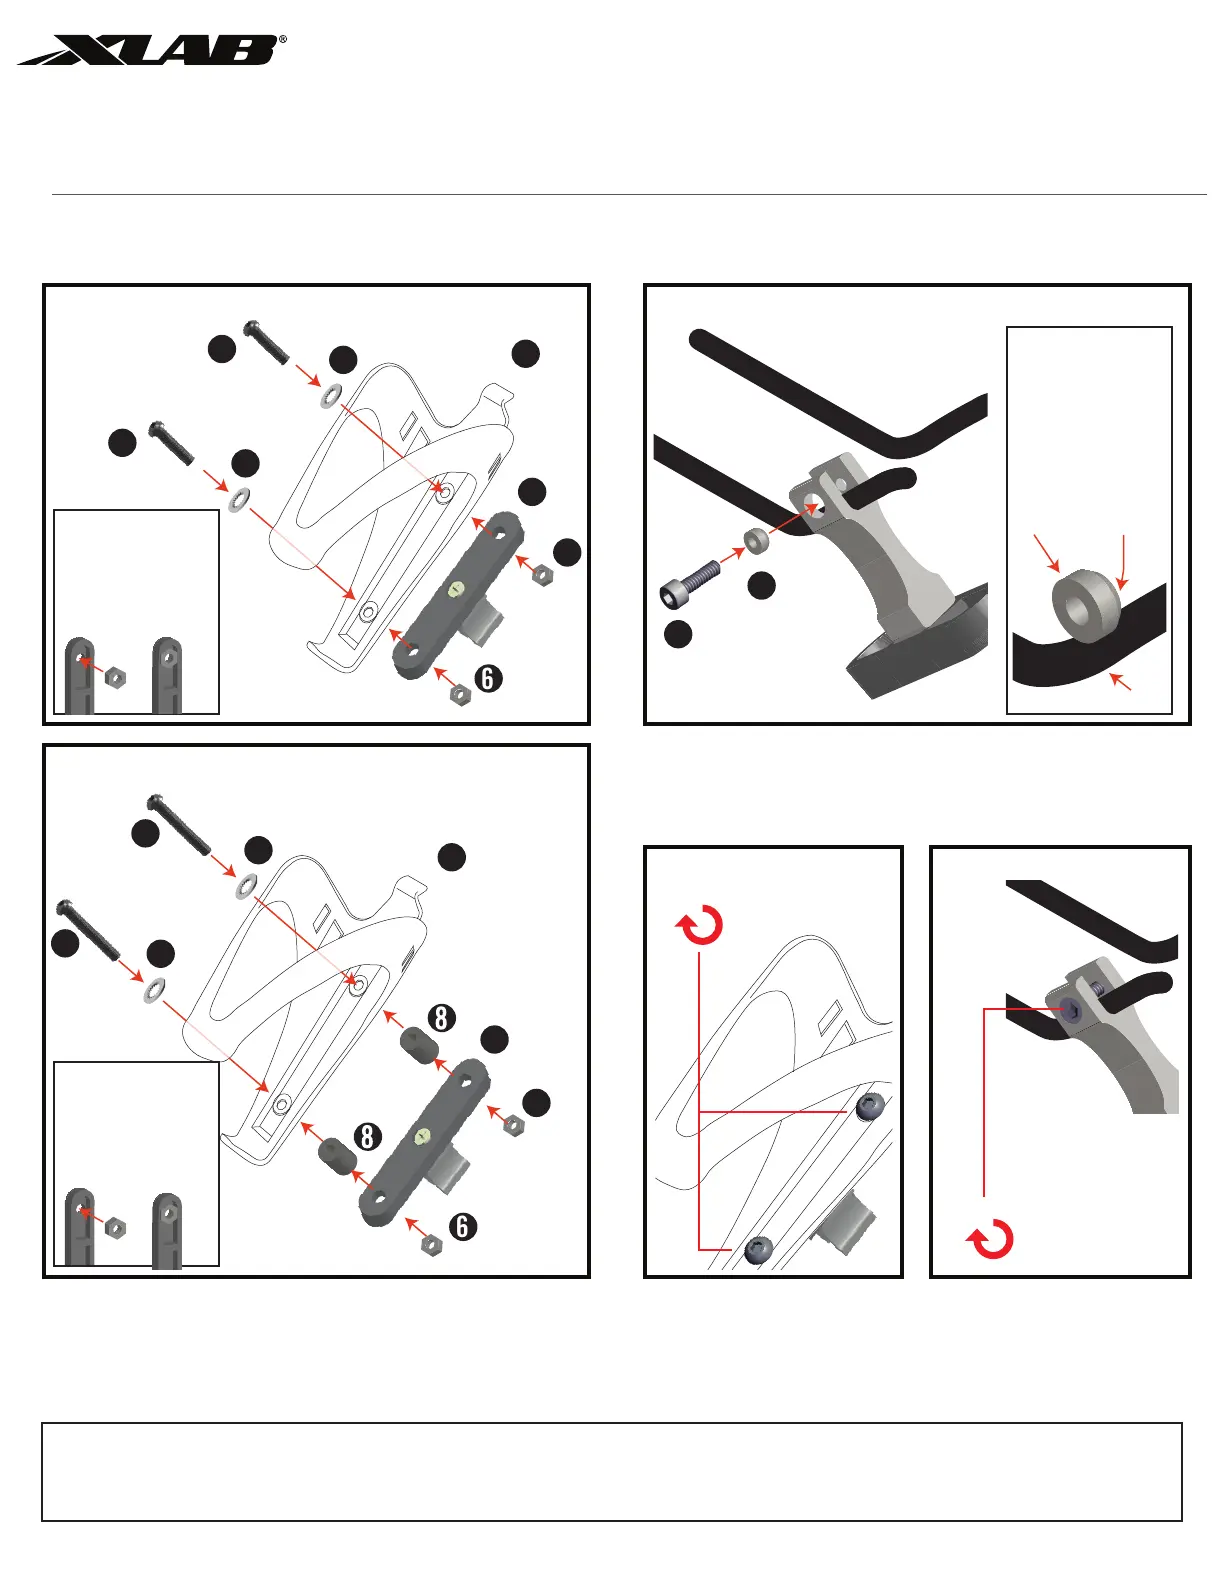
STEP 2: ATTACH XENON CAGE TO SADDLE RAIL MOUNT
2
2
6
6
6
6
1
1
Option 1: Standard t
Option 2: Extended Fit
7
Press into Saddle
Rail Mount to keep
Hex Nut from spinning
while torquing to spec.
STEP 3: MOUNT TO SADDLE RAIL
PRO TIP:
PRO TIP:
Cage Mount
Press into Saddle
Rail Mount to keep
Hex Nut from spinning
while torquing to spec.
4
4
5
5
3
9
IMPORTANT
Bevelled edge of
bevelled washer must
be placed against
the sail rail for
secure t.
bevelled
edge
Bevelled
Washer
saddle rail
 Loading...