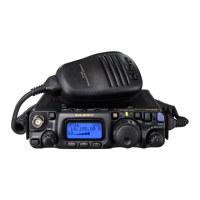
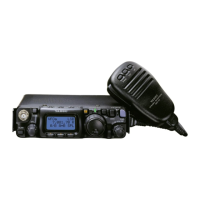
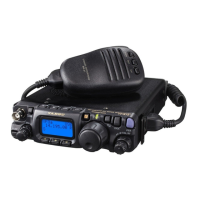
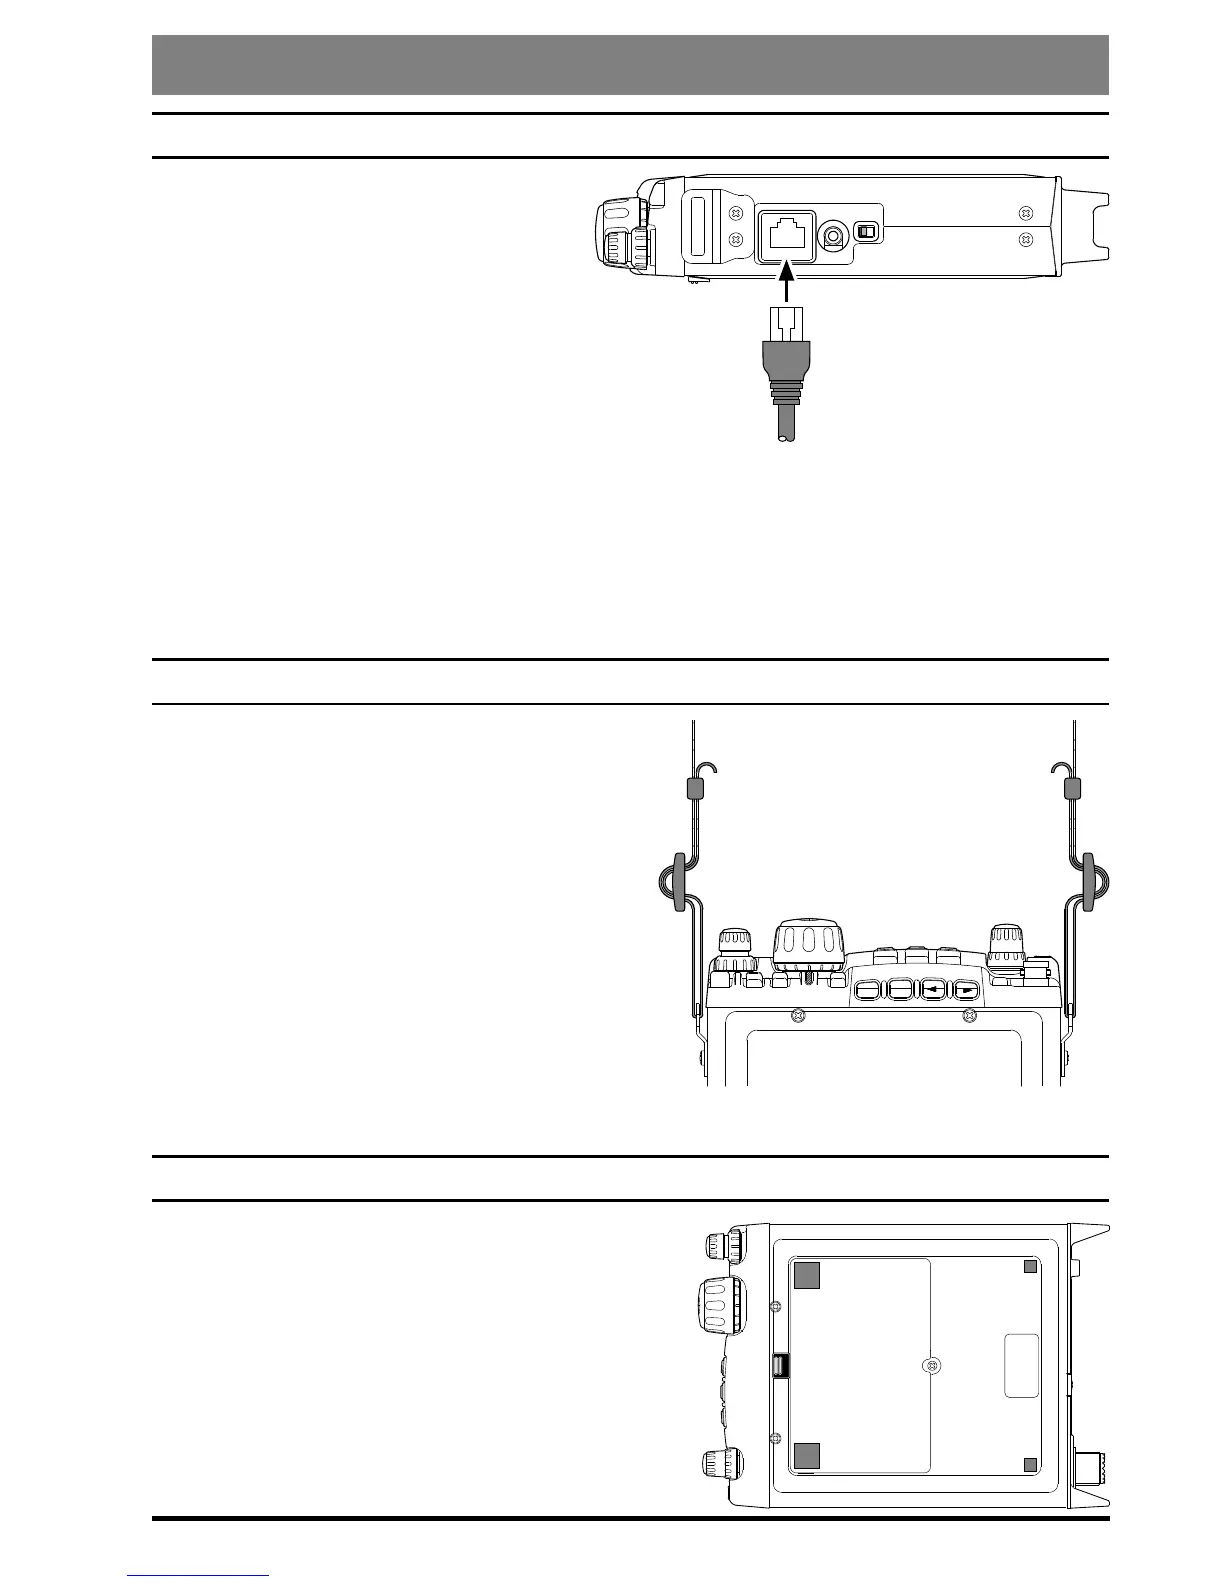
cOnnecting the MicrOphOne
To connect the microphone, plug its
connector (latch side UP) into the
MIC
jack on the right side of the
transceiver. Press it gently inward
until you hear the “click” of the
latch.
To disconnect the microphone, press
gently on the “
PUSH
” label on
top of the microphone connector’s rubber boot. While pressing on this spot, gently
pull the connector outward from the body of the transceiver.
Note: During “Digital” or “Packet” operation, it is not necessary to disconnect the micro-
phone, as activation of the PTT line from the
DATA
connector automatically cuts off the
audio input from the
MIC
jack.
ShOulder Strap inStallatiOn
The convenient Shoulder Strap is designed for
maximum comfort and security for your
FT-
818
transceiver.
Refer to the illustration, and connect the
shoulder strap to the attachment tabs just
behind the front panel of the
FT-818
. Be
sure to have the shoulder strap aligned
correctly, without twists in the straps.
A convenient microphone hanger is locat-
ed on one end of the padded top section of
the Shoulder Strap. When not in use, the
microphone may be afxed here, freeing both of your hands for other tasks.
Four Rubber Feet are provided with your
FT-818
,
for ease of use when operating from a base station
or camp table.
Refer to the illustration, and afx the Rubber Feet
in the appropriate locations.
MIC
SP/PH SP PH
-
PUSH
HF/VHF/UHF ALL MODE TRANSCEIVER
TRANSMIT/BUSY
BAND
DWN
UP
MODE
A
B
C
FT-817
 Loading...