Page 88 FTDX9000D OPERATION MANUAL
S
IGNAL
Q
UALITY
E
NHANCEMENT
U
SING
THE
P
ARAMETRIC
M
ICROPHONE
E
QUALIZER
The FT DX 9000D includes a unique Three-Band Parametric Microphone Equalizer, that provides precise, independent
control over the low-, mid-, and treble-ranges in your voice wave-form.
Quick Point
The Parametric Equalizer is a unique technique for adjusting the signal quality. Because the three ranges may be
adjusted so precisely , it is possible to craft a response that provides a more natural and pleasant sound than you have
ever experienced before.
The Parametric Equalizer adjustments are applied independently to the front XLR (“Cannon”) and rear (8-pin) micro-
phone jacks, so you can connect different microphones and customize the audio response that best suits each micro-
phone.
The aspects of configuration that you may adjust on the Parametric Equalizer are:
Center Frequency: The center frequency of each of the three bands may be adjusted.
Gain: The amount of enhancement (or suppression) within each band may be adjusted.
Q: The bandwidth over which the equalization is performed may be adjusted.
1. Connect the microphone to the front or rear micro-
phone jack.
2. Set the RF PWR control to its minimum value, so
as not to cause interference to other users during ad-
justment.
Advice
H Because the setup of the Parametric Equalizer for both front
and rear microphone jacks may take some time, we recom-
mend you consider connecting a dummy load to one of the
Antenna jacks, and monitor your signal on a separate receiver,
so as to prevent interference to other users.
H You will have the best chance of hearing the effects of adjust-
ments if you wear hedphones while monitoring your trans-
mitted signal.
3. Press the MONI switch.
4. Press the MNU switch momentarily. The Menu list
will appear on the TFT.
5. Rotate the Main Tuning Dial to find the “EQ” Menu
area, containing Menu Items 18 through 39; these
perain to the adjustment of the Parametric Microphone
Equalizer. You may also use the F6 () and F7 ()
keys to select the desired Menu item.
6. Rotate the CLAR/VFO-B knob to perform adjust-
ments to a particular Menu item. You may also use the
F4 () and F5 () keys to perform adjustments.
7. Close the PTT switch, and speak into the microphone
while listening to the effects of the changes you are
making (in step 6). Because the overall effect on the
sound will change with each adjustment you make,
you should make several passes through each adjust-
ment area, to be sure that you are achieving the opti-
mum setting.
8. When you have completed all adjustments, press and
hold in the MNU switch for two seconds to save
the new settings and exit to normal operation. If you
only press the MNU key momentarily to exit, any
changes you performed will not be stored.
SSB/AM M
ODE
T
RANSMISSION
(ENHANCING TRANSMIT SIGNAL QUALITY)
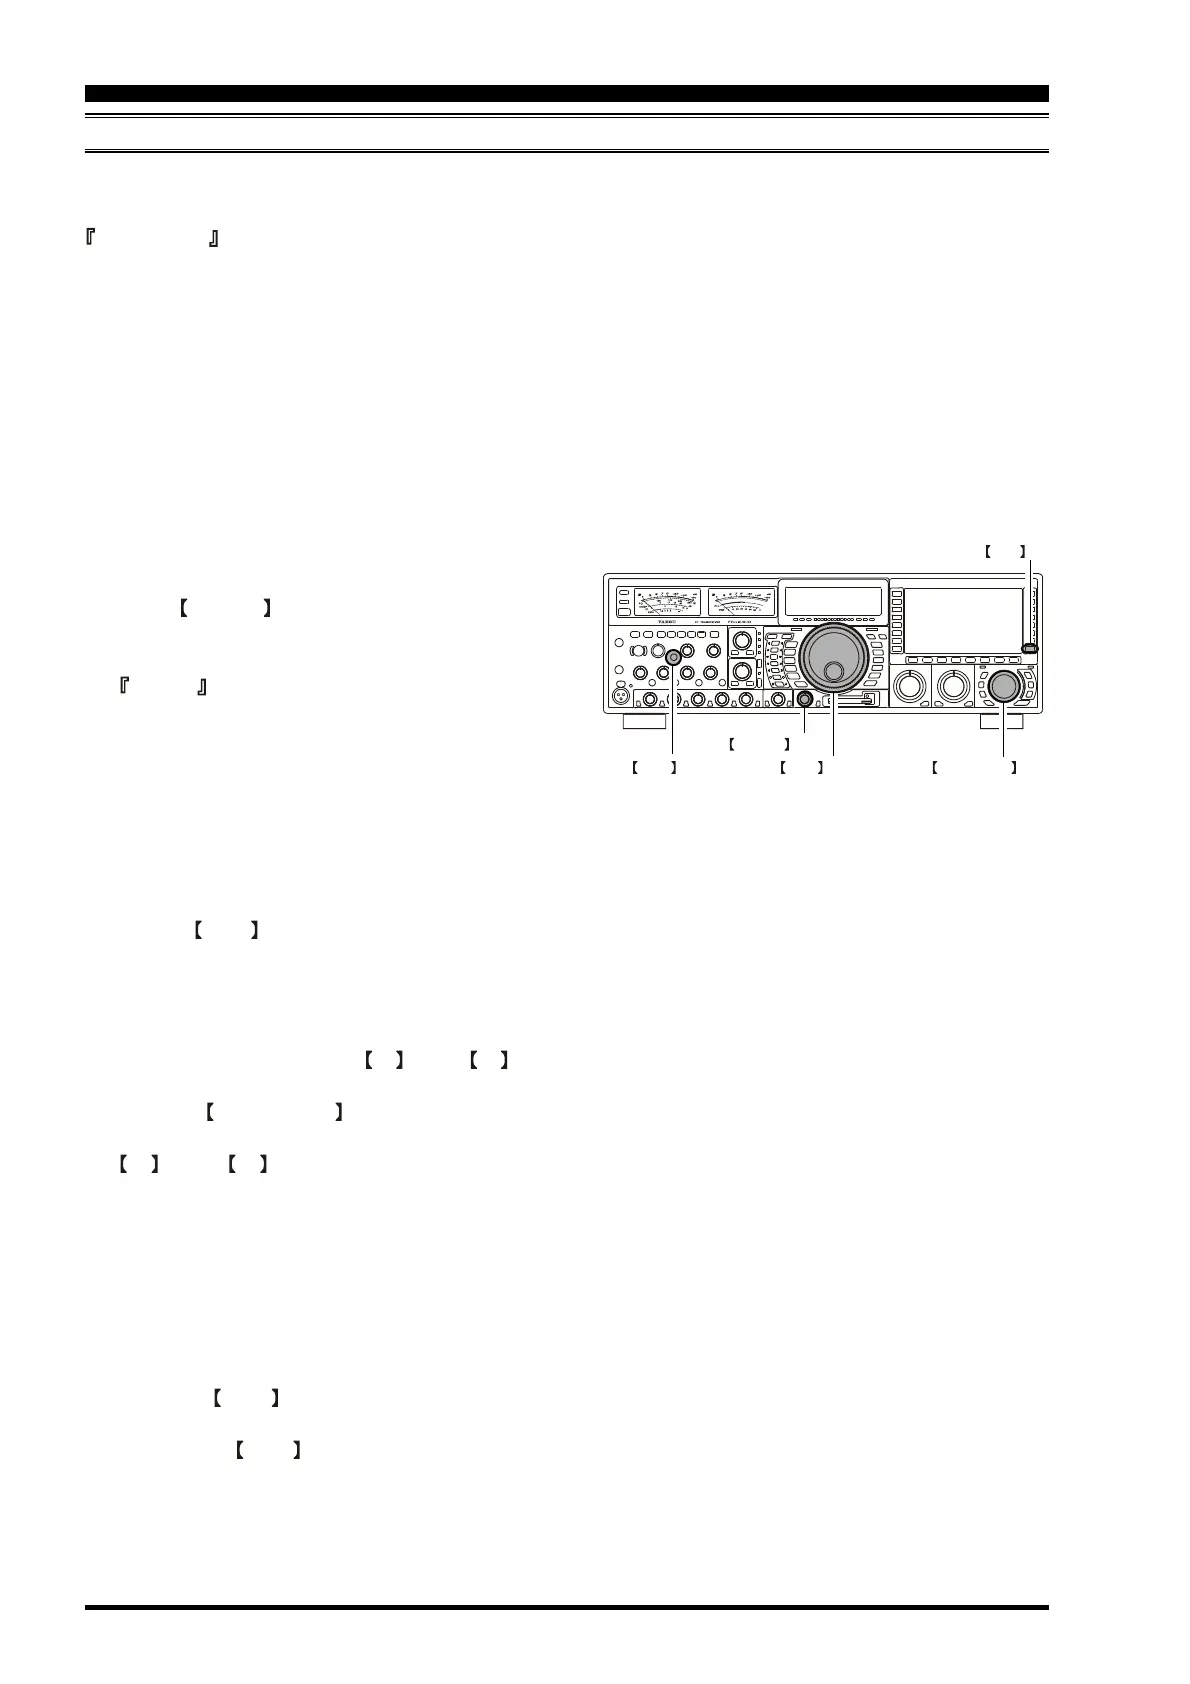
CLAR/VFO-B knob
MNU key
MAIN Tuning Dial
RF PWR knob
MONI switch
 Loading...