MOX6/MOX8 Owner’s Manual
Quick Guide
50
Using a Connected
Computer
By connecting the MOX6/MOX8 to your computer via USB,
you can use DAW software on the computer to create your
own original songs.
NOTE The acronym DAW (digital audio workstation) refers to music
software for recording, editing and mixing audio and MIDI data.
The main DAW applications are Cubase, Logic, SONAR and
Digital Performer. Though all of these can be effectively used
with the MOX6/MOX8, we recommend using Cubase when
creating songs together with the instrument.
By connecting this instrument to a computer, you can take
advantage of the following functions and applications.
• External tone generator for DAW software and MIDI
keyboard
• Remote Controller of the DAW software
• Editing parameters from the computer (MOX6/MOX8 Editor)
Connecting to a computer
A USB cable and the Yamaha Steinberg USB Driver are
necessary to connect the MOX6/MOX8 to the computer.
Follow the instructions below. Note that both audio data and
MIDI data can be transmitted through a USB cable.
1 Download the latest Yamaha Steinberg USB Driver
from our website.
After clicking the Download button, extract the compressed
file.
http://www.global.yamaha.com/download/
NOTE
Information on system requirements is also available at the
above web site.
NOTE The Yamaha Steinberg USB Driver may be revised and
updated without prior notice. Make sure to check and
download the latest version from the above site.
2 Install the Yamaha Steinberg USB Driver to the
computer.
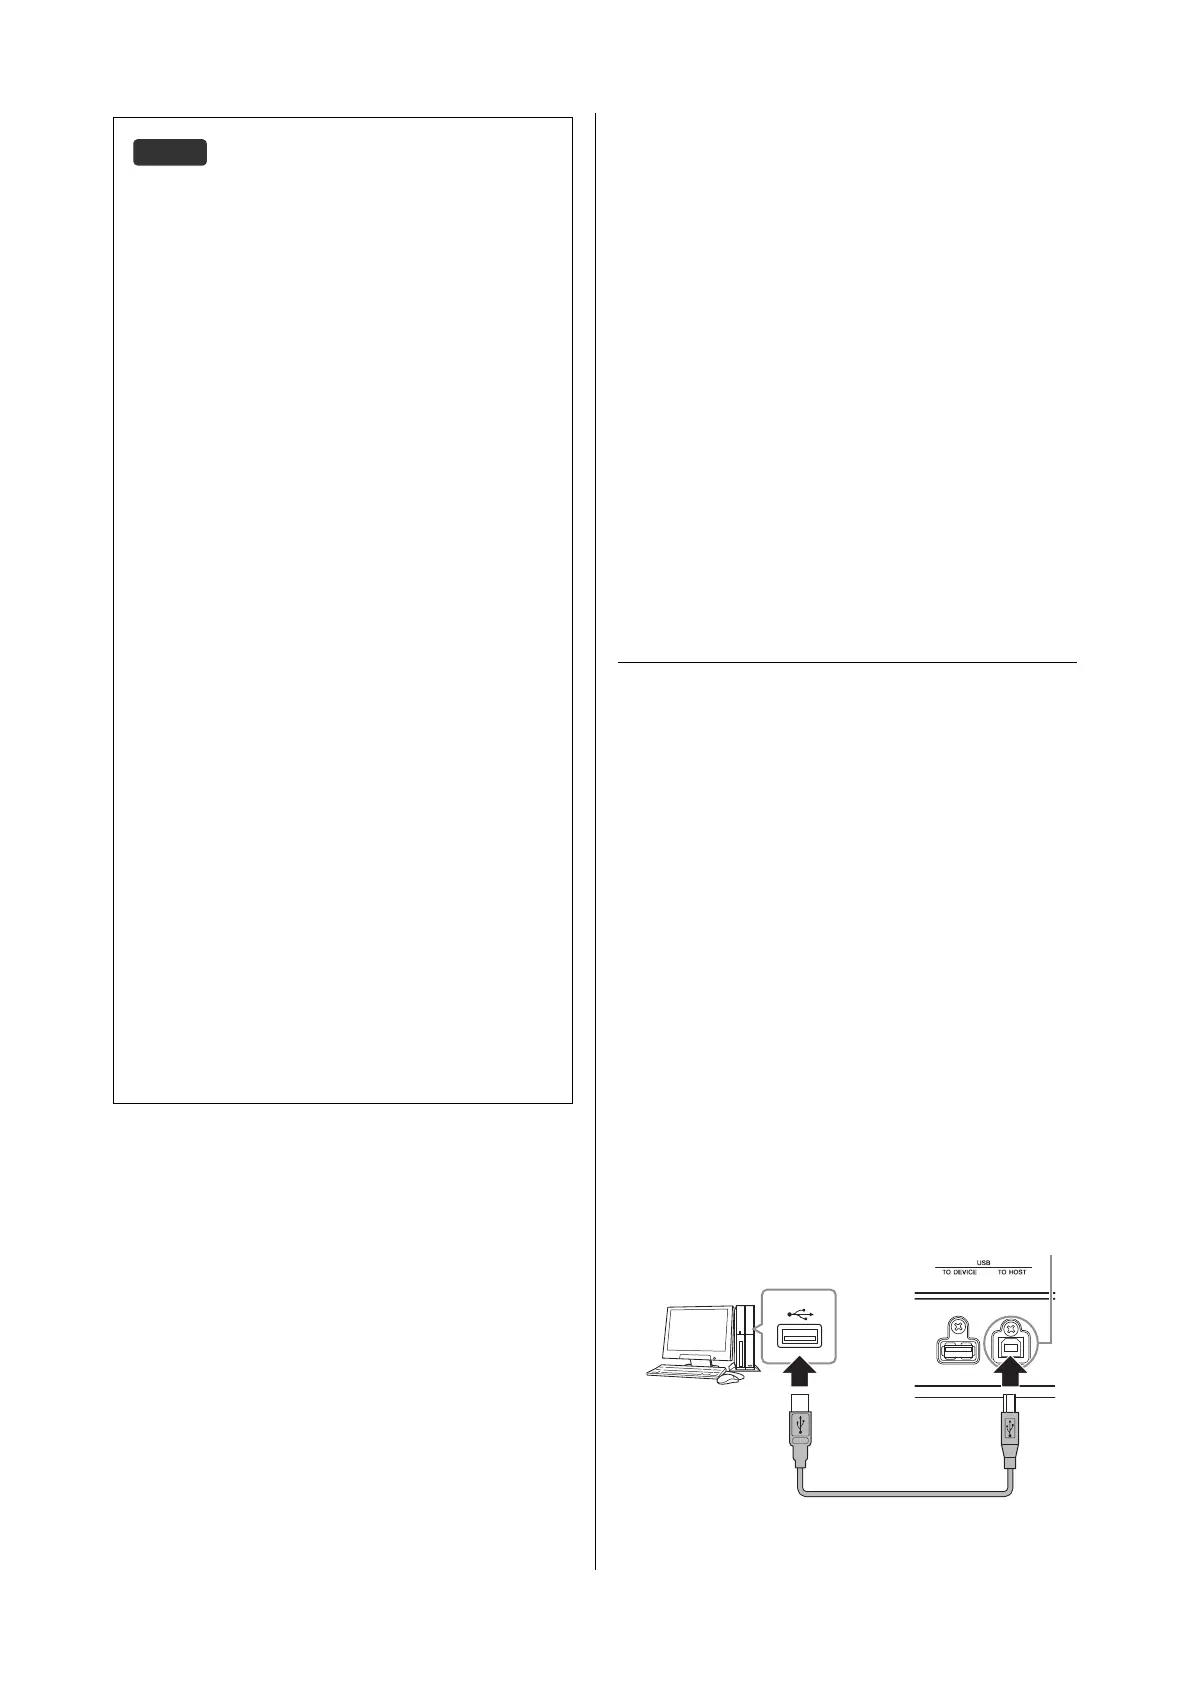
For instructions on installing, refer to the online Installation
Guide included in the downloaded file package. When
connecting this instrument to a computer, connect the USB
cable to the USB TO HOST of this instrument and the USB
terminal of the computer as shown below.
Splitting the sound between the MOX6/MOX8 and
an external tone generator by MIDI channel
Using the connection example shown above, you can play both
instruments and have them separately sound different parts—
for example, having your keyboard performance sound the
external instrument while the Song/Pattern plays the sounds of
the MOX6/MOX8. To use this feature, you must set the MOX6/
MOX8
’s output channel and the external tone generator’s receive
channel to the same channel number. Check the following points
after turning the power on.
When playing the keyboard in the Voice mode or
Performance mode:
Check the MIDI transmit channel with the following operation:
[UTILITY] [F6] MIDI [SF1] CH (channel) “KBDTransCh.”
If necessary, change this parameter to the same number as
the MIDI Receive Channel of the external MIDI instrument. In
the Voice play or Performance play, pressing the [TRACK]
button (so that the lamp lights) can also change the MIDI
Transmit Channel of the MOX6/MOX8. When you wish to sound
only the external tone generator, set the [Master Volume] control
to “0” or set Local Control to “off” with the following operation:
[UTILITY] [F6] MIDI [SF2] SWITCH “LocalCtrl” = “off.”
For information on how to set the MIDI Receive Channel of the
external MIDI instrument, refer to the owner’s manual of the
external MIDI instrument.
When playing back a Song/Pattern or playing the keyboard
in the Song mode or Pattern mode:
Check the MIDI transmit channel for each Track with the
following operation: [SONG]/[PATTERN]
[F3] TRACK
[SF1]
CHANNEL “OUT CH.” If necessary, change this parameter
to the same number as the MIDI Receive Channel of the external
MIDI instrument. Alternately, you can set the output destination
(Internal or external MIDI tone generator) for each Track from
the following display: [SONG]/[PATTERN] [F3] TRACK
[SF2] OUT SW. In this case, you’ll need to set the external MIDI
tone generator to multi-timbral operation and set the MIDI
Receive Channel for each part. For details, see the owner’s
manual of the external MIDI tone generator. Alternately, you can
have your keyboard performance split and assigned to
different MIDI channels by using the Zone settings in the Master
mode (page 55).
USB terminal
USB [TO HOST] terminal
Rear panel
USB cable
 Loading...