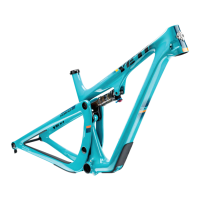
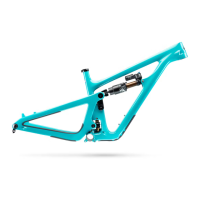
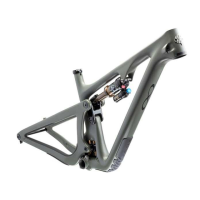
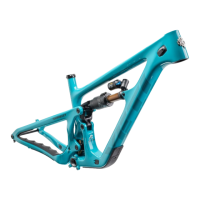
ASR | OWNER’S MANUAL
9
QC CHECK
Cycle rear triangle through to make sure motion
is smooth.
Take precaution to make sure link does not
contact seat tube.
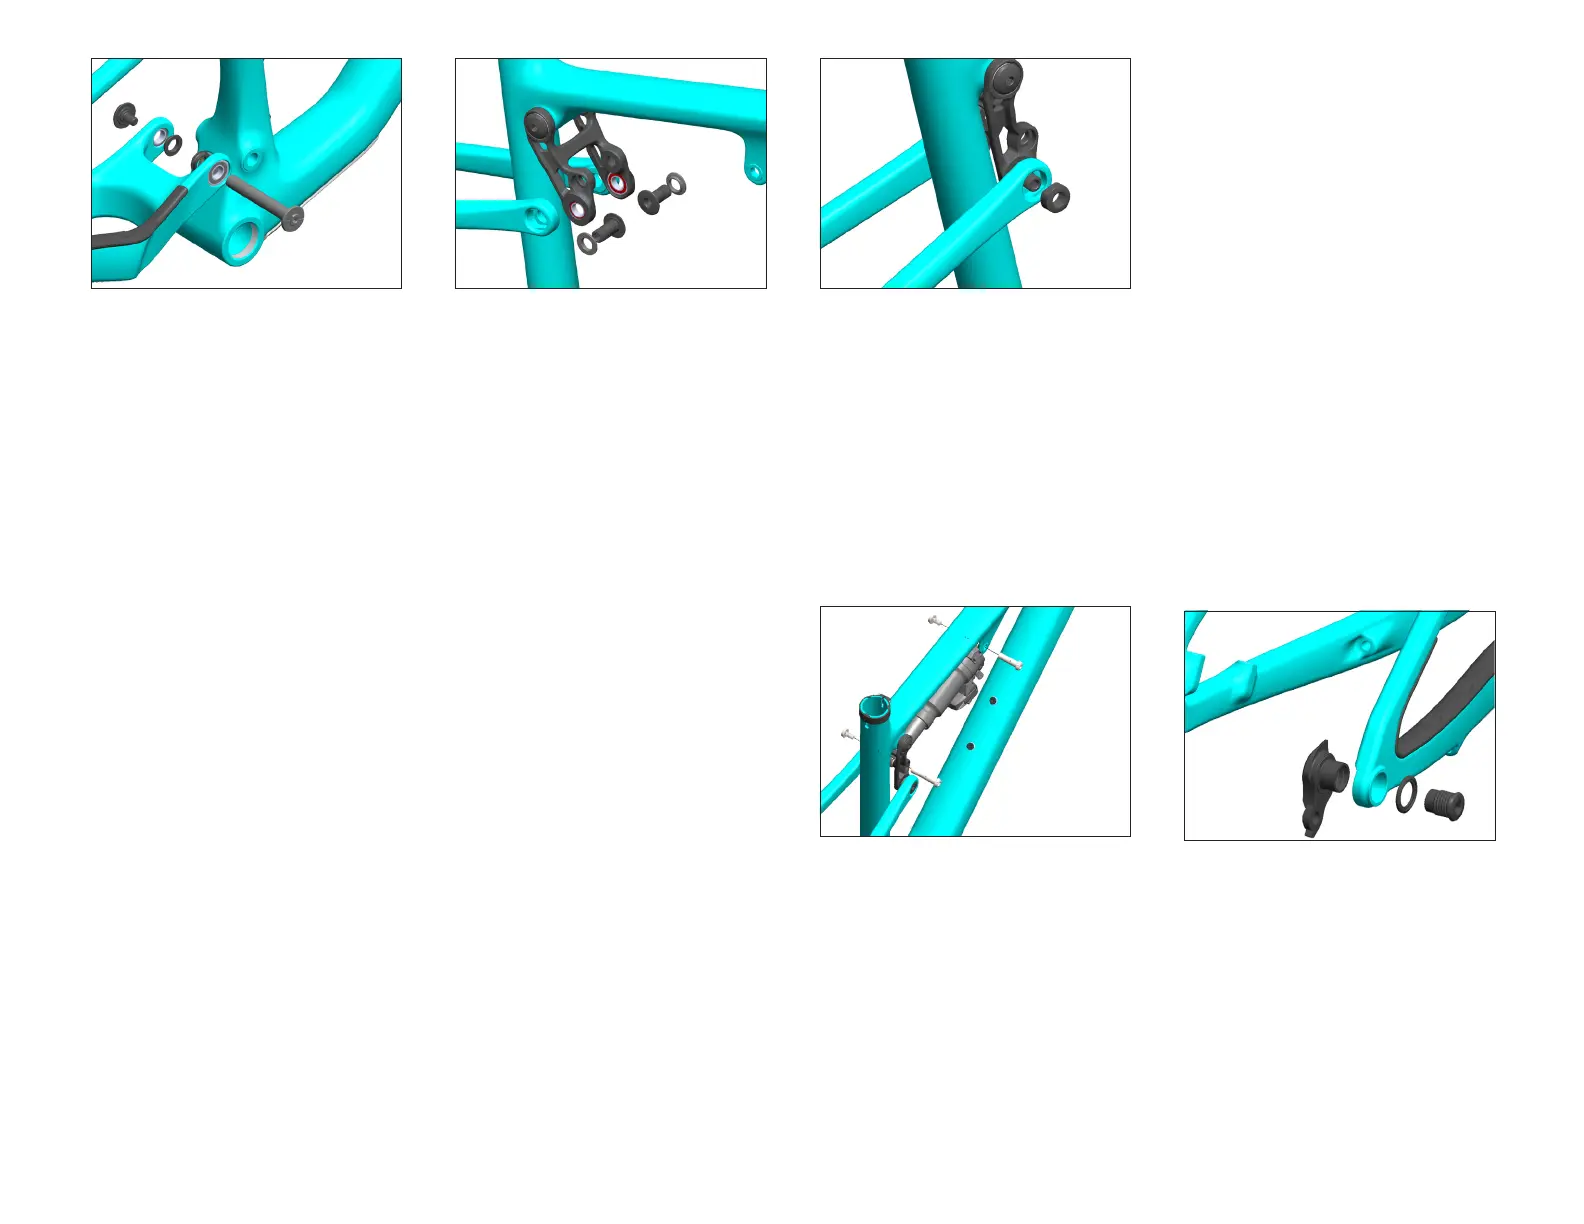
06
Place 2x Race Extender (3.4) onto rear triangle
main pivot bearings. The side of the race
extender that has the raised smaller diameter
should t against the bearing, allowing the at
side to rest against the carbon. Lightly greasing
under the ange of the race extnders will help
hold them in place during install.
Slide rear triangle assembly onto main pivot.
Lightly grease shaft of the Keyed Main Pivot
axle (3.2), apply Blue 243 Loctite to the threads
of the Main Pivot Screw (3.3) and secure.
Torque: 15 Nm
WARNING : Ensure the Flats on the Keyed
Axle (3.2) are aligned with the Flats in the
Front Triangle. DO NOT force installation. A
5mm allen key can help rotate the axle in the
frame if needed to align the axle, but do not
use this hex to tighten or loosen this bolt.
07
Place 2x Race Extenders (3.9) onto the lower
bearings in Link Assembly (3.1). The side of
the race extender that has the raised smaller
diameter should t against the bearing,
allowing the at side to rest against the carbon.
Lightly greasing under the ange of the race
extnders will help hold them in place during
install.
Rotate Rear Triangle and Link together, lining
up SS Pivot bores and slightly exing the
seatstay if needed. The link will have to be
rotated forward in order for the SS pivot screws
to clear the seat tube.
USE CAUTION to not scratch the seat tube.
Lightly grease shaft and apply Blue 243 Loctite
to threads of Seat Stay Pivot Screws (3.6).
Grease seatstay frame cavities where Keyed Nut
(3.8) will be installed.
08
Install 2x Seat Stay Pivot Screws (3.6) from the
inside of the Link and partially into the Rear
Triangle. Place 2x plain Keyed Nut (3.8) into the
Rear Triangle.
While supporting the rear triangle so the link
does not contact the seat tube, use a wrench
from the outside of the Swingarm to begin
tightening in the “left-hand” direction (this is
still a standard thread, but installed from the
inside), tightening the SS Pivot Screw and Keyed
Nut.
Torque: 15 Nm
09
Install the Shock into the frame by securing
eyelets with a Guide Pin. Lightly grease shaft
of female 8x38mm bolt (3.12) and install with
washer (3.13) through the link and shock. Apply
Blue 243 Loctite to threads of the M6 Male Bolt
(3.10) with washer (3.14) and secure.
Lightly Grease shaft of female 8x29mm bolt
(3.11) with washer (3.13) and install through
shock tabs on the Front Triangle and shock
eyelet. Apply Blue 243 Loctite to threads of
the M6 Male bolt (3.10) with washer (3.14) and
secure.
Torque: 10 Nm
10
Install Universal Hanger (3.15) to the frame. Do
not use grease. Note that the hanger cap bolt is
REVERSE THREADED.
Torque: 25 Nm

 Loading...