14
Control Tests
2
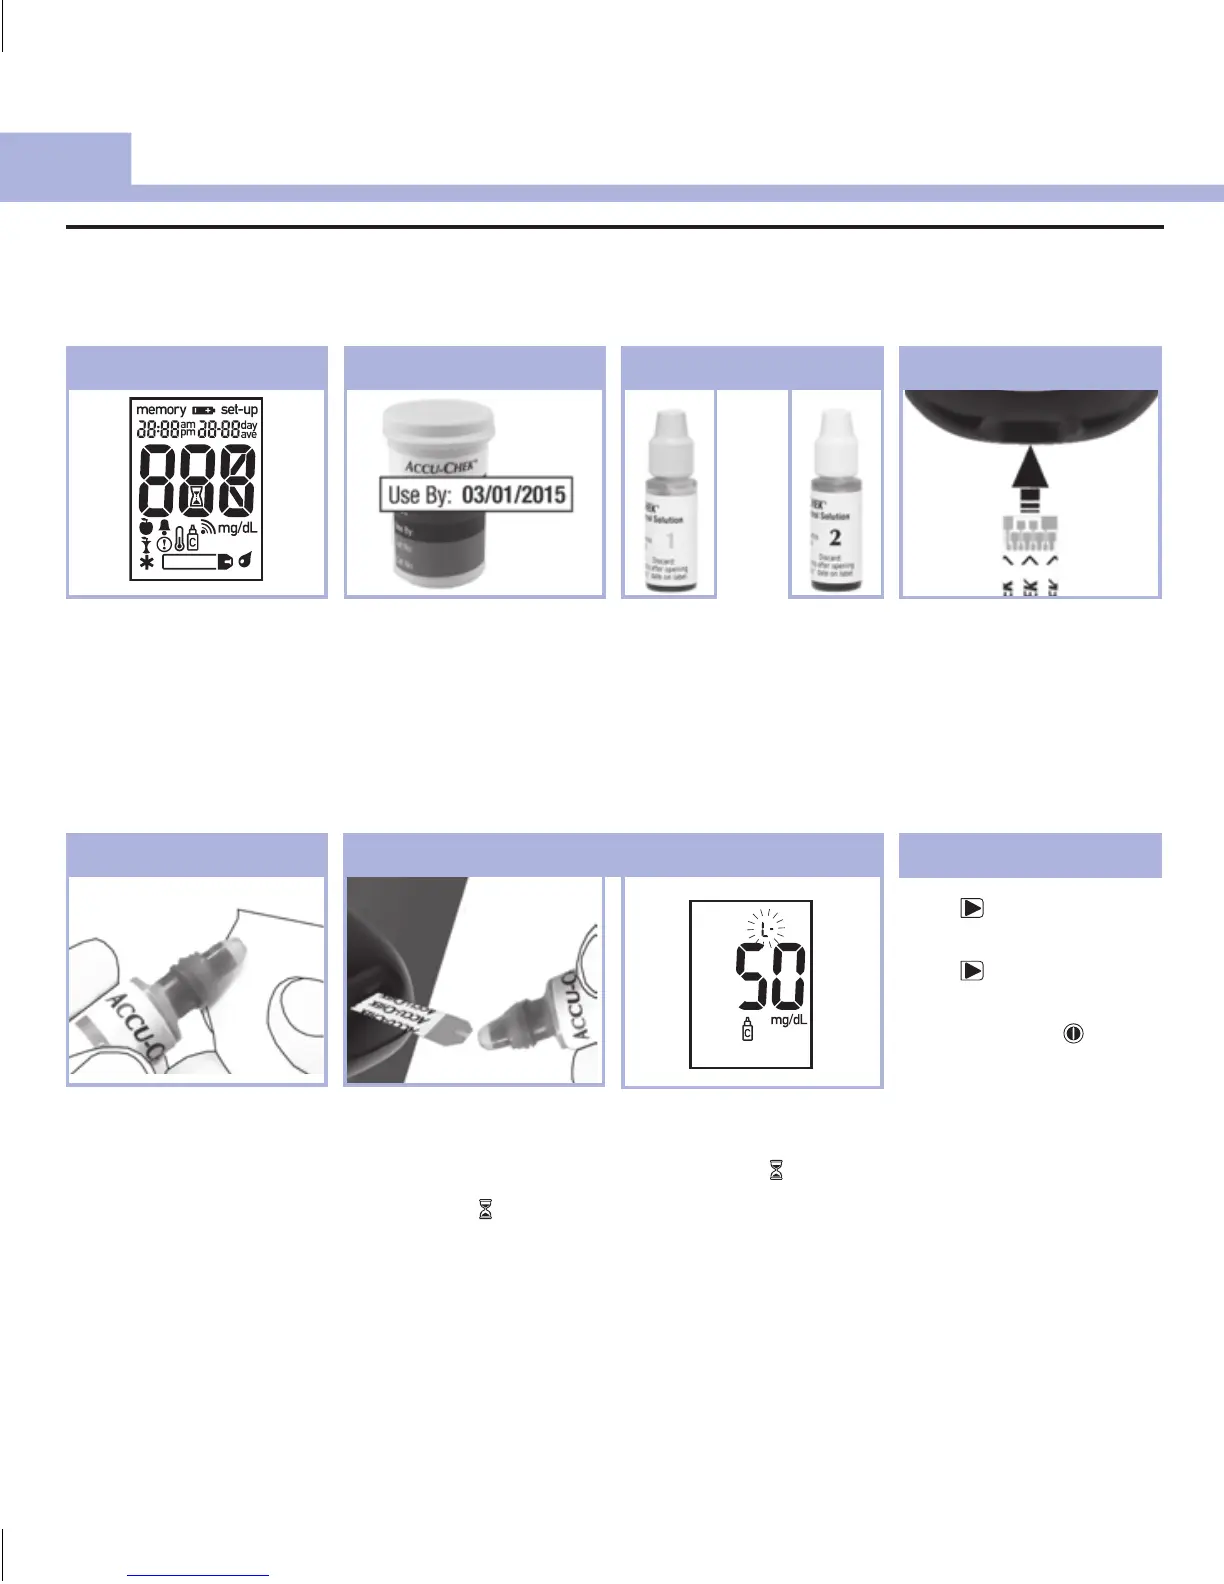
Remove the bottle cap.
Wipe the tip of the bottle
with a tissue.
Squeeze the bottle until a
tiny drop forms at the tip.
5
7
Touch the drop to the
front edge of the yellow
window of the test strip
until you see flash. Do
not put control solution
on top of the test strip.
When you see
flash,
there is enough control
solution in the test strip.
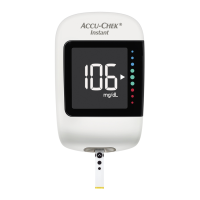
The control result, the
bottle symbol, and a
flashing L appear on the
display. Do not remove
the test strip yet.
Insert the test strip into
the meter in the direction
of the arrows.
Place the meter on a flat
surface.
4
Check the Use By date on
the test strip container.
Do not use test strips
past the Use By date.
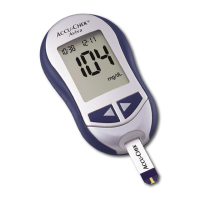
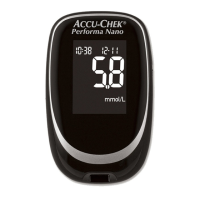
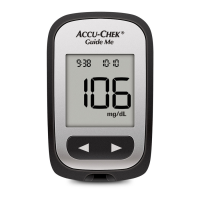
Check the meter display
for missing segments.
All segments should look
like the picture.
1 2
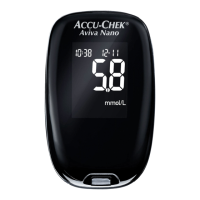
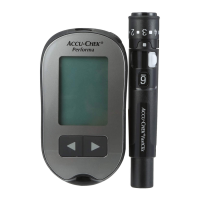
Performing a Control Test
You need the meter, a test strip, and control solution Level 1 or Level 2. The control level is printed on the
bottle label.
Select the control solution
to test. You will enter the
level later in the test.
3
Press once to mark the
control result as a Level 1.
Press a second time to
mark the control result as
a Level 2. Press to set
the control level in the
meter.
or
(for example)
6
51801_07021933001.indb 14 5/7/14 8:52 AM
 Loading...