L
Logan JohnsonJul 26, 2025
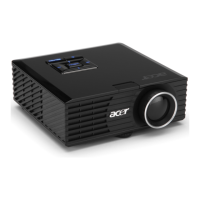
Why does my Acer K330 Projector USB drive fail?
- SSuzanne ConradJul 26, 2025
The USB drive may fail because it does not support the USB hub function or its power consumption exceeds 500mA.
 Loading...
Why does my Acer K330 Projector USB drive fail?
The USB drive may fail because it does not support the USB hub function or its power consumption exceeds 500mA.
What to do if Acer K330 stops responding?
If your Acer Projector stops responding, turn it off if possible, unplug the power cord, and wait at least 30 seconds before reconnecting the power.
What to do if USB/SD read fail on Acer K330?
If you experience a USB/SD read failure on your Acer Projector, ensure the USB device or SD card is properly inserted and functioning correctly. If necessary, remove and re-insert it several times.
| Number of colors | 1.073 billion colors |
|---|---|
| Native aspect ratio | 16:10 |
| Projection distance | 0.9 - 3 m |
| Projection technology | DLP |
| Supported aspect ratios | 4:3, 16:9 |
| Contrast ratio (typical) | 4000:1 |
| Screen size compatibility | 100 \ |
| Projector native resolution | WXGA (1280x800) |
| Keystone correction, vertical | -40/+40 ° |
| Vertical synchronization (max) | 0.120 kHz |
| Horizontal synchronization (max) | 100 kHz |
| Focal length range | - mm |
| Light source type | LED |
| Service life of light source | 20000 h |
| DVI port | No |
| AC (power) in | Yes |
| USB 2.0 ports quantity | 1 |
| Analog signal format system | NTSC, PAL, SECAM |
| Supported graphics resolutions | 1920 x 1080 (HD 1080) |
| RMS rated power | 2 W |
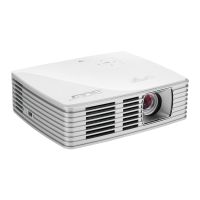
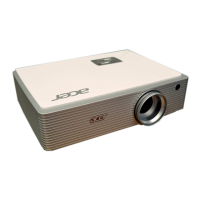
| Product type | Standard throw projector |
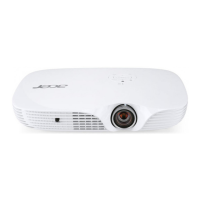
| Product color | Silver, White |
| Market positioning | Portable |
| Power source | AC |
| AC input voltage | 110 - 220 V |
| Power consumption (standby) | - W |
| Noise level | 29 dB |
| Compatible memory cards | SD |
| Depth | 168 mm |
|---|---|
| Width | 218 mm |
| Height | 46.5 mm |
| Weight | 1240 g |
Critical safety warnings regarding water, stability, ventilation, and electrical hazards.
Essential precautions to maximize the projector's lifespan and ensure safe operation.
Illustrates how to connect various devices to the projector for input.
Step-by-step guide on how to power on the projector and connect sources.
Common image problems and their solutions for PC input.
Solutions for display issues when using notebook computers.
Steps to resolve issues where the notebook screen doesn't display the presentation.
Tips for correcting unstable or flickering projected images.
How to fix vertical flickering bars in the projected image.
Steps to take when the projector becomes unresponsive.