8
English
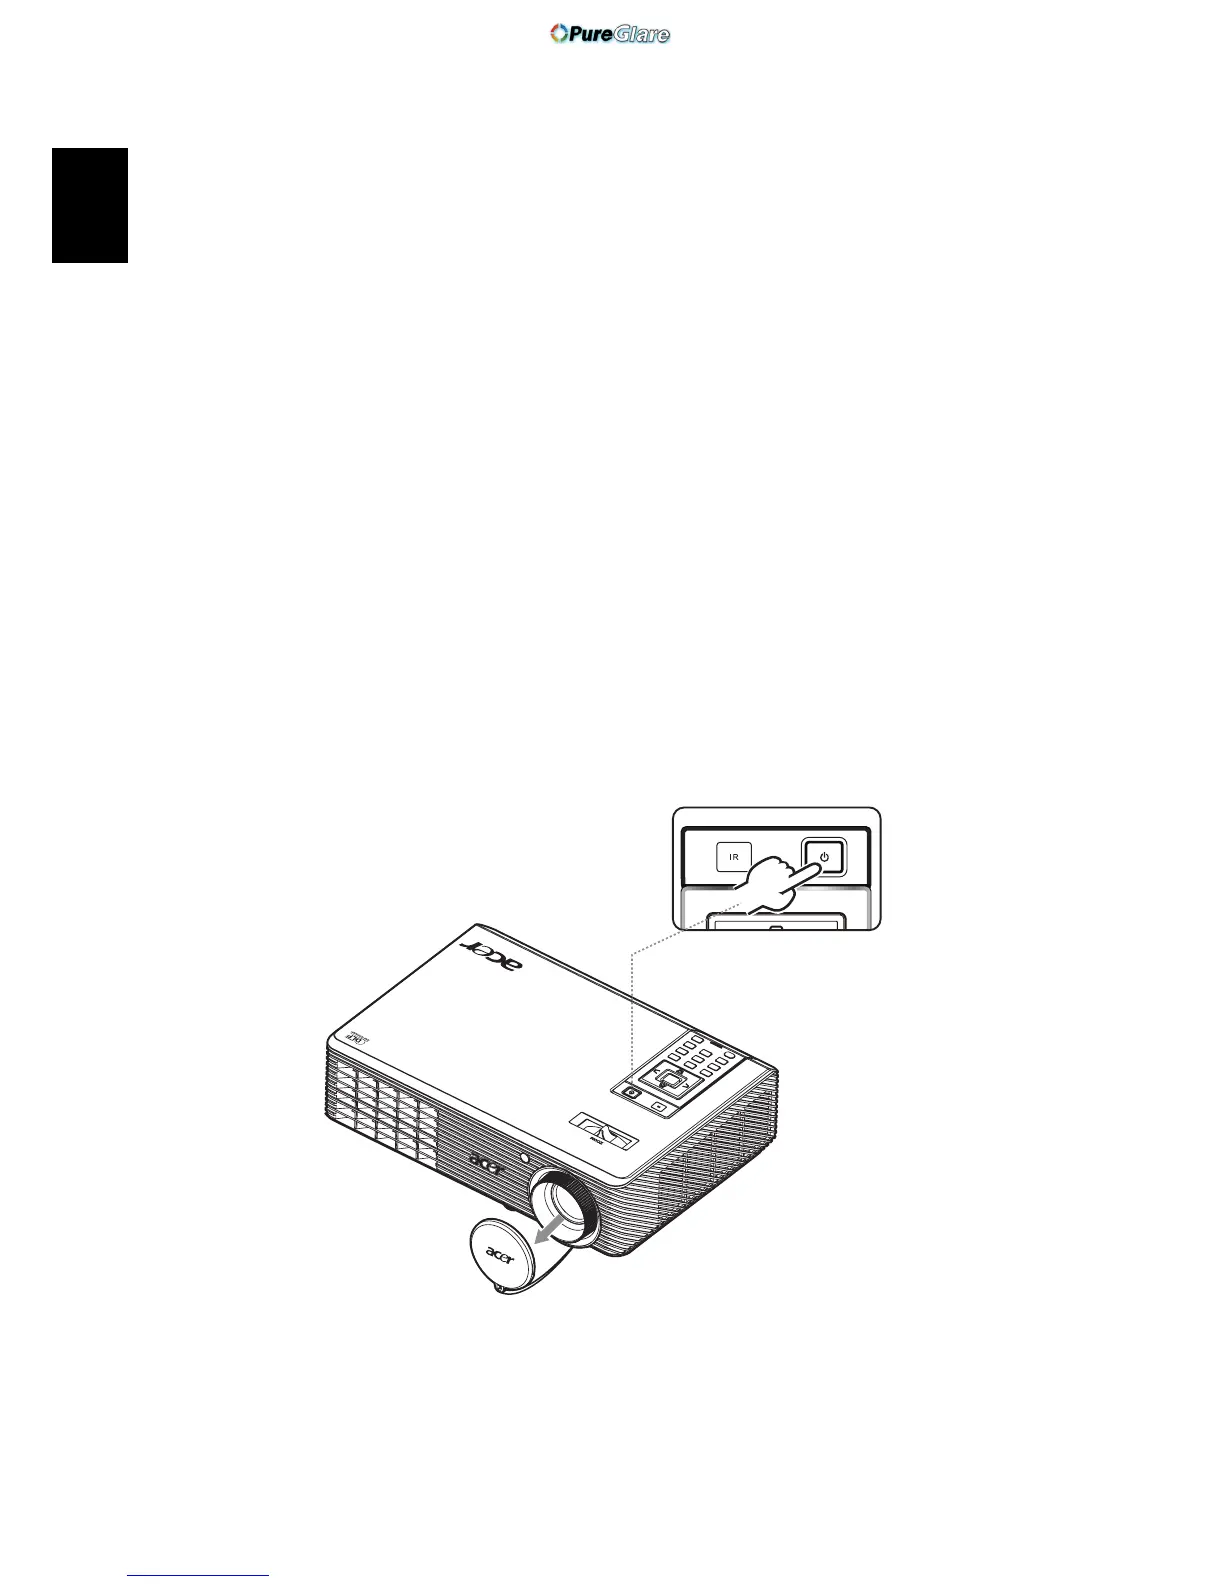
Turning the Projector On/Off
Turning on the Projector
1 Remove the lens cap.(Illustration #1)
2 Ensure that the power cord and signal cable are securely connected. The
Power indicator LED will flash red.
3 Turn on the projector by pressing "Power" button on the control panel,
and the Power indicator LED will turn blue. (Illustration #2)
4 Turn on your source (computer, notebook, video player ,etc.). The
projector will detect your source automatically.
• If the screen displays "Lock" and "Source" icons, it means the
projector is locked onto a specific source type and there is no such
type of input signal detected.
• If the screen displays "No Signal", please make sure the signal cables
are securely connected.
• If you connect to multiple sources at the same time, use the "Source"
button on the remote control to switch between inputs.
1
2
Lens cap
Power button
http://www.pureglare.com.au
 Loading...