Page 3 of 6
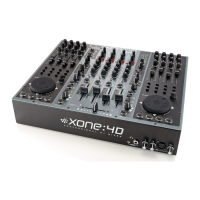
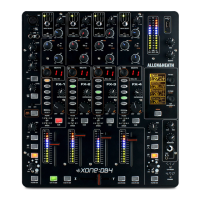
The number indicated next to each term below is a reference to the diagram above
Before you Record:
1. Make sure that both PC are ON (ask the lab assistant for assistance)
2. Switch on the 2 Speakers on your left and right. Ensure that the speakers volume knob is turned to the right
at least 75%.
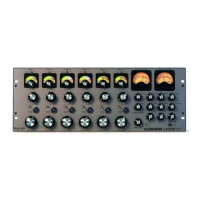
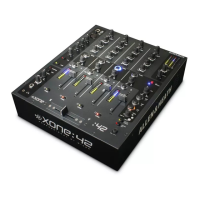
3. Switch on the XB-14 Radio Mixer (14).
4. Make sure you are logged in to AVID server. (Nothing should be saved on the Radio Lab computers)
Warning! To protect your hearing do not operate the headphones or sound system at excessively high volume.
Continued exposure to high volume sound can cause frequency selective or wide range hearing loss.
Keep the MIC 5cm away from your mouth. Having the volume too high will cause FEEDBACK and DISTORTION
Talk loud and clear in order to eliminate any noise and distortion
Recording:
i. Keep all Radio Mixer Strips down as well as the CRM SPEAKERS (11) and CRM PHONES (9).
ii. Ensure that the PHANTOM POWER is ON (12). A red LED will indicate that it is activated.
iii. Ensure that the MIC FADER UP (20) button is pressed IN (depress).
iv. Raise M1 fader to 0dB (1). M1 strip controls the microphone located above the Radio Mixer.
v. Raise M2 fader to 0dB (2) if you want to use the Radio Booth MIC which is located behind the class window.
Steps vi. to x. Apply to M2 Strip as well.
vi. Activate the ON Switch (4) on M1.
vii. Adjust the Equalizers of the strip (5).
viii. Ensure that the 100Hz High Pass Filter (6) is activated. This filter is used to reduce the pop noise and rumble
from the microphone signal.
ix. Raise PGM (8) fader to 0dB.
x. Wear the headphones and turn the CRM PHONES (9) knob to the middle. If the sound is too low turn the
knob to the right according to your preference. This applies to the GUEST PHONES (10) as well.
Make sure that the headphone knob on the LEFT earpiece is turned to the right.
 Loading...

