2 Rockwell Automation Publication PFLEX-IN015A-EN-P - March 2005
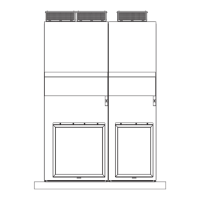
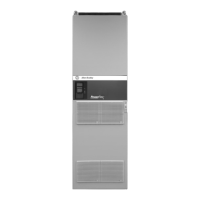
PowerFlex 700S and 700H Fan Inverter Upgrade Kit (Frame 9)
What You Need to Do
❐ Step 1: Remove power from the drive.
❐ Step 2: Remove the covers from the drive.
❐ Step 3: Remove the components from the Control Frame.
❐ Step 4: Remove the Control Frame and Conduit from the drive.
❐ Step 5: Remove the Cross Plate.
❐ Step 6: Remove the EMI-Protection Plate.
❐ Step 7: Remove the Main Fan.
❐ Step 8: Remove the Connector Plate.
❐ Step 9: Remove the AC components from the new Connector Plate
(on DC Input Drives).
❐ Step 10: Assemble the new Connector Plate.
❐ Step 11: Replace the fan capacitor.
❐ Step 12: Connect the new components.
❐ Step 13: Reassemble the drive.
 Loading...