10
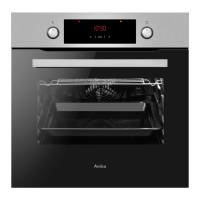
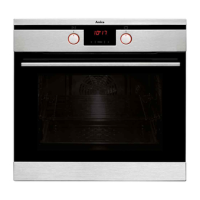
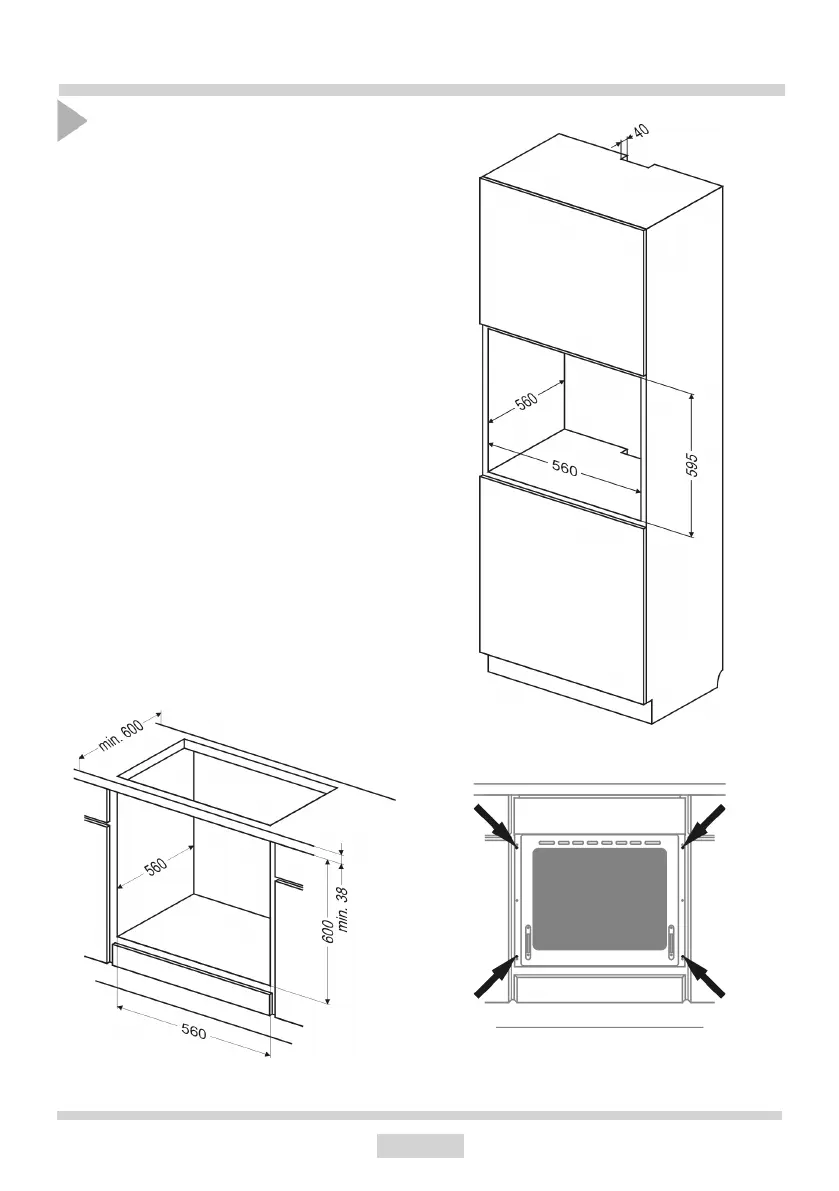
INSTALLATION
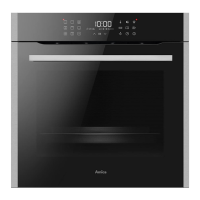
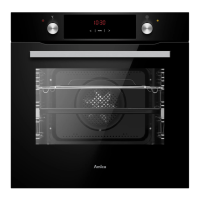
Installing the oven
● The kitchen area should be dry and aired
and equipped with ecient ventillation.
When installing the oven, easy access to
all control elements should be ensured.
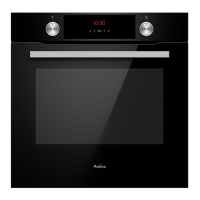
● This is a Y–type design built–in oven,
which means that its back wall and one
side wall can be placed next to a high
piece of furniture or a wall. Coating or
veneer used on tted furniture must be
applied with a heat–resistant adhesive
(100°C). This prevents surface deforma-
tion or detachment of the coating.
● Hoods should be installed according to
the manufacturer’s instructions.
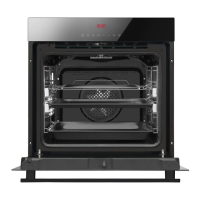
● Make an opening with the dimensions
given in the diagram for the oven to be
tted.
● Make sure the mains plug is disconnected
and then connect the oven to the mains
supply.
● Insert the oven completely into the open-
ing without allowing the four screws in the
places shown in the diagram to fall out.
 Loading...