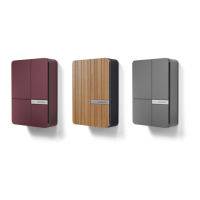
Ensure the LED status light shows a green light, this means
your charge point is ready to start charging. If it is solid green,
this means it is online. If it is flashing green or displaying
another colour, please see page 6.
Lift the lid on the charge point and carefully remove the charging
connector from the storage compartment.
Unwind the tethered cable.
Open the charge port of your vehicle, and plug the connector
into the Type 2 port.
You will know your vehicle is charging when you see a solid
orange light on the front of your A2 unit.
Starting a charging session
If your charge doesn't start, it
may be that a charging
schedule is enabled.
Please see page 9 for more
information on the
government regulations
regarding scheduling.
Andersen Quick Start Guide v2.0 - Page 7
The UK's premium EV charger

 Loading...