FOR MODELS: JGW, JGR AND JGJ SECTION 5 - MAINTENANCE
PAGE 5 - 4 1/01
should shift circumferentially during operation, oil can still travel to its inner surface and to
the crosshead pin. However, during installation of a new bushing, no more than 1/3 of the oil
passage hole in the rod should be covered by the bushing.
The bushing must be installed into the connecting rod by cooling the bushing in a dry ice and
alcohol solution. The bushing needs to be left in the solution long enough to reach the same
temperature as the solution, about -120°F (-85°C). DO NOT TOUCH COLD SURFACES
WITHOUT PROPER INSULATION TO PREVENT INJURY.
NOTE: ABSOLUTE CLEANLINESS IS REQUIRED OF BOTH THE BUSHING AND THE
CONNECTING ROD TO PREVENT DIRT FROM ACCUMULATING BETWEEN
THE BUSHING AND CONNECTING ROD.
Connecting Rod - Installation
1. Snap the half bearing shell into the rod with the bearing tab properly located in
the notch on the rod. With the crankcase top cover off, turn the throw to the inner
dead center position and slide the rod into the crosshead guide space.
NOTE: THE CAPS AND RODS ARE NUMBERED BY THROW BEGINNING WITH NUM-
BER ONE AT THE DRIVE END. ALWAYS INSTALL RODS WITH THE NUM-
BERS UP. BE SURE TO PROTECT CRANK PIN AT ALL TIMES.
2. Fit the connecting rod to the crank pin and turn to the highest position. Replace
the cap, the half bearing shell properly located in the notch, and the bolts. Snug
up all bolts. Do not tighten bolts to full torque at this point.
3. Reconnect the rod and the crosshead with the pin. Install the end plates, the
thru bolt and lock nut. Tighten the lock nut to the value listed in Table 1-11 on
page 1-15.
4. Tighten the connecting rod bolts in 25% increments to full torque to the values
listed in Table 1-11 using a crisscross pattern.
5. Measure each crankshaft to connecting rod bearing jack clearance, with a dial
indicator and magnetic stand, to the values listed in Table 1-3 on page 1-9. Turn
the crankshaft pin up and mount the indicator stand on an adjacent web with the
stem of the indicator on the rod above the centerline of the pin. Push down on
the rod, set indicator to zero, then pry up on the head of the connecting rod bolt
with a bar, observe and record reading
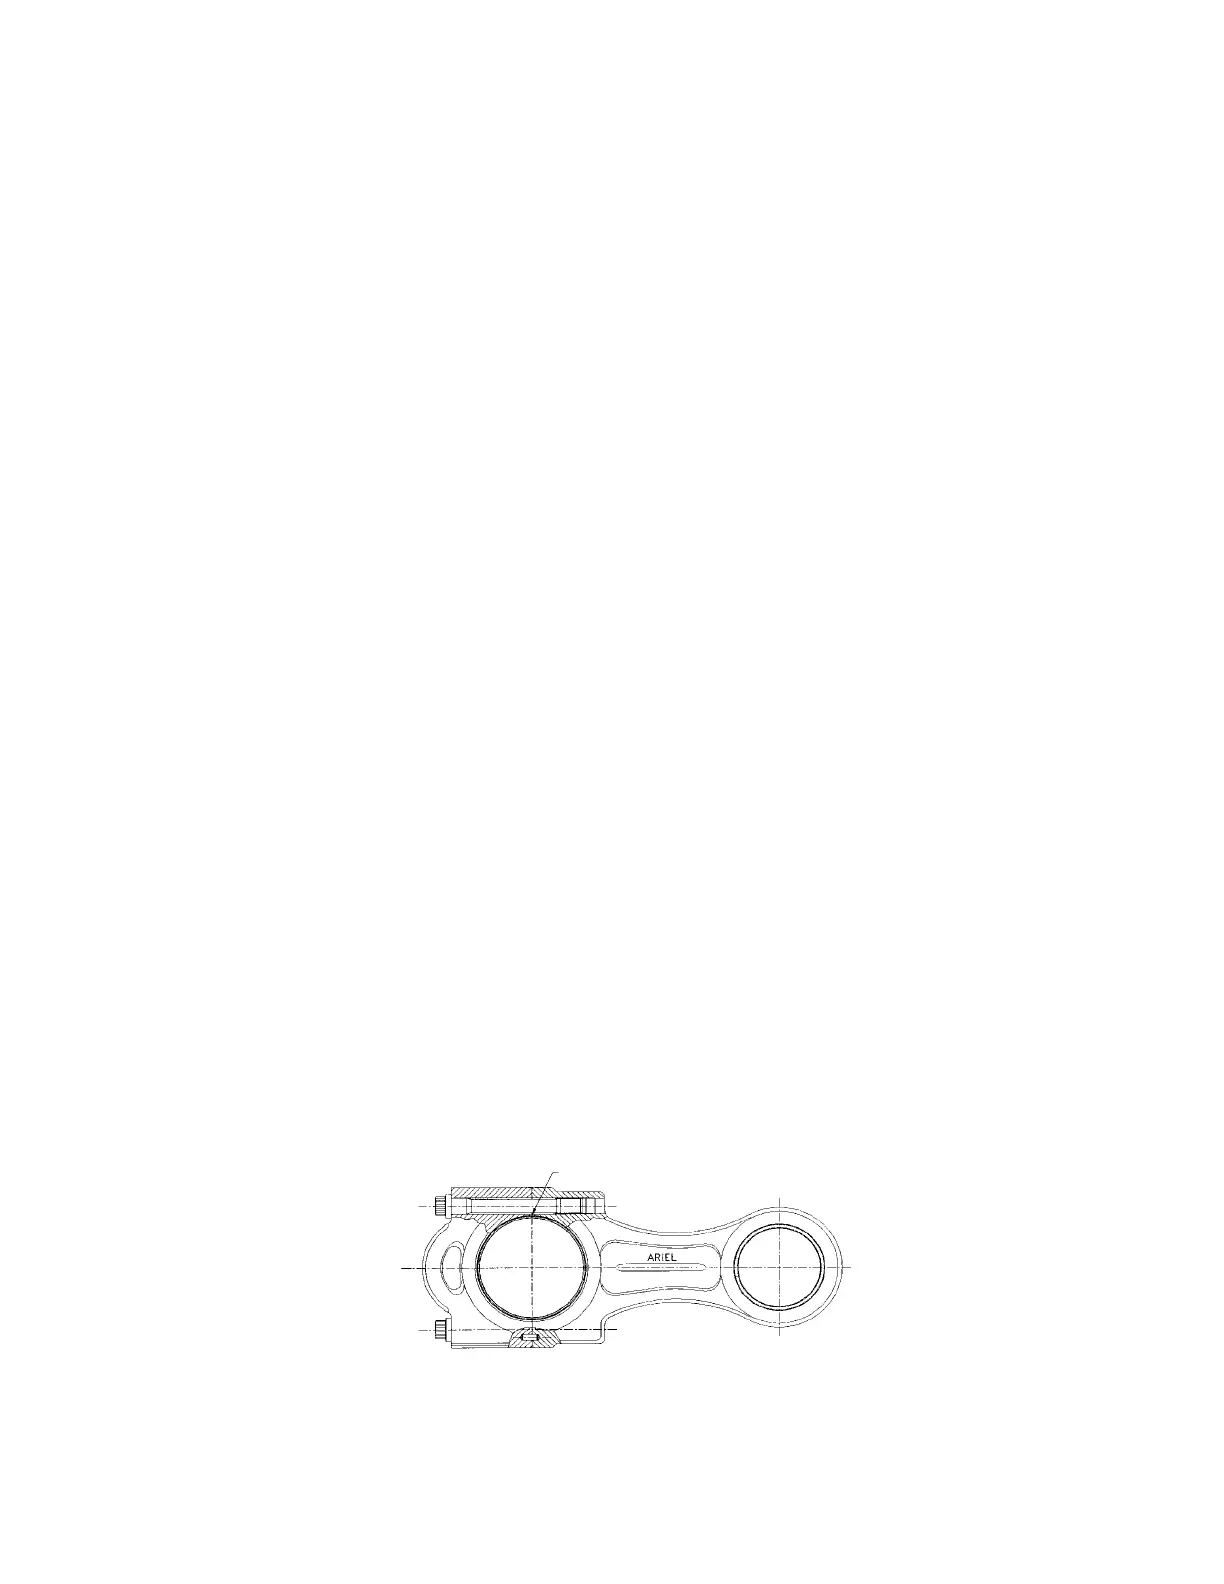
FIGURE 5-1: CONNECTING ROD - TYPICAL
Correct Orientation of the Rod is with
Bearing Notches on Top Joint.
Note: Install Throw Marking
and Joint Match Marks Up
 Loading...