 Loading...
Do you have a question about the Asus F1A75 and is the answer not in the manual?
| Non-ECC | Yes |
|---|---|
| Memory channels | Dual-channel |
| Number of memory slots | 4 |
| Maximum internal memory | 4 GB |
| Supported memory clock speeds | 1066, 1333, 1600, 1866 MHz |
| Supported memory module capacities | 16GB, 1GB, 2GB, 4GB, 8GB |
| Processor socket | Socket FM1 |
| Processor manufacturer | AMD |
| Maximum number of SMP processors | 1 |
| USB 2.0 connectors | 2 |
| Number of SATA III connectors | 6 |
| Number of Parallel ATA connectors | 0 |
| USB 2.0 ports quantity | USB 2.0 ports have a data transmission speed of 480 Mbps, and are backwards compatible with USB 1.1 ports. You can connect all kinds of peripheral devices to them. |
| Audio chip | Realtek ALC892 |
| Component for | PC |
| Motherboard chipset | AMD A75 |
| Audio output channels | 7.1 channels |
| Motherboard form factor | ATX |
| Compatible operating systems | - |
| Trial software | Anti-virus |
| Cables included | SATA |
| Bundled software | ASUS PC Probe II ASUS Update |
| PCI slots | 3 |
| PCI Express slots version | 2.0 |
| Graphics card | Radeon HD 6000 |
| RAID levels | 0, 1, 10, JBOD |
| LAN controller | Realtek RTL8111E |
| Ethernet interface type | Gigabit Ethernet |
| BIOS type | UEFI |
| ACPI version | 2.0a |
| BIOS memory size | 32 Mbit |
| Depth | 224 mm |
|---|---|
| Width | 305 mm |
Opening remarks and thank you for purchasing the ASUS F1A75 motherboard.
Lists all items included in the motherboard package for user verification.
Details product highlights like AMD APU support and ASUS exclusive features.
Provides essential safety precautions and guidelines before installing components.
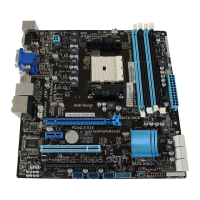
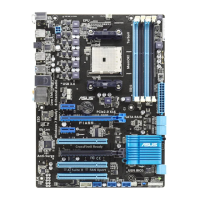
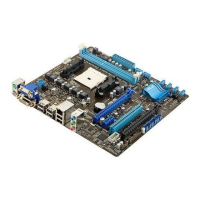
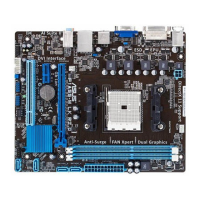
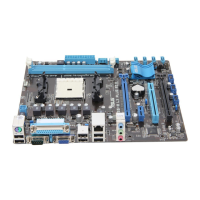
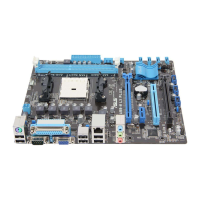
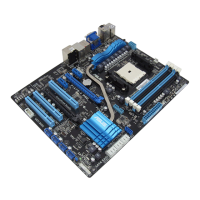
Visual guide and explanation of motherboard layout, placement, and screw holes.
Instructions on orienting the motherboard in the chassis and securing it with screws.
Diagrams and lists identifying motherboard components, connectors, and layout.
Information on the AMD APU socket and installation procedures.
Step-by-step guide for correctly installing the APU into the FM1 socket.
Instructions for mounting the CPU heatsink and fan assembly.
Details about DDR3 DIMM sockets, memory configurations, and installation.
Basic information on the motherboard's DDR3 DIMM sockets and their configuration.
Guidance on installing memory modules, capacity limits, and compatibility.
Step-by-step procedures for installing and removing DIMM memory modules.
Describes the types of expansion slots and how to install expansion cards.
Procedures for installing and configuring expansion cards in available slots.
Details on PCI, PCI Express x1, and PCI Express x16 slot specifications.
Explanation of the Clear RTC RAM jumper for clearing CMOS settings.
Guide to rear panel and internal connectors for system assembly.
Identification and function of all ports on the motherboard's rear I/O panel.
Details on internal connectors like fan headers, power connectors, and front panel headers.
Details the MemOK! switch for automatic memory compatibility tuning.
Explains the function of onboard LEDs like Standby Power and DRAM status.
Information on operating system support and the included support DVD contents.
Guidance on installing compatible operating systems and essential service packs.
Details on accessing drivers, utilities, and software from the support DVD.
Covers utilities like ASUS Update, EZ Flash 2, CrashFree BIOS 3, and BIOS Updater.
Utility for managing, saving, and updating the motherboard BIOS within Windows.
Utility to update BIOS without an OS-based utility using a USB flash disk.
Auto-recovery tool to restore BIOS from corruption using support DVD or USB.
Utility to update BIOS in a DOS environment and backup current BIOS.
Instructions on how to enter and navigate the BIOS setup program.
Explains EZ Mode and Advanced Mode interfaces for BIOS configuration.
Overview of basic system information and settings like language, date, time, and security.
Configuration options for system language, date, time, and security settings.
Detailed options for overclocking, CPU, memory, and voltage adjustments.
Configuration options for CPU, SATA, USB, NB, onboard devices, and APM.
Settings for CPU features, SATA port types, and USB device support.
Configuration for Northbridge, onboard devices, and power management (APM).
Displays system temperatures, voltages, fan speeds, and Q-Fan control settings.
Monitoring system hardware health and adjusting fan speed controls.
Settings for chassis fan behavior, system voltages, and surge protection.
Settings for boot device priority, startup options, and boot overrides.
Access to utilities for BIOS saving/loading, and SPD information.
Options to load defaults, save changes, discard changes, or exit BIOS.