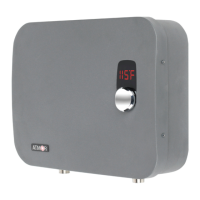
6
118
º
F
4. Mounting Your Water Heater
1. The instant water heater must be secured to solid mounting surface with four screws
(minimum 1” (25.4mm) long).
2. Make sure the unit is level before fastening the screws.
3. The unit must be installed in an upright position with the water inlet and outlet at the bottom
of the unit. Do not install with connections on top or the sides.
4. Do not install the unit above electrical boxes or junctions.
5. The water heater must be installed in a manner that prevents contact with ammable materials.
Keep ammable material at least two feet away from the heater and the hot water outlet pipe.
The water heater and the hot water outlet pipe must be secured, and out of children’s reach
to prevent tampering with controls or contact with an extremely hot pipe.
6. If installing the heater on an upper oor or attic, make sure installation complies with the local
codes. Install a drip pan with drainage, or a leak detector and automatic shuto valve, to
prevent damage in case of any leakage.
7. Unscrew the 4 cover screws, and remove the unit cover. (Figure 1)
8. Disconnect the cables from the PCB within the unit.(Figure 2)
9. Use 4 mounting screws that are at least 1 inch (25.4mm) in length, mount the unit on the
wall. (Figure 3)
10. Make sure the unit is leveled horizontally, with water inlet and outlet at the bottom (Figure 4)
Fig. 1 Fig. 2 Fig. 3
Fig. 4
Do not install upside down
or on its side
Fig. 5
118
º
F
Water
Filter
 Loading...