11
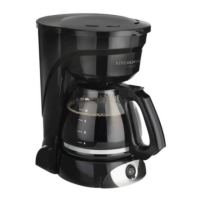
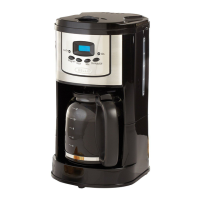
4. Lower the lter holder down into the housing. Close the lid.
5. Plug the power cord into 120V/60HZ power supply socket, the background indicator will
illuminate, and “AM 12:00” will ash. The backlight indicator will go into sleep mode within
15 seconds if no further buttons are selected.
6. Press the ON/OFF button. The Coffee Maker will begin the brew cycle.
NOTE: To interrupt the brew process at any time, press the ON/OFF button until you hear
a beep.
7. Upon completion of the brew cycle, wait at least 1 minute until the dripping coffee from the
ow valve into the carafe has stopped. The carafe lid should be kept in place to facilitate
safe serving and help keep coffee at a proper serving temperature. Tilt the carafe slightly
and pour the hot coffee very slowly, so that the ow of the brewed coffee does not exceed
the width of the spout.
Once the brew cycle is complete, the LCD screen will show the TIME SINCE BREW icon and
0:00 will begin counting up. This represents the time since the brew cycle nished. To shut
down the unit, press the ON/OFF button.
8. Press ON/OFF button to turn the Coffee Maker OFF when the carafe is empty or when unit is
not in use.
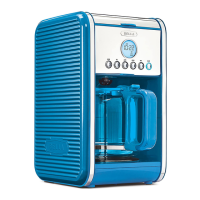
SETTING THE CLOCK
1. When the coffee maker is plugged in “AM 12:00” will ash.
2. Press HOUR button to select the Hour. Press and hold HOUR to toggle quickly.
3. Press MINUTE button to select the minutes. Press and hold MINUTE to toggle quickly.
4. Press on the PROGRAM button to conrm the time
5. To re-set the clock: press and hold the PROGRAM button until the previously
settime ashes. Then follow the clock setting method.
 Loading...