English | 13
Bosch Power Tools 1 609 92A 0X9 | (28.7.14)
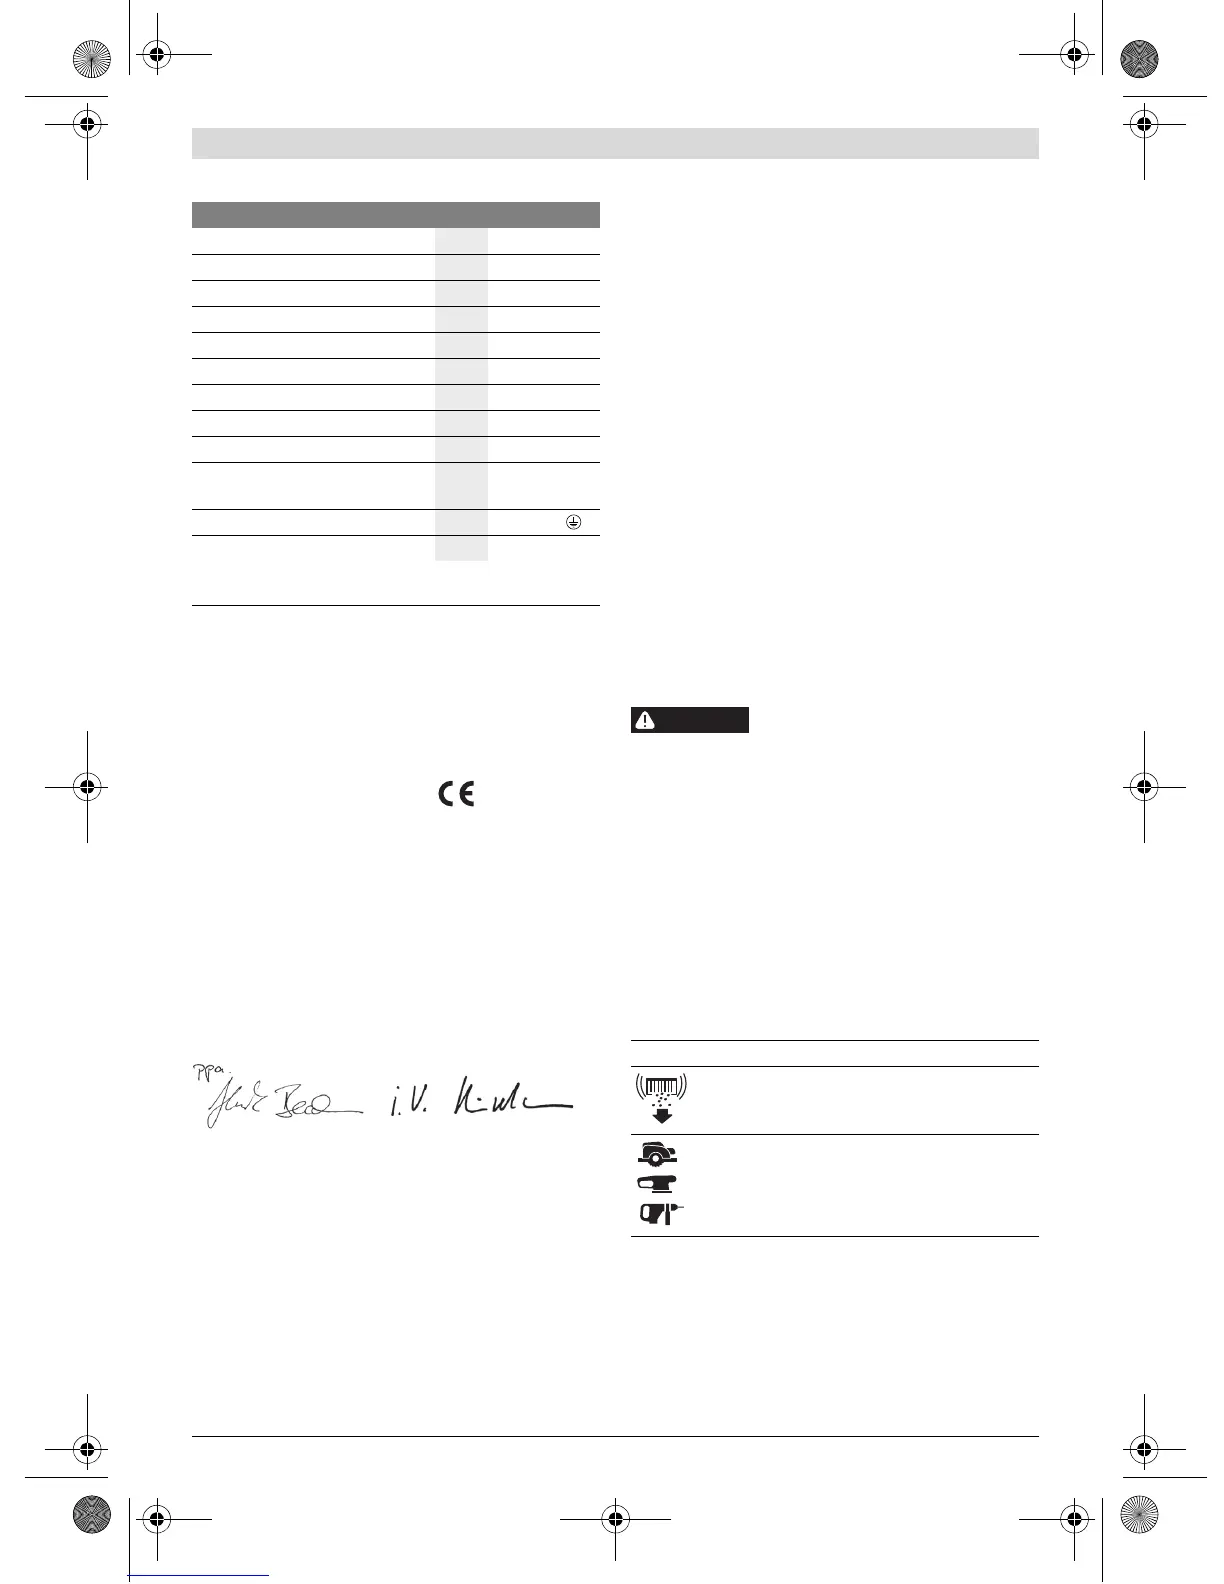
Technical Data
Noise Information
Sound emission values determined according to
EN 60335-2-69.
Typically the A-weighted sound pressure level of the product
is less than 70 dB(A). Uncertainty K = 3 dB.
The noise level when working can exceed 80 dB(A).
Wear hearing protection!
Declaration of Conformity
We declare under our sole responsibility that the product de-
scribed under “Technical Data” is in conformity with all rele-
vant provisions of the directives 2011/65/EU, 2014/30/EU,
2006/42/EC including their amendments and complies with
the following standards: EN 60335-1, EN 60335-2-69.
Technical file (2006/42/EC) at:
Robert Bosch GmbH, PT/ETM9,
70764 Leinfelden-Echterdingen, GERMANY
Robert Bosch GmbH, Power Tools Division
70764 Leinfelden-Echterdingen, GERMANY
Leinfelden, 29.07.2014
Assembly
Before any work on the vacuum cleaner itself, pull the
mains plug.
Replacing/Inserting the Dust Bag (see figure A)
– Unlock the latches 10 and remove the vacuum lid 3.
– Pull off the full dust bag 11 from the connection flange to-
ward the rear. Close the opening of the dust bag by folding
down the lid. Remove the closed dust bag from the vacuum
cleaner.
– Slide the new dust bag 11 over the connection flange of the
vacuum cleaner. Make sure that the full length of the dust
bag 11 faces against the inner wall of the container 9. Re-
attach the vacuum lid 3.
– Lock the latches 10.
For dry vacuuming operation, a dust bag 11 should be insert-
ed. When operating with a dust bag 11, the folded filter 12
clogs slower, the vacuuming performance is kept up longer
and the disposal of dust becomes easier.
Mounting the Vacuum Hose (see figure A)
–Mount the vacuum hose 8 onto the hose connection piece
7 and turn it in clockwise direction to the stop.
– Insert the extension tubes firmly into each other.
Note: Bosch recommends using static-discharging hoses
with a hose Ø of 19 or 35 mm.
Operation
Starting Operation
Observe correct mains voltage! The voltage of the pow-
er source must agree with the voltage specified on the
nameplate of the vacuum cleaner. Equipment marked
with 230 V can also be operated with 220 V.
Switch the vacuum cleaner off immedi-
ately as soon as foam or water comes
out, and empty the container. Otherwise, the vacuum clean-
er can become damaged.
Please inform yourself about the valid regula-
tions/laws for your country concerning the handling of
materials that are hazardous to one’s health.
The vacuum cleaner is suitable for vacuuming and extracting
the following materials:
– Dusts with an exposition limit value > 1 mg/m
3
The vacuum cleaner may generally not be used in rooms
where the danger of an explosion exists.
Symbols on the Mode Selector Switch
Switching On and Off
–To start the operation of the vac, set the mode selector
switch 4 to on.
To save energy, only switch the vacuum cleaner on when
using it.
–To switch off the vac, set the mode selector switch 4 to
off.
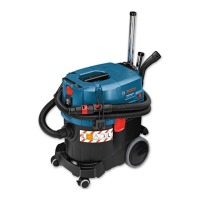
All-Purpose Vacuum Cleaner GAS 25 L SFC
Article number
0 601 979 1..
Rated power input
W1200
Frequency
Hz 50/60
Container volume (gross)
l25
Net volume
l16
Dust bag contents
l9
Vacuum (turbine), max.
hPa 248
Airflow (turbine), max.
m
3
/h 220
Surface of folded filter
cm
2
4300
Weight according to
EPTA-Procedure 01/2003
kg 11.8
Protection class
/I
Degree of protection
IP 24
The values given are valid for nominal voltages [U] of 230 V. For lower
voltage and models for specific countries, these values can vary.
Henk Becker
Executive Vice President
Engineering
Helmut Heinzelmann
Head of Product Certification
PT/ETM9
on Switching On
off Switching Off
Electromagnetic filter cleaning (SFC)
Operation with remote automatic switching
WARNING
OBJ_BUCH-464-007.book Page 13 Monday, July 28, 2014 1:29 PM
 Loading...