12
Structural ceiling installation
Before beginning this method of installation see Section 3.1, “Ceiling type” to be
sure the ceiling qualifies for installation as a structural ceiling.
Note: Do not unhook the springs. Wear safety glasses.
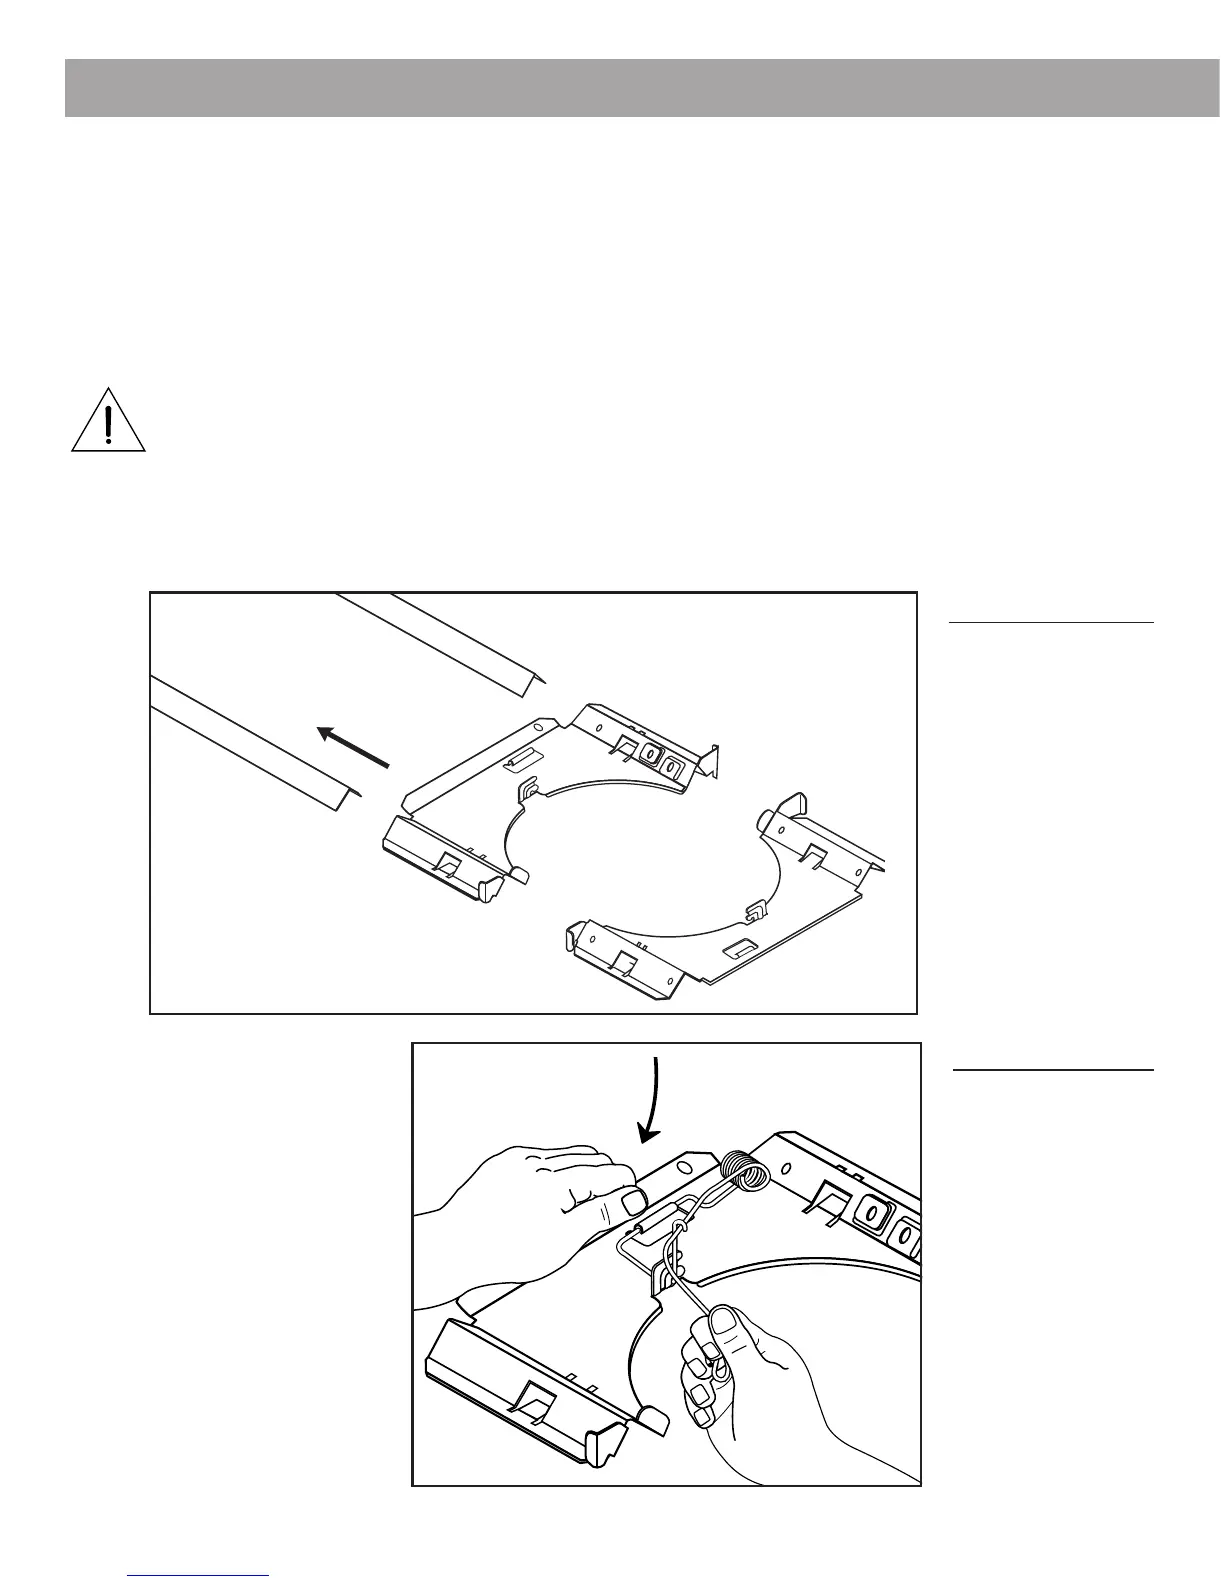
1. For both FreeSpace
®
6 Model 8 and Model 32 loudspeakers, remove the rails
from the ceiling pans (Figure 11). The ceiling pan will not fit through the
mounting hole with the rails installed.
WARNING:
An accidentally released spring can cause personal injury. Wear safety
glasses. Keep hands and fingers clear of the spring.
2. Place the spring under the spring retainer on the ceiling pan (see Figure 8,
page 10). Position the spring as shown and snap under the retaining hook.
3. Repeat for the second spring.
4.0 Installation
Figure 12
Figure 11
Rails
4. Move the springs to the
installation position shown
(Figure 12).
5. Slide the ceiling pan
halves through the mount-
ing hole (Figure 13). Place
one half on each side of
the mounting hole and
push to the outer edge of
the hole (Figure 14).
Note: If installing Model 8
loudspeakers, be sure the
halves do not overlap.
AM177915_03_V.pdf • May 6, 2002
 Loading...