4
5
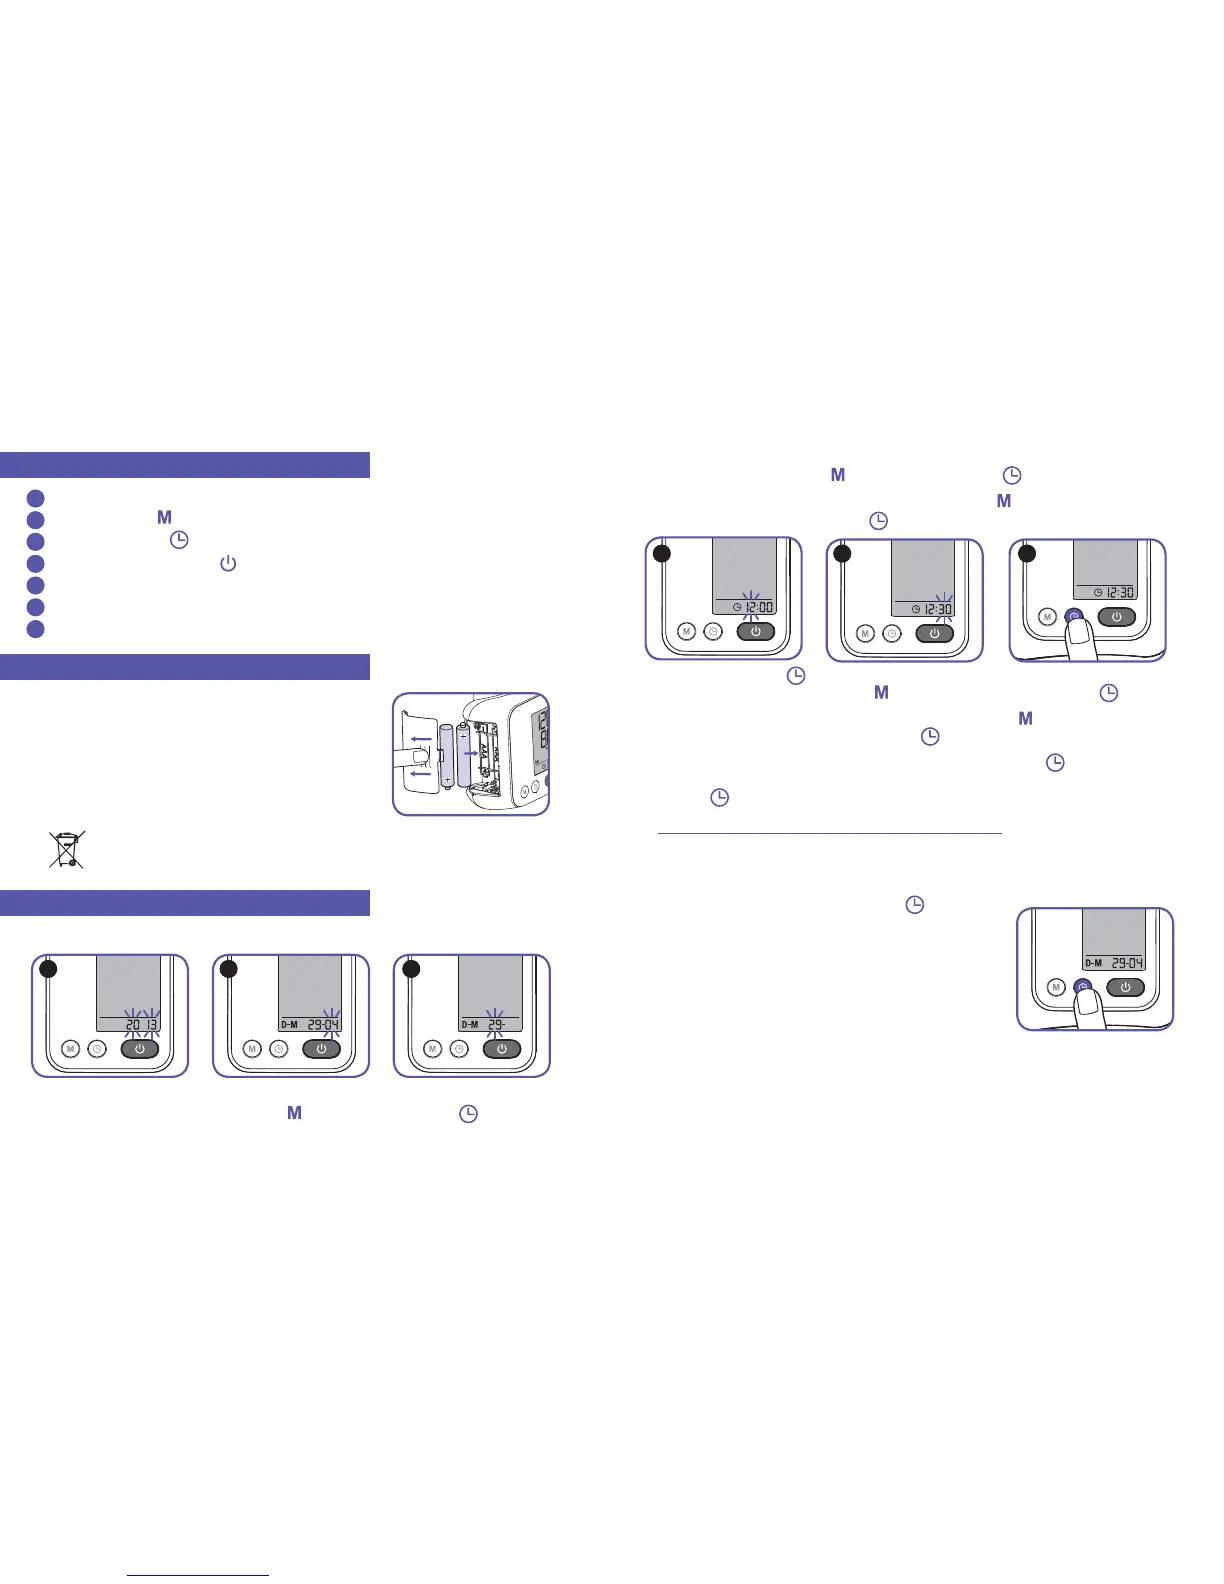
2. The display will then show D-M and the month number will fl ash. You can advance
the month by pressing the
button. To set, press the button.
3. Next, the day number will fl ash and you can press the button to advance
the days. To set the day press the
button.
4. Then, the time icon
will automatically appear and the hour number fl ashes.
Advance the hour by pushing the
button. To set the hour press the button.
5. Last, the minute number will fl ash, and you can press the
button to advance
the minutes. To set the minutes press the
button.
6. To complete, exit the time/date setting mode by pushing the
button. If you
want to change the time or date at anytime, press and hold the time/date
button
for 3 seconds and begin the process as described above.
Note: Time and date will be lost when changing batteries.
Viewing time and date
The display will always display the time. To view
the date, just press the time / date button
.
The date will display for 3 seconds and then revert
back to displaying the time.
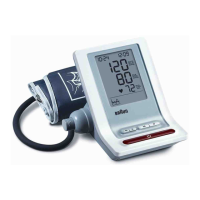
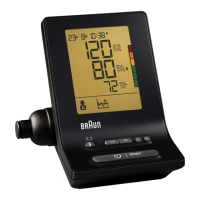
Product description
• Display
Memory button
Time/date button
(not available on the VitalScan1)
Power (start/stop) button
Cu
Battery compartment cover
Battery compartment
B
C
D
E
F
G
A
1 2 3
4 5 6
Inserting batteries
• Use alkaline batteries, type AAA 1.5V
as supplied with this product.
• Remove the battery compartment cover and insert
two batteries with correct polarity (see symbol in the
battery compartment).
• New batteries will provide approximately
200 measurements.
•
Only discard empty batteries. They should not be disposed of in the
household waste, but at appropriate collection sites or at your retailer.
Time and date (only for VitalScan 3)
Setting time and date
1. After new batteries have been installed, the year number fl ashes at bottom of
display. Advance the year by pressing
button. To set, press the button.

 Loading...