After installing the lter, remove the air inside the Hot Water Tank by pressing and holding
the Hot Water Lever as shown in the following gure until water starts to come out of the
water outlet.
Place a cup under the hot dispenser faucet. Squeeze the
front and back of the left faucet handle together and push
down until water ows continuously. Depress the cold
water faucet to make sure there is a continuous ow of
water
Remove the Air inside the Hot Water Tank
Case / Drip Tray
Case: Clean the dispenser using a soft damp cloth. At
all times, do not use abrasive cleaning materials or
implements.
Once the soiled parts of the dispenser have been
cleansed, dry using a soft cloth.
Drip Tray: Clean the Drip Tray and then wipe o with a
neutral detergent and a soft cloth.
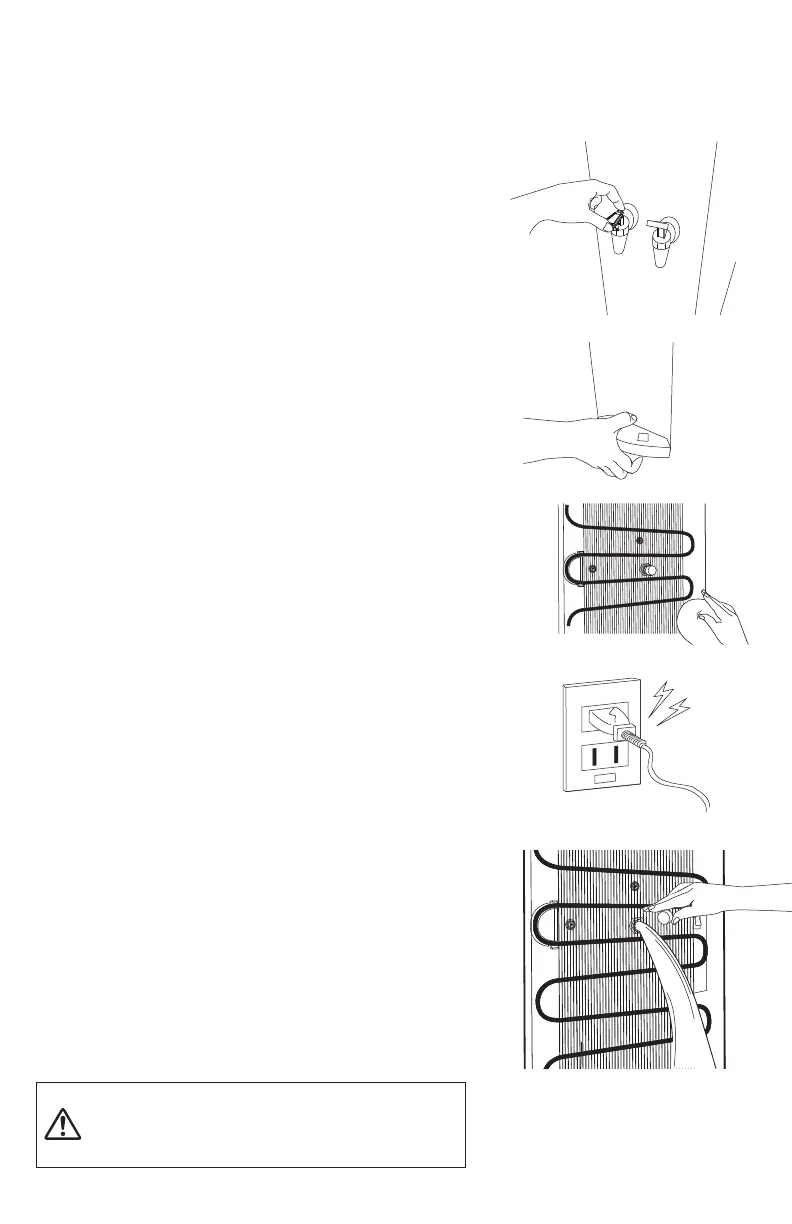
Leakage of Tank
If there are any leakages, drain the Cold Water through
Water outlet.
Drain the hot water by removing the cap of Hot Water
Drain Valve.
Check the Leakage
If the lter is not installed properly, or when the Drain
Cork is not closed completely, leakage may occur. Check
if there are any leakages on the back or bottom by
moving the dispenser.
Radiator Condenser
A radiator is mounted on the back of Dispenser. If it is too
close to a wall, or when the radiator gets covered in dust,
the cooling eciency will be impaired. Please clean the
dust o with a soft brush or vacuum cleaner. This should
be done regularly.
Check the Power Cord / Plug
Check to see that the power cord is not damaged or
overheating, and also that no heavy objects are placed
on it. Failure of the power cord could lead to re or shock
hazards. Please frequently check.
Cautions
Before draining hot water, wait one hour
after turning power o to allow water to
cool down. Otherwise, you may be burnt
by hot water.
 Loading...