pg. 6, Revision 6/2017
4. The scan direction moves from the center of the cross-hairs towards the top of the
displayed image.
5. Click on the Measurement icon to initiate the data collection. The real time Data
Acquisition window open, where you can track the data collection. Once the scan has
completed the Data Analysis window automatically opens.
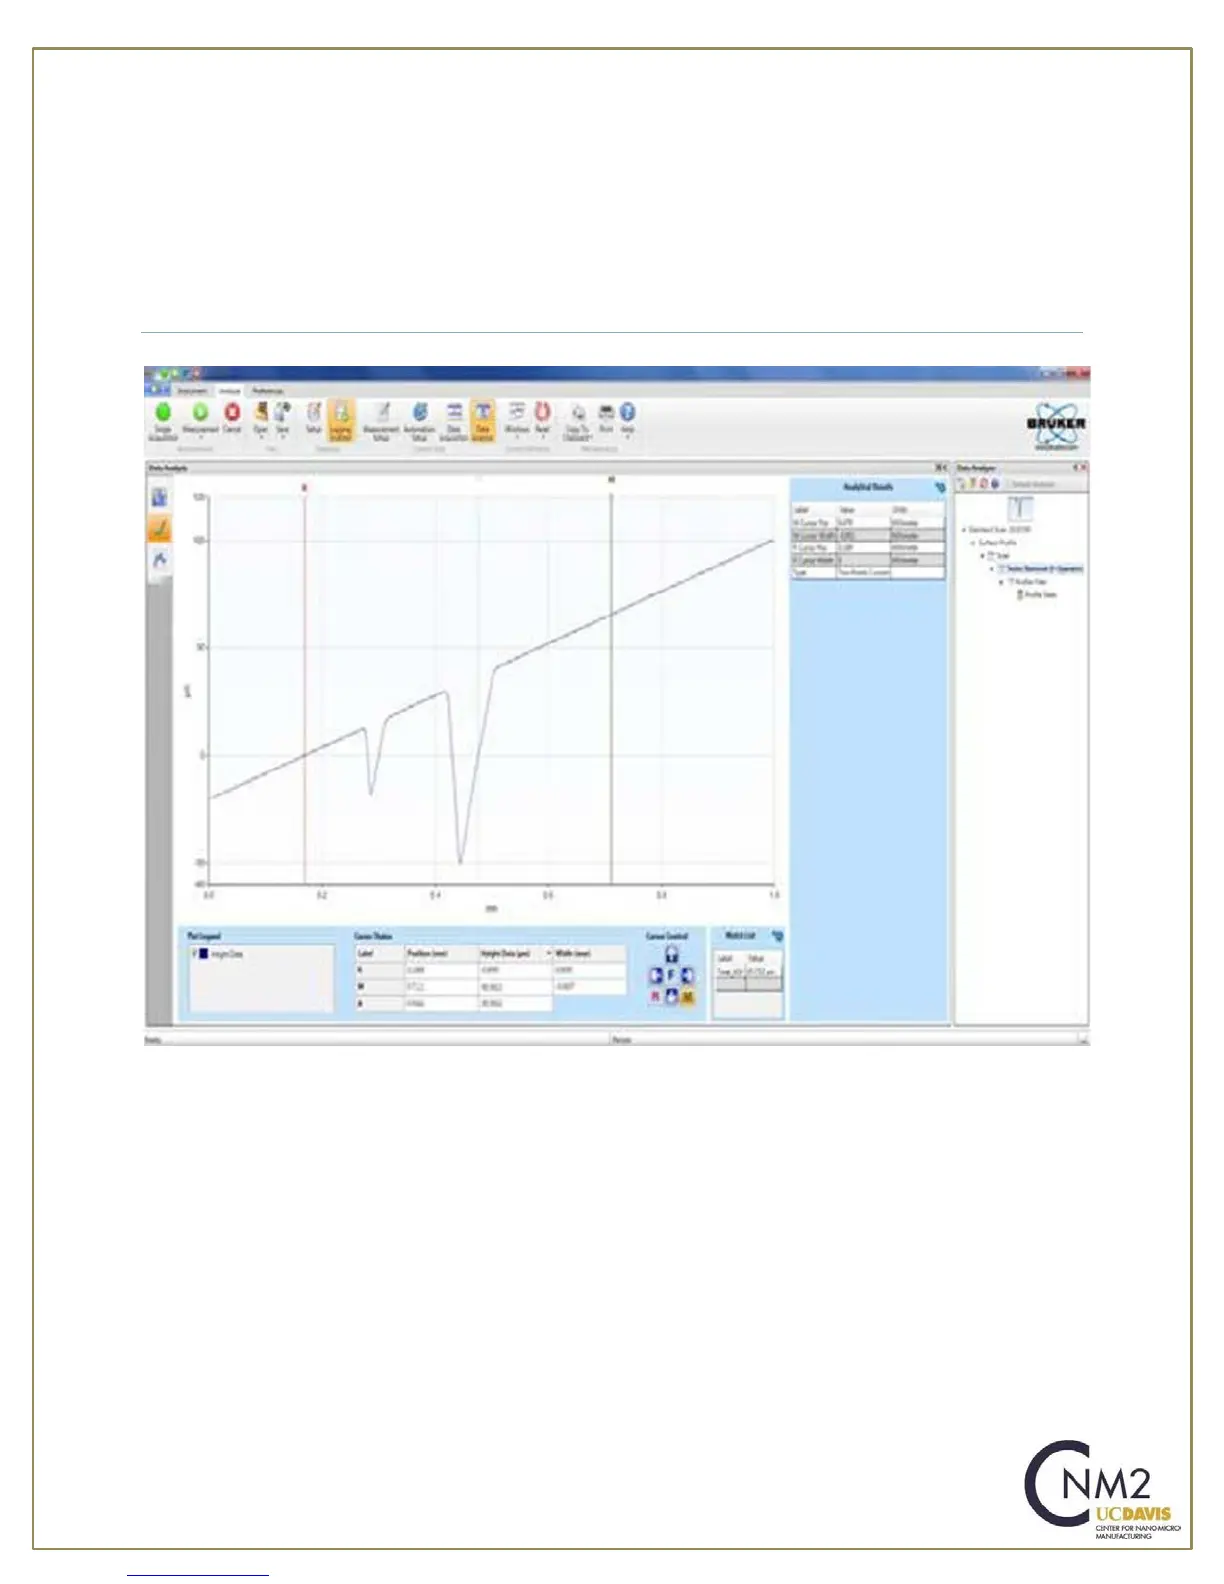
Data Analysis
1. Place the mouse cursor at the location where you want to add the R (Red reference cursor) or
M (green Measurement cursor) and use the right mouse button to open up the drop down
menus. Select either the R or M to insert the cursor at that location.
2. The R and M cursors can be moved by clicking on the cursor and dragging. The cursor
bandwidth can be expanded by clicking and dragging of the small box located at the top of the
cursor line. When the R and M cursors are widened, the resulting data is the average of the
data within the bandwidth of the cursors.
3. The locations of the R and M cursors are listed in the Cursor Status box along with the delta
in height.
4. Verify the R and M cursors are located are in the correct location for leveling.
 Loading...